Removal Procedure
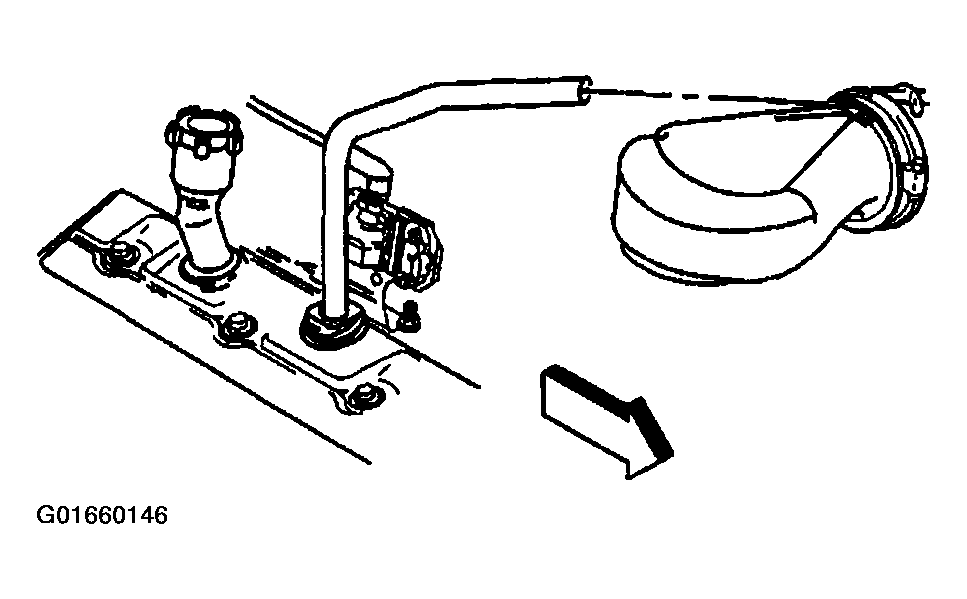
- Disconnect the breather tube at the air cleaner outlet duct.
 Courtesy of GENERAL MOTORS CORP.
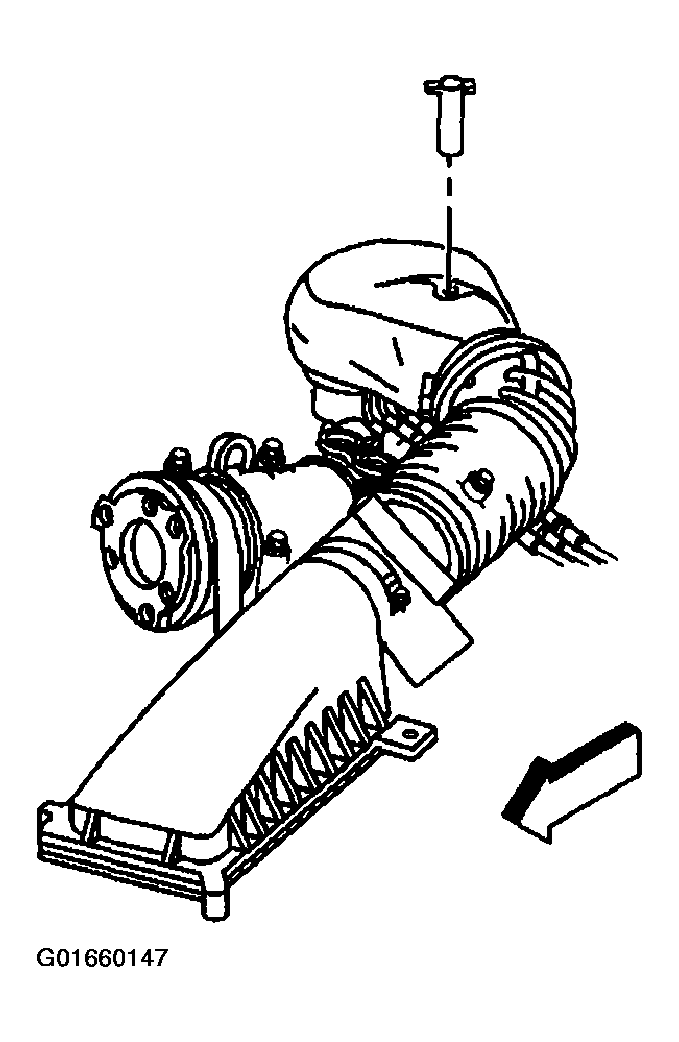
- Remove the air cleaner outlet duct retaining wingnut.
 Courtesy of GENERAL MOTORS CORP.
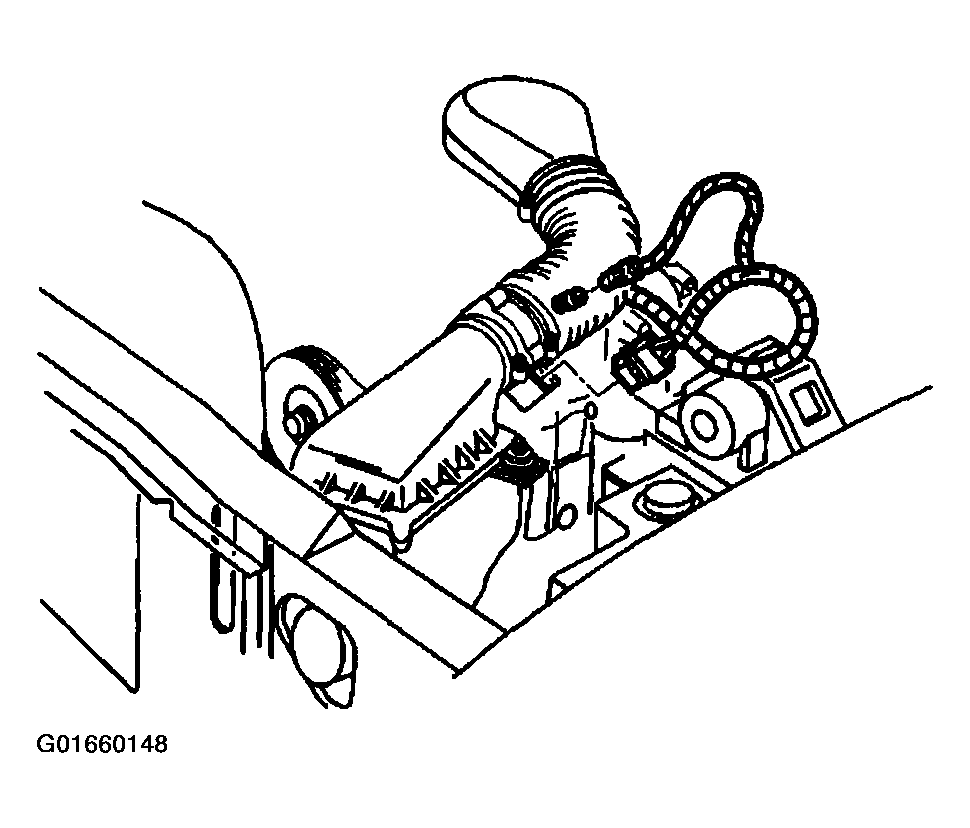
- Disconnect the IAT sensor harness connector.
 Courtesy of GENERAL MOTORS CORP.
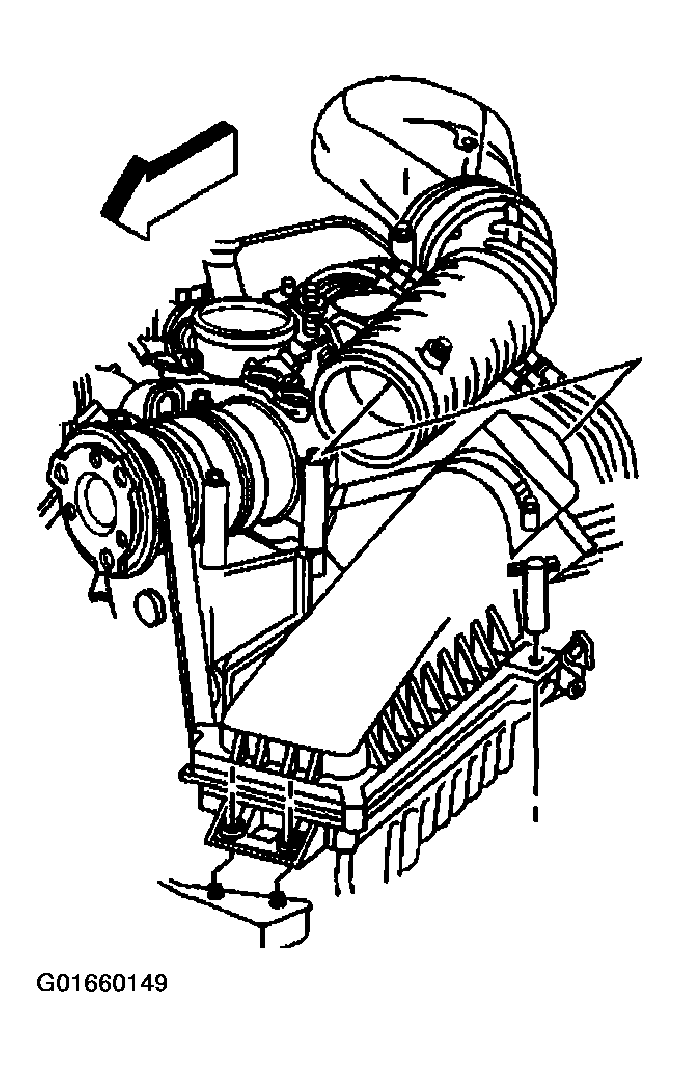
- Remove the air cleaner outlet duct from the throttle body.
 Courtesy of GENERAL MOTORS CORP.
- Remove the intermediate steering shaft. Refer to INTERMEDIATE STEERING SHAFT REPLACEMENT - LOWER
in Steering Wheel and Column.
- Disconnect the engine coolant temperature (ECT) sensor electrical connector.
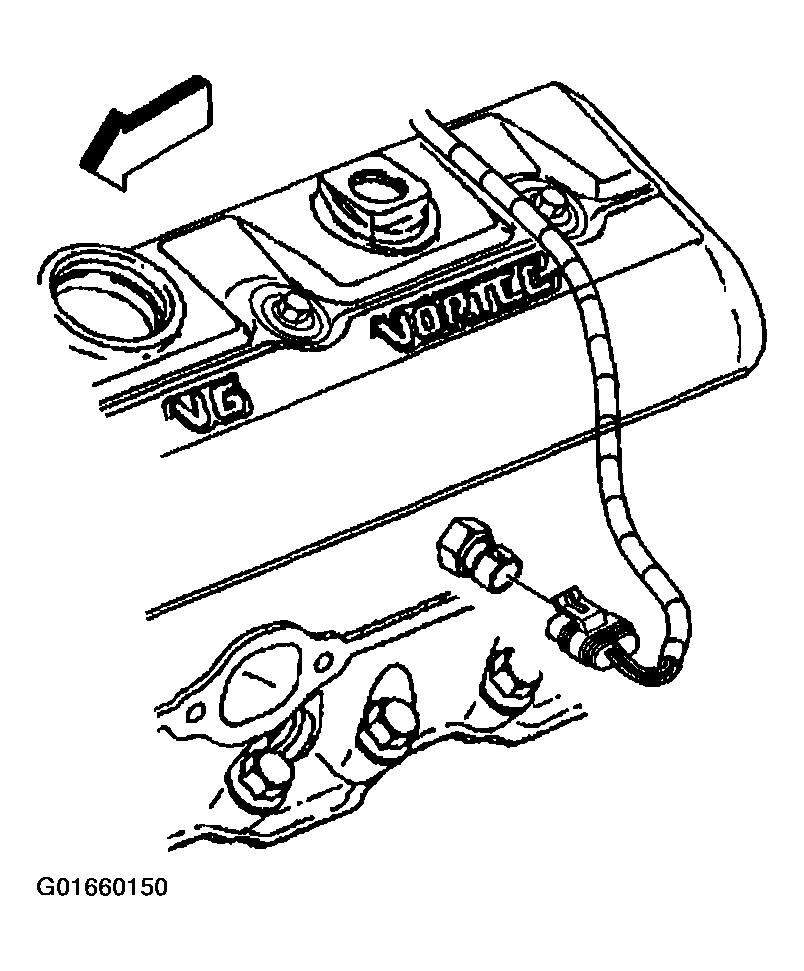 Courtesy of GENERAL MOTORS CORP.
- Remove the radiator inlet hose support bracket and nut.
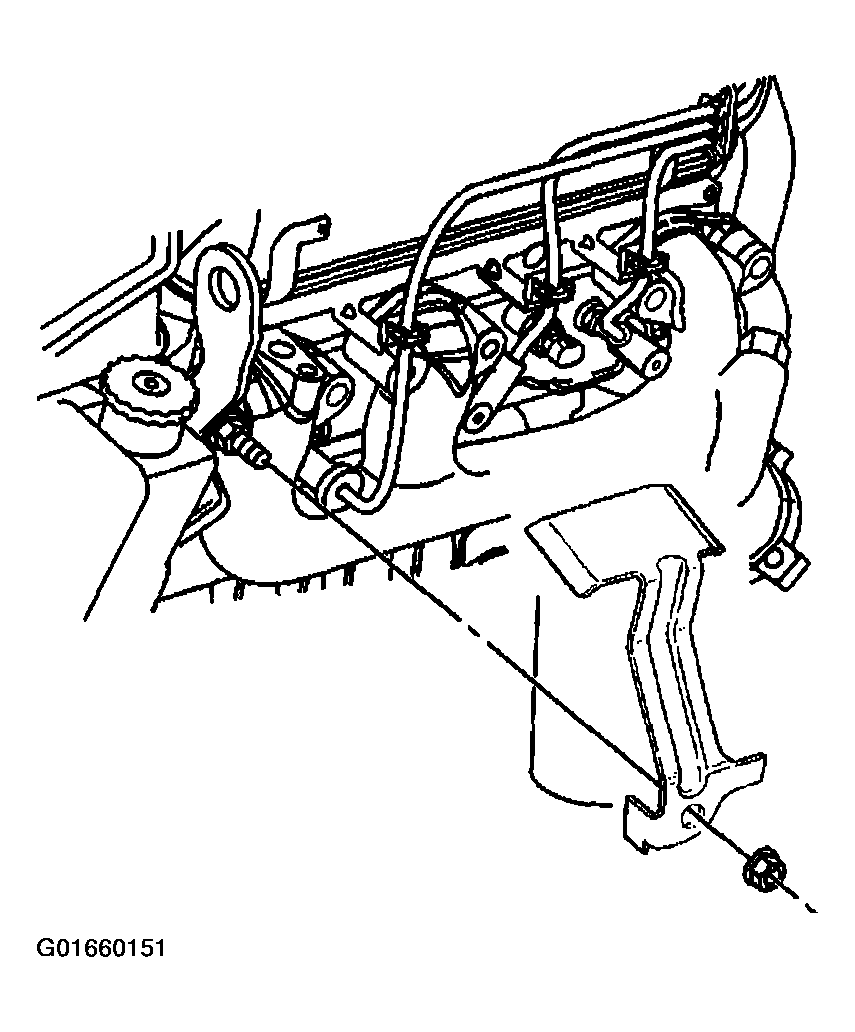 Courtesy of GENERAL MOTORS CORP.
- Raise the vehicle. Refer to LIFTING & JACKING THE VEHICLE
in General Information.
- Disconnect the exhaust pipe from the exhaust manifold. Refer to Exhaust Manifold Pipe Replacement .
- Lower vehicle.
- Remove the front tire to gain access to the rear exhaust manifold bolts. Refer to TIRE AND WHEEL REMOVAL AND INSTALLATION
in Tires and Wheels.
- Remove the fender wheelhouse extension.
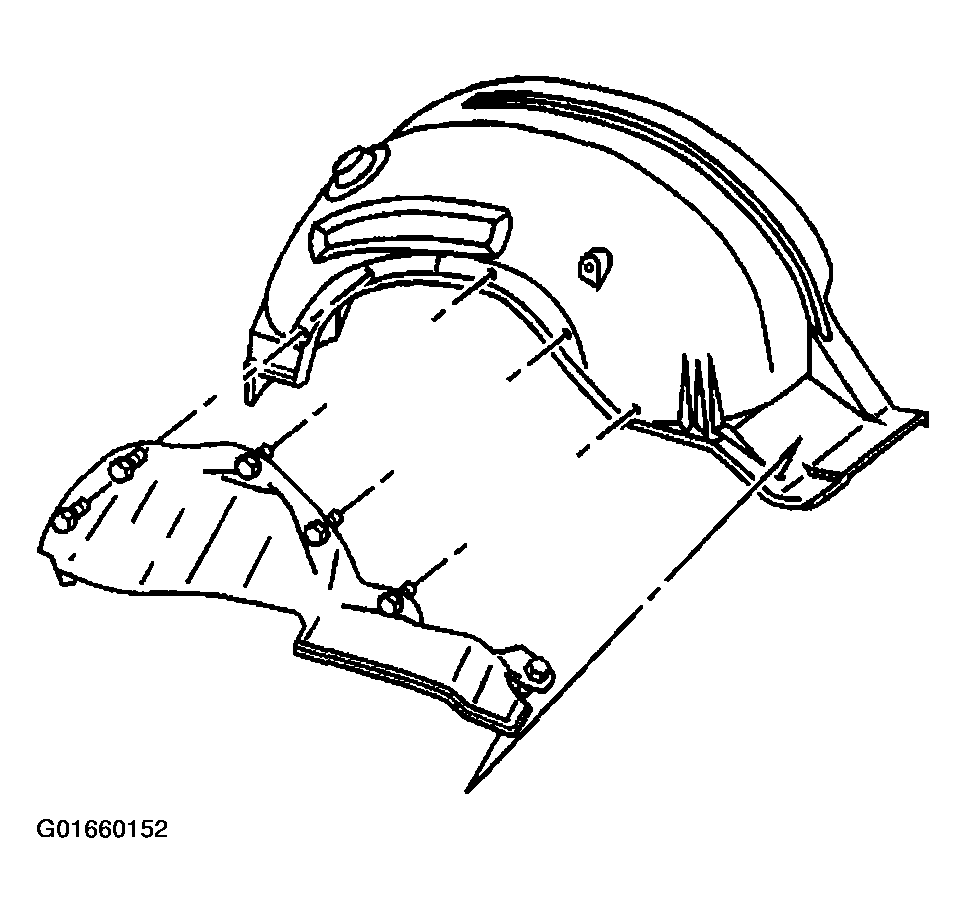 Courtesy of GENERAL MOTORS CORP.
- Working through the wheel house opening disconnect the spark plug wires from the spark plugs.
- 13.1. Rotate the spark plug wire boot one half turn.
- 13.2. Pull outward on the spark plug wire boot to release from the spark plug.
- Remove the exhaust manifold bolts and the stud.
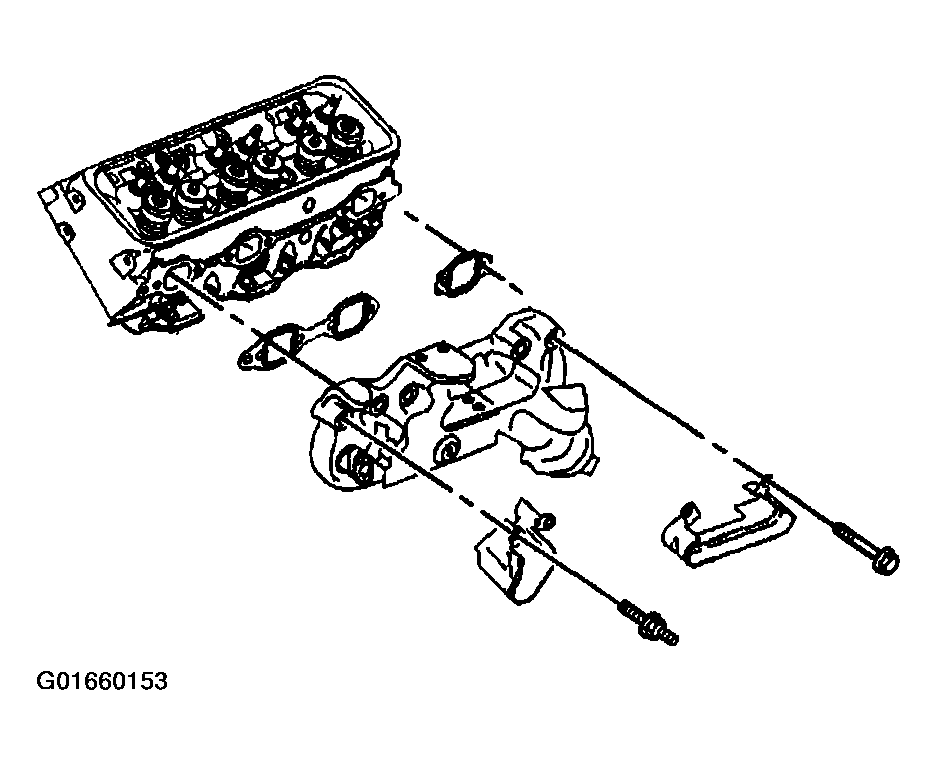 Courtesy of GENERAL MOTORS CORP.
- Lower the vehicle.
- From under the hood remove the exhaust manifold and the spark plug wire shields from the engine.
- Remove and discard the exhaust manifold gaskets.
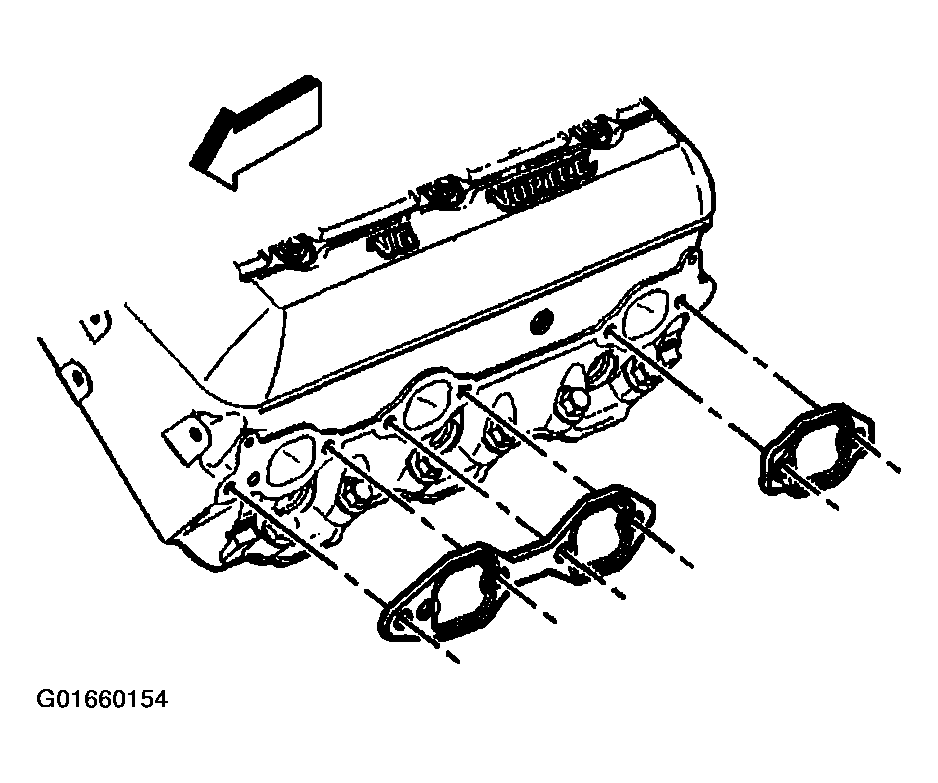 Courtesy of GENERAL MOTORS CORP.
- Clean all gasket surfaces. Refer to EXHAUST MANIFOLD CLEANING AND INSPECTION
in Engine Mechanical - 4.3L Unit Repair.