Removal Procedure
- Remove the liftgate window. Refer to WINDOW REPLACEMENT - LIFT GATE .
- Open the liftgate.
- Support the liftgate.
- Remove the roof rear header garnish molding. Refer to GARNISH MOLDING REPLACEMENT - REAR UPPER
in INTERIOR TRIM article.
- Disconnect the electrical connectors, as needed.
- Disconnect the liftgate window washer fluid hose.
- Remove the liftgate struts. Refer to STRUT REPLACEMENT - LIFT GATE .
- Remove the clips that retain the liftgate to the hinges.
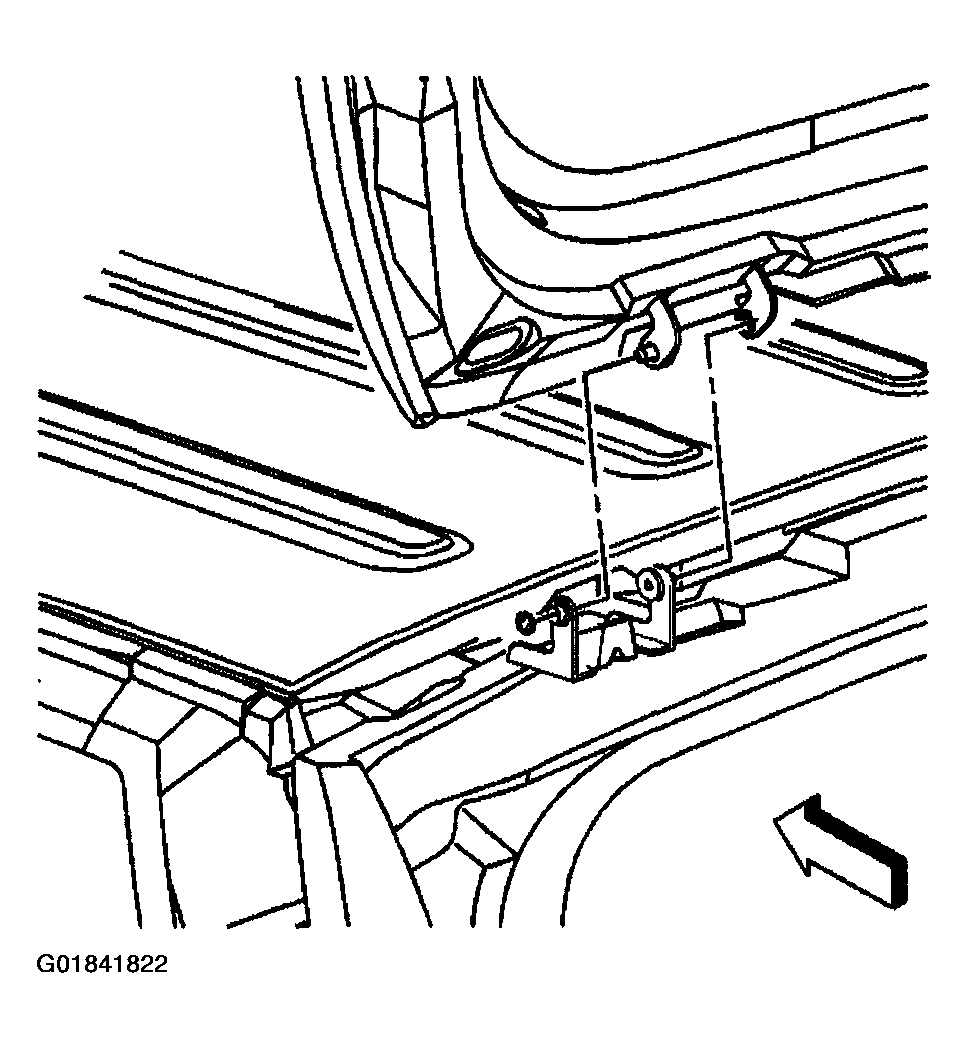 Courtesy of GENERAL MOTORS CORP.
- With an assistant, slide the liftgate to the right in order to remove the liftgate from the vehicle.