2ND Clutch Assembly: Reassembly
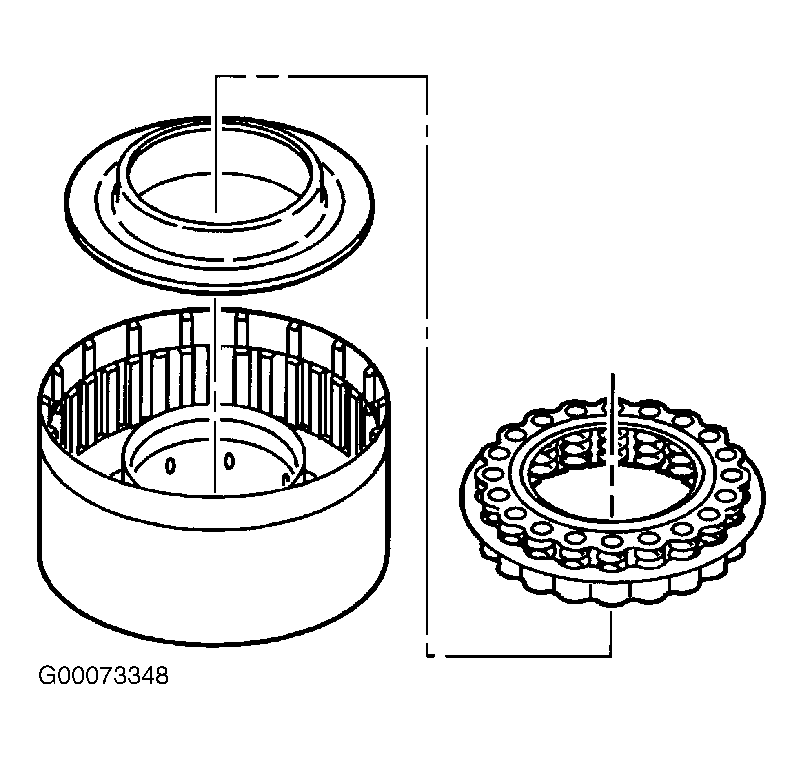
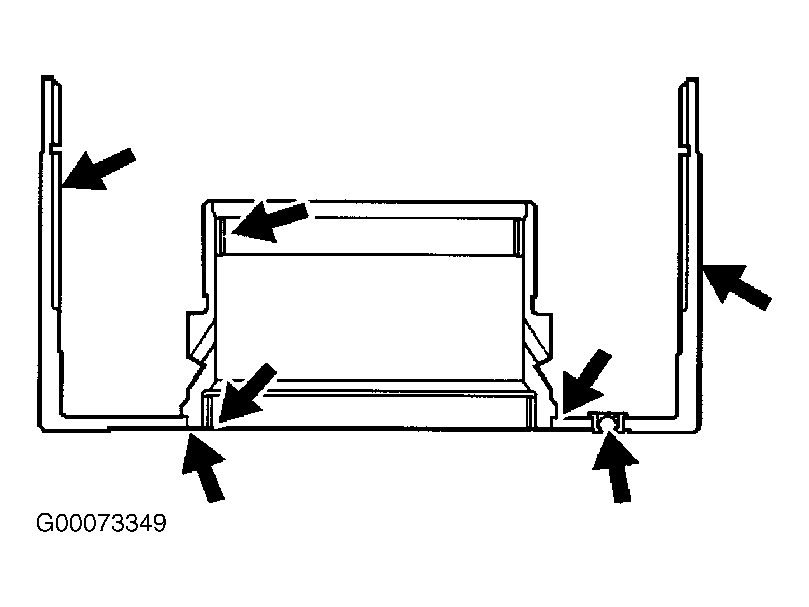
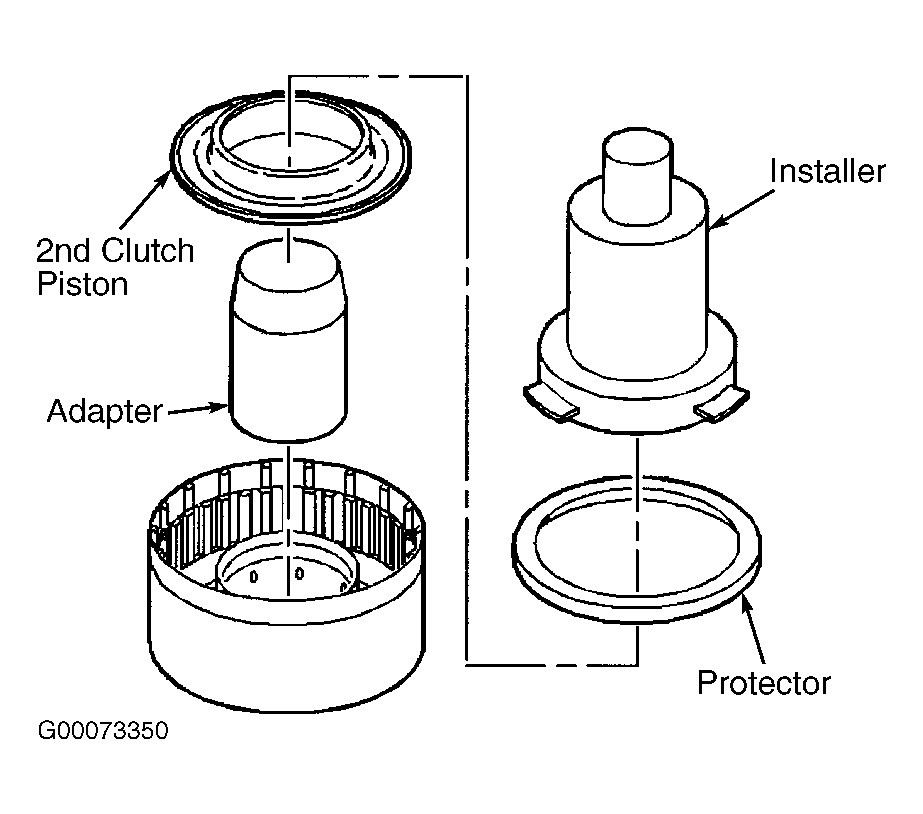
- Install Adapter (J-41992-3) into NEW 2nd clutch piston. Install piston and adapter into Protector (J-41992-1). Install piston assembly into 2nd clutch housing. Center inner seal protector onto hub by pressing down on center of protector. Install Piston Installer (J-41992-2) onto protector. Legs of installer go into slots of protector. Use hand pressure to press down on installer until piston is seated. See Fig 5.
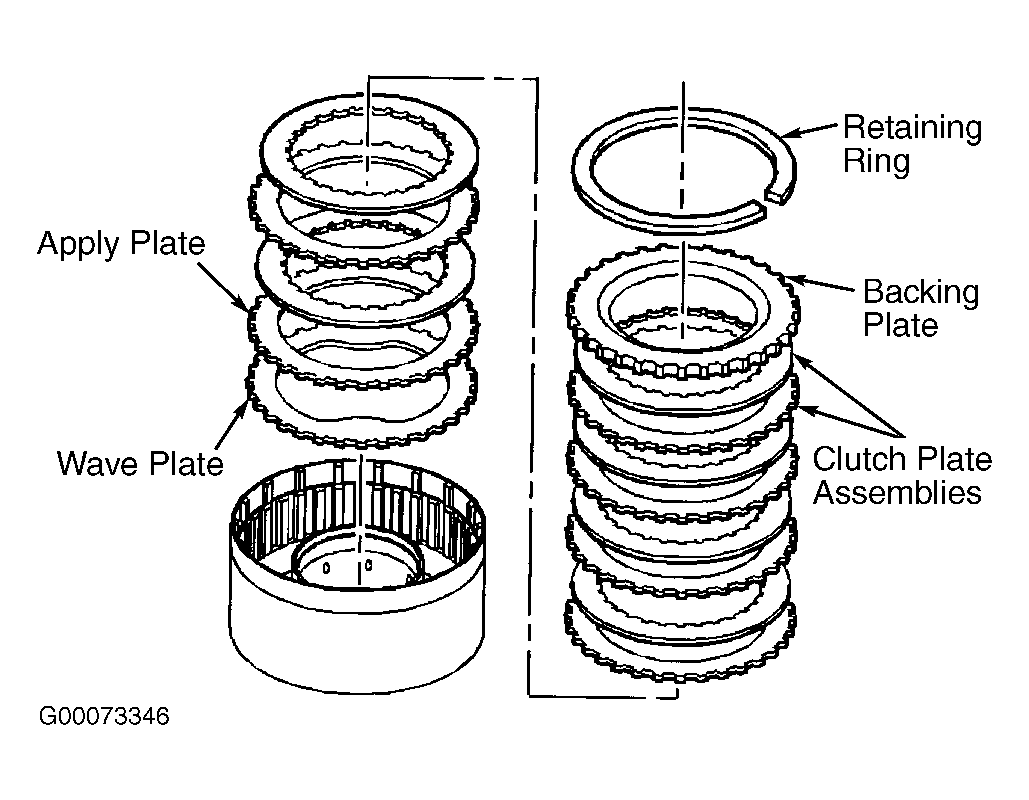
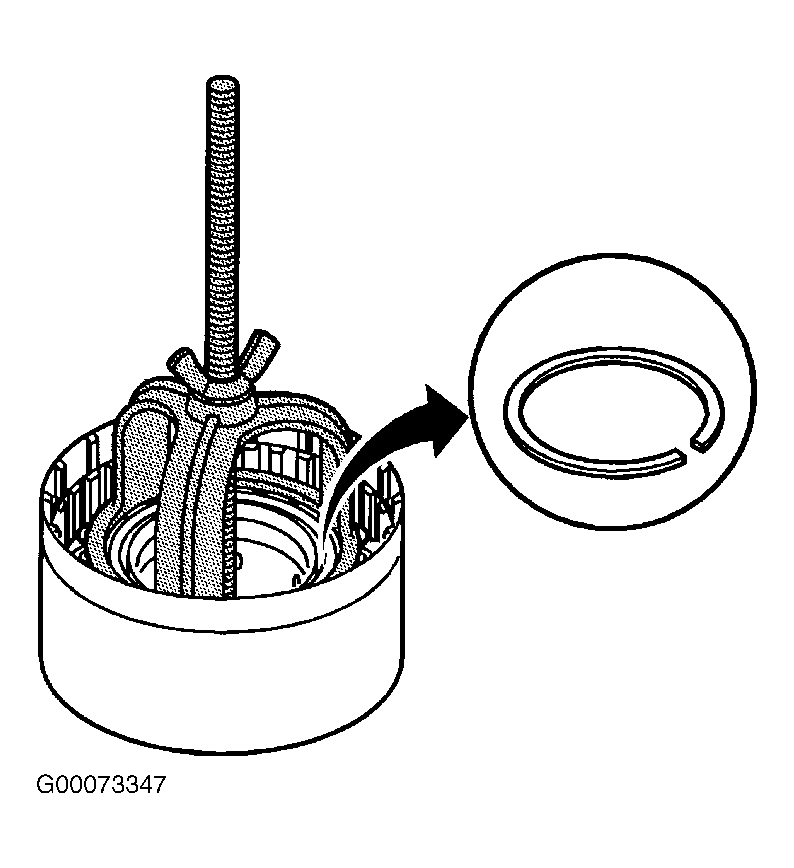
- Install 2nd clutch spring assembly into housing. Install retaining ring. See Fig 2. Install waved plate. Install apply plate into 2nd clutch housing with DN or DOWN marking toward piston. Install composition plates and steel plates, starting with composition plate and alternating each plate. Install backing plate and retaining ring. See Fig 1.
 Courtesy of GENERAL MOTORS CORP.
 Courtesy of GENERAL MOTORS CORP.
 Courtesy of GENERAL MOTORS CORP.
 Courtesy of GENERAL MOTORS CORP.
 Courtesy of GENERAL MOTORS CORP.