Removal & Installation
- Turn ignition switch to OFF position. Disconnect negative battery cable. Remove left insulator-to-Instrument Panel (IP) push-in retainers. Remove insulator-to-dash mat press-on retainers. Unsnap IP courtesy light from IP insulator. Remove IP insulator from IP.
- Remove bolts/screws from bottom of knee bolster. Pull on knee bolster in order to release upper clips. Open ashtray/cupholder. Remove ashtray/cupholder. Remove 2 front IP accessory trim plate screws. See Fig 1
.
- Using small flat-blade door panel tool, pry upper tabs loose from IP accessory trim plate. Disconnect harness connectors, and remove IP accessory trim plate.
- Tilt steering wheel to lowest position. Starting near headlight switch, pry on release clips of IP trim plate. See Fig 2
. Working toward center of Instrument Panel Cluster (IPC), remove IPC trim plate. Remove screws from IPC. Pull IPC part way out and remove harness connectors. Remove IPC. To install, reverse removal procedure. Program/synchronize IPC. See INSTRUMENT PANEL CLUSTER PROGRAMMING/SYNCHRONIZATION
under PROGRAMMING. Calibrate compass (if equipped). See COMPASS CALIBRATION
under PROGRAMMING.
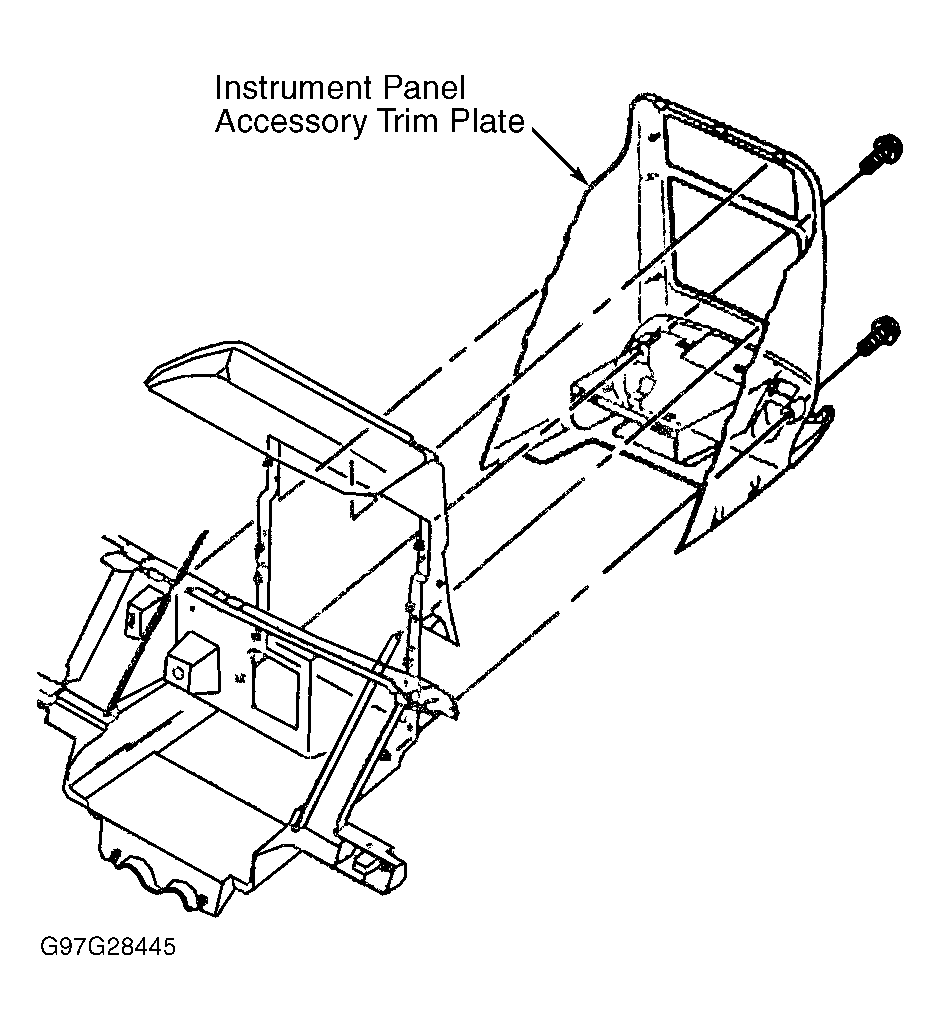 Courtesy of GENERAL MOTORS CORP.
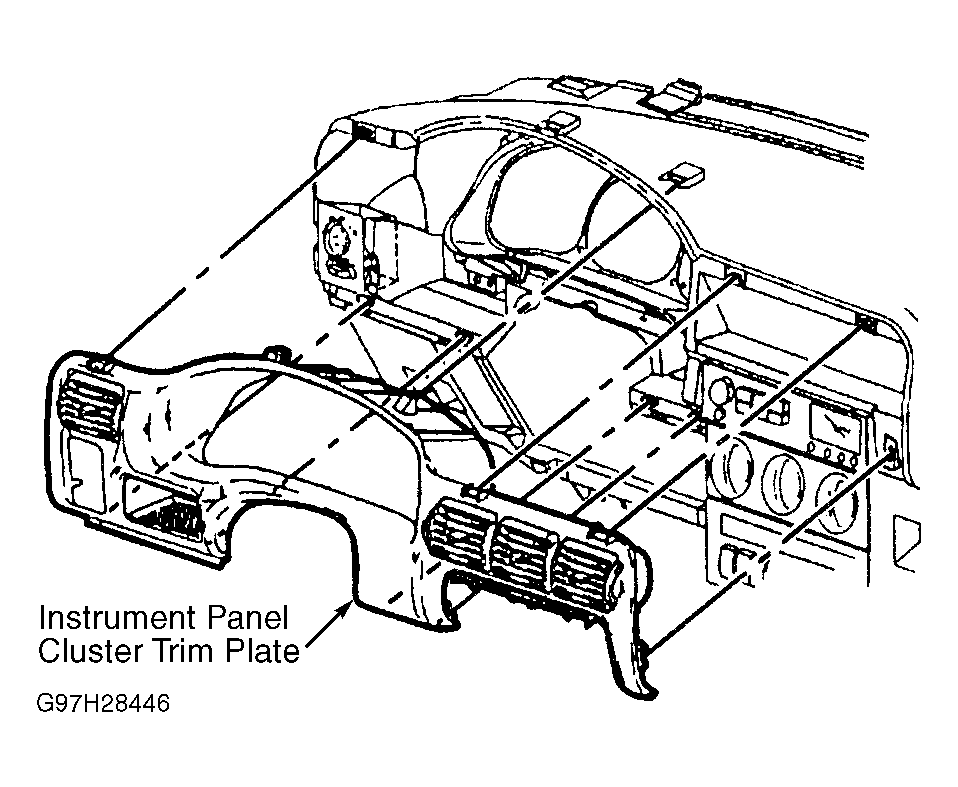 Courtesy of GENERAL MOTORS CORP.