Automatic Transmission Oil Cooler Pipes Replacement
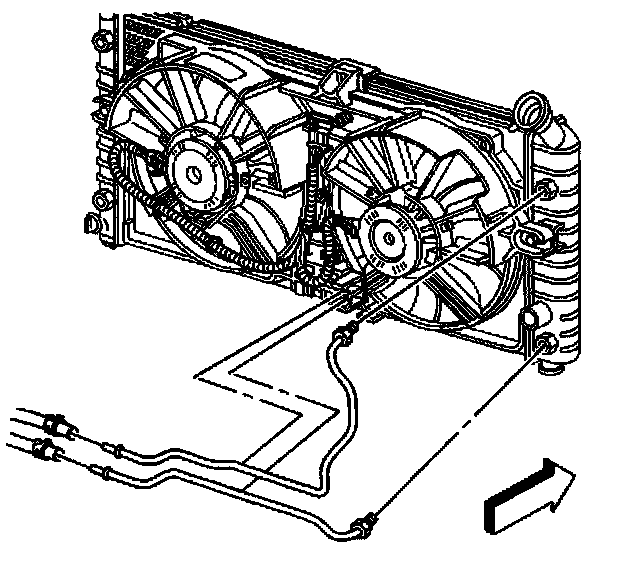
Use only double-wrapped and use only brazed steel pipe meeting the GM specification 123M or equivalent if replacement of the transaxle oil cooler pipes is required. Ensure the pipe is double-flared.
Removal Procedure
Notice: Allow sufficient clearance around the transaxle oil cooler pipes and around the hoses to prevent damage or wear which may cause fluid loss.
1. Raise and support the vehicle. Refer to Vehicle Lifting.
2. Position the drain pan.
3. Remove the transaxle oil cooler hoses from the pipes. Refer to Automatic Transmission Oil Cooler Hose Replacement.
4. Remove the transaxle oil cooler pipe fittings at the radiator.
5. Remove the transaxle oil cooler pipes.
Installation Procedure
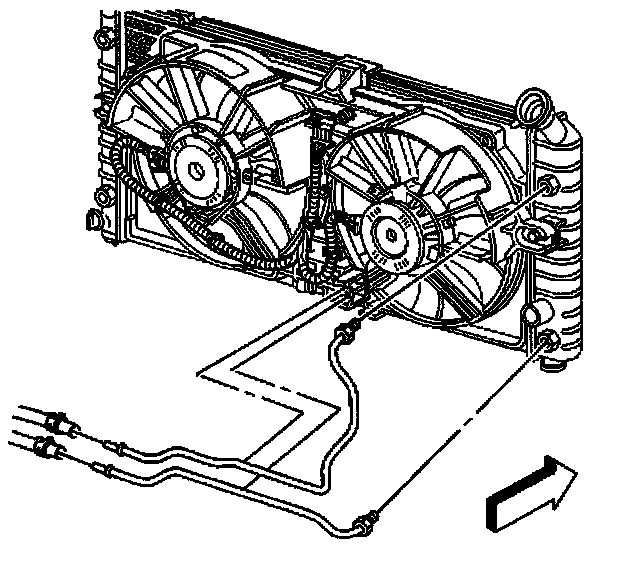
1. Install the transaxle oil cooler pipes.
Important: The correct thread engagement is critical. The cross-threaded fittings can achieve proper tightness value and still leak.
2. Install the transaxle oil cooler pipe fittings at the radiator.
^ Tighten the transaxle oil cooler pipe fittings at the radiator to 45 Nm (33 ft. lbs.).
3. Install the transaxle oil cooler hoses to the pipes. Refer to Automatic Transmission Oil Cooler Hose Replacement.
4. Lower the vehicle.
Notice: Do NOT overfill the transaxle. The overfilling of the transaxle causes foaming, loss of fluid, shift complaints, and possible damage to the transaxle.
5. Adjust the fluid level. Refer to the following information.
^ Transmission Fluid Checking Procedure
^ Specifications
6. Inspect for proper completion of the repairs.
7. Inspect for fluid leaks.