Engine/Frame
REMOVAL PROCEDURENOTE
^ Do Not attempt to repair the [1][2]EVAP pipes or the connecting hoses. Replace the damaged EVAP pipes or the connecting hoses are damaged. If the nylon EVAP pipe becomes kinked and cannot be straightened, it must be replaced.
^ Replace the [1][2]EVAP pipes and hoses with the original equipment or parts that meet the GM specifications for those parts. The replacement EVAP pipe must have the same type of fittings as the original pipe in order to ensure the integrity of the connection. When replacing EVAP hoses use only reinforced fuel-resistant hose identified with the word Fluoroelastomers or GM 6163-M on the hose. The inside hose diameter must match the outside pipe diameter. Do not use rubber hose within 100 mm (4 in) of any part of the exhaust system or within 254 mm (10 in) of the catalytic converter.
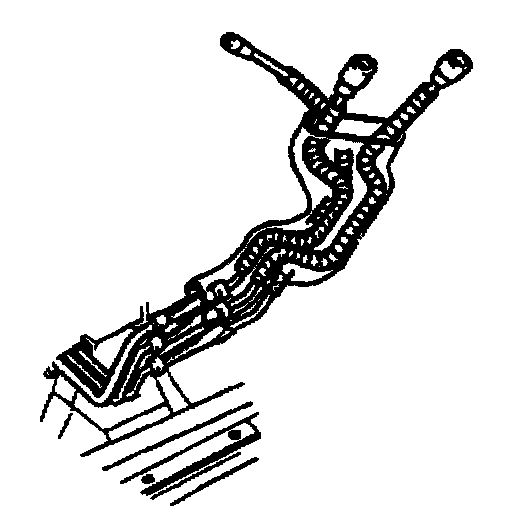
1. Disconnect the [1][2]EVAP pipe quick connect fitting in the engine compartment.
2. Raise the vehicle. Refer to Lifting and Jacking the Vehicle in Service Precautions.
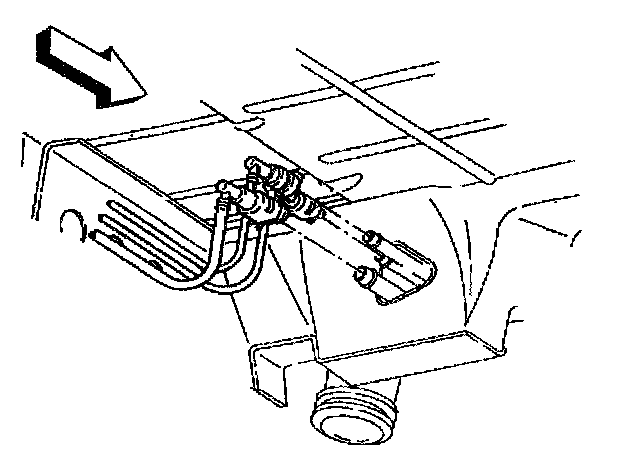
3. Disconnect the [1][2]EVAP pipe quick connect fitting at the front frame rail.
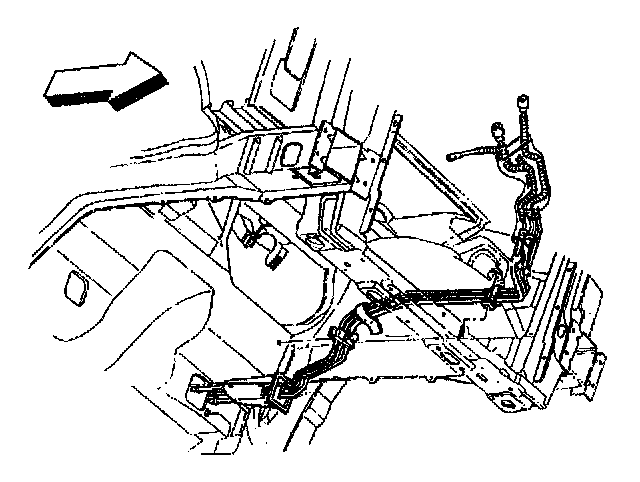
4. Remove the [1][2]EVAP pipe attaching hardware noting position for installation.
5. Remove the [1][2]EVAP pipe.
INSTALLATION PROCEDURE
NOTE: Properly secure the [1][2]EVAP pipe in order to prevent chafing of the pipe.
1. Install the [1][2]EVAP pipe.
2. Install the [1][2]EVAP pipe attaching hardware as noted during removal.
3. Connect the [1][2]EVAP pipe quick connect fitting at the frame rail.
4. Lower the vehicle.
5. Connect the [1][2]EVAP pipe quick connect fitting in the engine compartment.