Evaporator Tube Replacement
REMOVAL PROCEDURE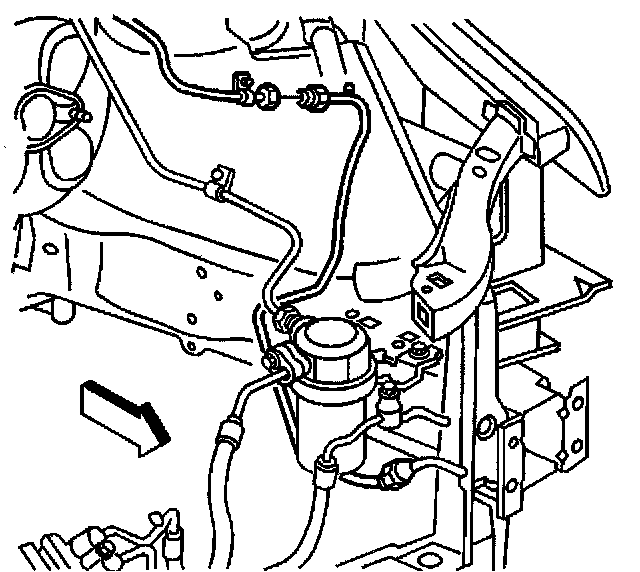
1. Remove the air cleaner cover and duct assembly.
2. Recover the refrigerant. Refer to Refrigerant Recovery and Recharging. Service and Repair
3. Disconnect the liquid line fitting at the orifice.
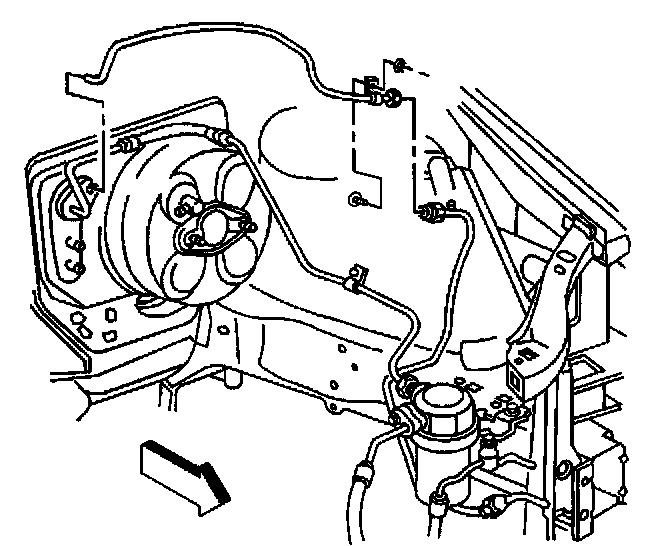
4. Disconnect the liquid line at the block fitting.
5. Disconnect the liquid line bracket at the strut tower.
6. Carefully remove the liquid line.
7. Remove the O-rings.
INSTALLATION PROCEDURE
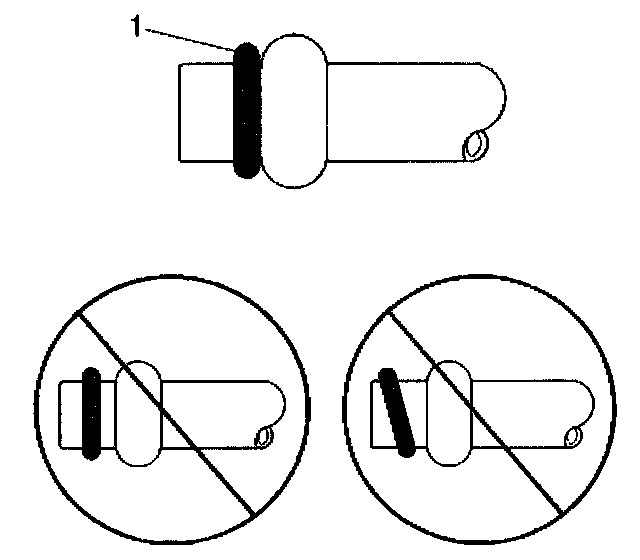
1. Using a lint-free clean, dry cloth, carefully clean the sealing surfaces of the A/C refrigerant line and the A/C refrigerant component.
2. Lightly coat the new O-ring seals with mineral base 525 viscosity refrigerant oil.
IMPORTANT: DO NOT allow any of the mineral base 525 viscosity refrigerant oil on the new O-ring seal to enter the refrigerant system.
3. For the compression fitting at the orifice, carefully slide the new O-ring seal (1) onto the line until seated.
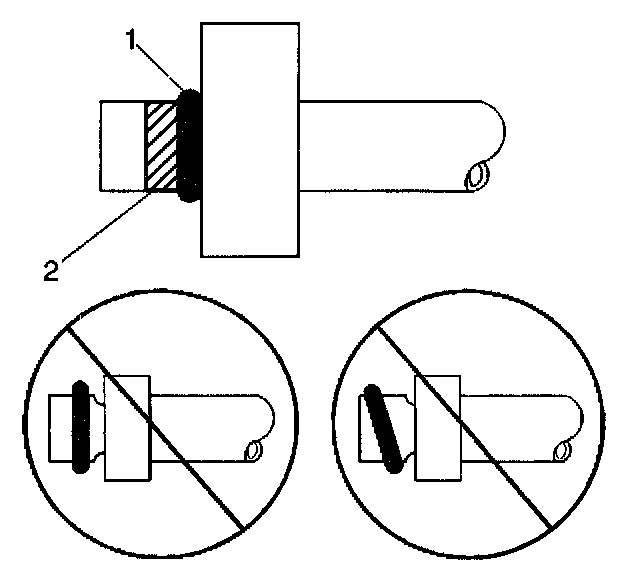
4. For the line block fitting, carefully slide the new O-ring seal (1) onto the line until seated. Allow a light coating of the refrigerant oil to remain on the A/C line in the area indicated (2) ONLY.
5. Position the liquid line into place.
NOTE: Refer to Fastener Notice in Service Precautions.
6. Connect the liquid line fitting at the block fitting.
Tighten
Tighten the fitting to 16 N.m (12 lb ft).
7. Connect the liquid line fitting at the orifice.
Tighten
Tighten the fitting to 27 N.m (20 lb ft).
8. Connect the liquid line bracket at the strut tower.
Tighten
Tighten the nut to 3.3 N.m (29 lb in).
9. Evacuate and charge the system. Refer to Refrigerant Recovery and Recharging. Service and Repair
10. Leak test the A/C system. Refer to Leak Testing.Leak Testing
11. Install the air cleaner cover and duct assembly.