Wheel Cylinder Replacement
Removal Procedure^ Tools Required
- J 38400 Brake Shoe Spanner and Spring Remover
Caution: Keep fingers away from rear brake shoe springs to prevent fingers from being pinched between spring and shoe web or spring and backing plate.
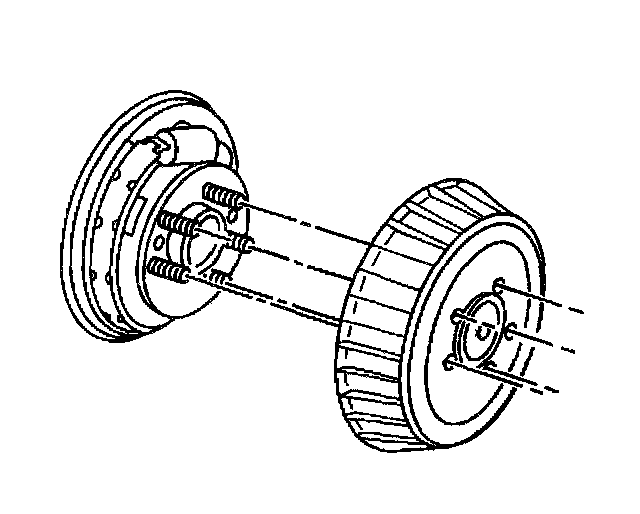
1. Raise and support the vehicle. Refer to Vehicle Lifting.
2. Remove the tire and wheel. Refer to Tire and Wheel Removal and Installation.
3. Clean all dirt and foreign material from the wheel cylinder brake pipe fitting and the bleeder valve.
4. Remove the brake drum. Refer to Brake Drum Replacement.
5. Remove the brake pipe nut.
6. Install a cap over the end of the brake pipe in order to prevent brake fluid loss and/or brake fluid contamination.
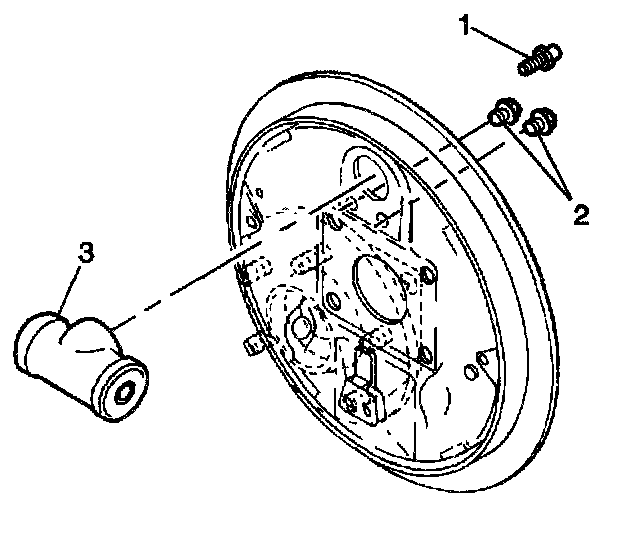
7. Remove the wheel cylinder bolts (2).
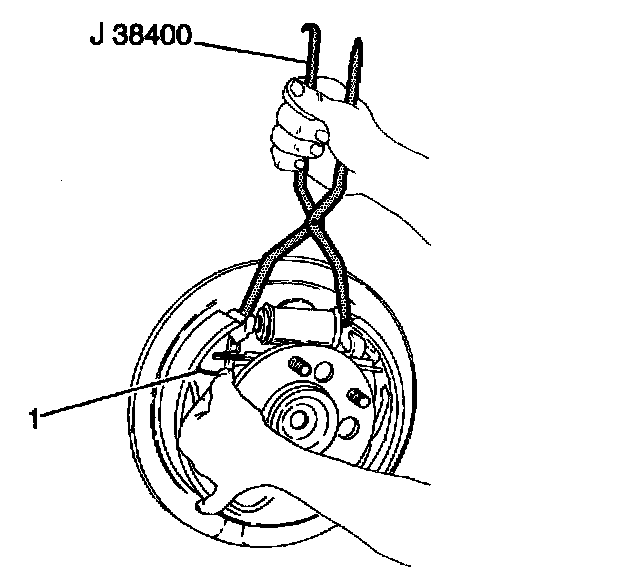
8. Use the J 38400 in order to spread the brake shoes apart.
9. Remove the wheel cylinder (3).
10. Clean the old sealant from the backing plate where the wheel cylinder was installed. Clean the sealant from the wheel cylinder if you are reusing the wheel cylinder.
Installation Procedure
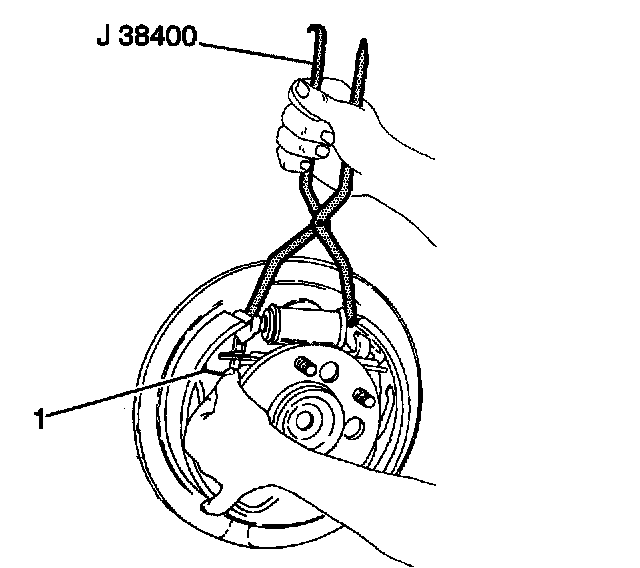
1. Apply LOCTITE (R) GM PIN 12345382 (or equivalent) to the wheel cylinder shoulder face which contacts the backing plate.
2. Use the J 38400 in order to spread the brake shoes apart.
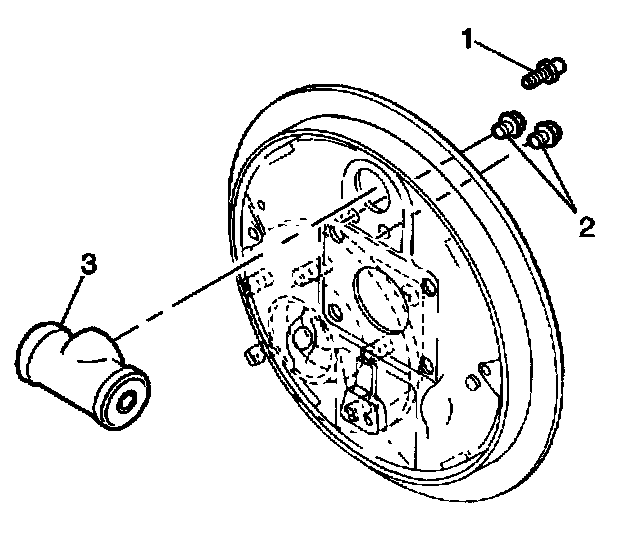
3. Install the wheel cylinder (3).
Notice: Refer to Fastener Notice in Service Precautions.
4. Install the wheel cylinder bolts (2).
^ Tighten the bolts to 12 Nm (110 inch lbs.).
5. Remove the cap from the brake pipe and install the brake pipe to the wheel cylinder.
^ Tighten the nut to 17 Nm (12 ft. lbs.).
6. Bleed the hydraulic brake system at the wheel cylinder. Refer to Hydraulic Brake System Bleeding.
7. Install the brake drum. Refer to Brake Drum Replacement.
8. Install the tire and wheel. Refer to Tire and Wheel Removal and Installation.
9. Lower the vehicle.