Muffler: Service and Repair
REMOVAL PROCEDURE1. Raise and suitably support the vehicle.
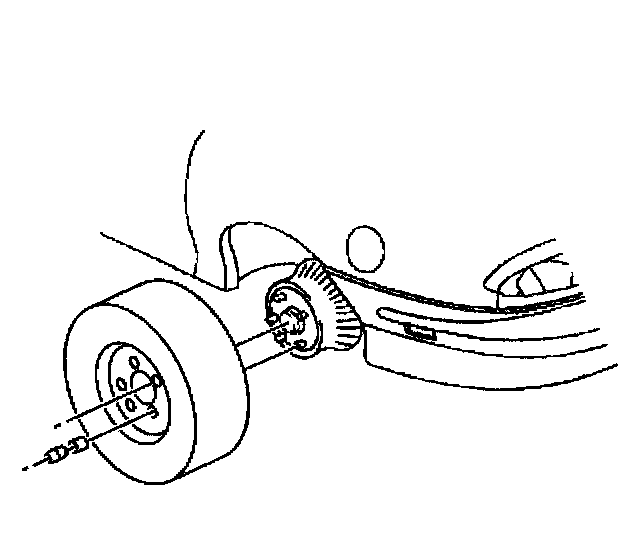
2. Remove the drivers side rear tire.
3. Support the rear axle with jack stands.
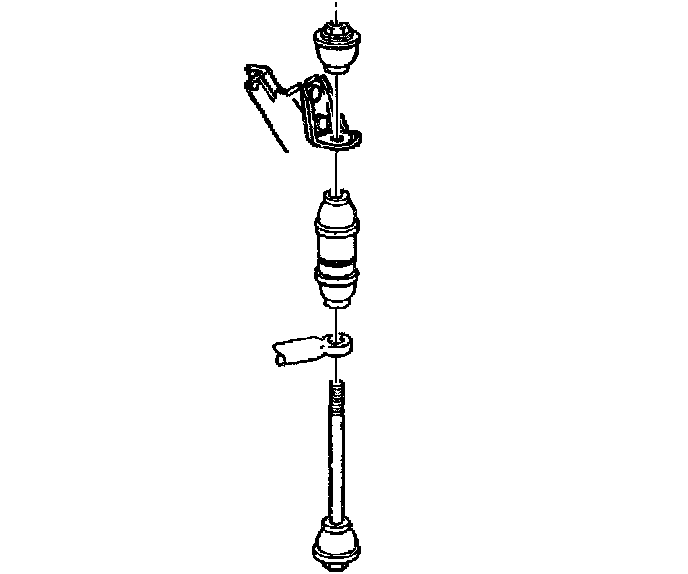
4. Remove the passenger side rear stabilizer bar end link.
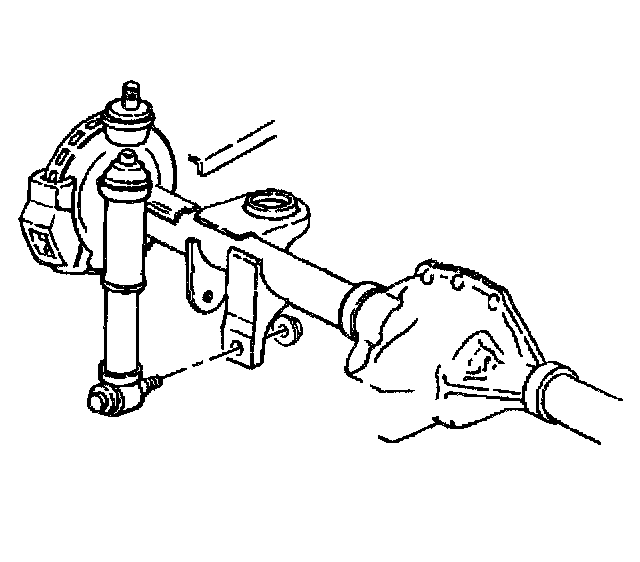
5. Disconnect the passenger side rear shock from the rear axle.
6. Remove the rear track bar.
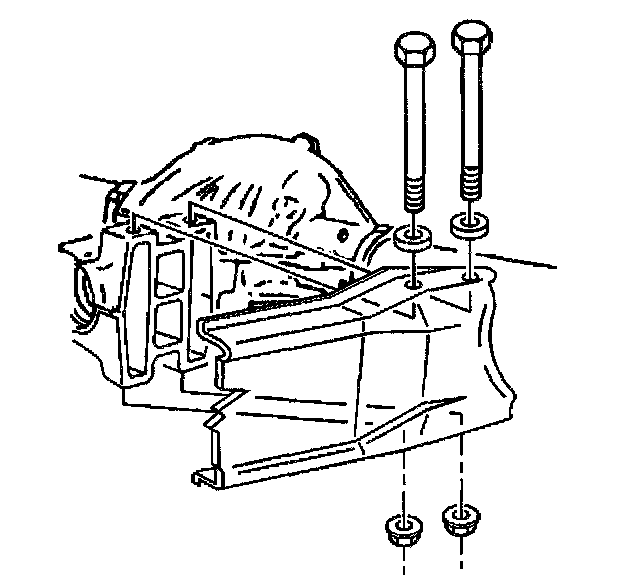
7. Remove the torque arm bolts at the rear axle.
8. Lower the rear axle slightly.
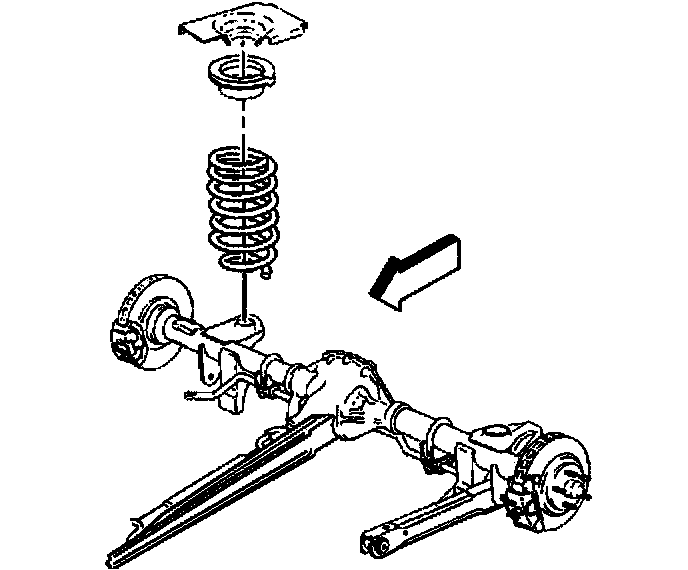
9. Remove the passenger side rear coil spring and bushing.
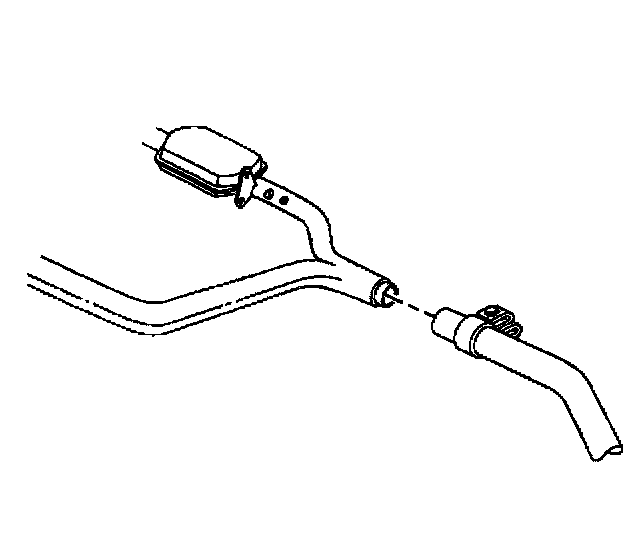
10. Loosen the exhaust muffler clamp attaching the exhaust muffler to the right catalytic converter.
11. Reposition the exhaust muffler clamp.
12. Lower the axle completely.
13. Remove the muffler by rotating the assembly while sliding the muffler out from the rear of the vehicle.
INSTALLATION PROCEDURE
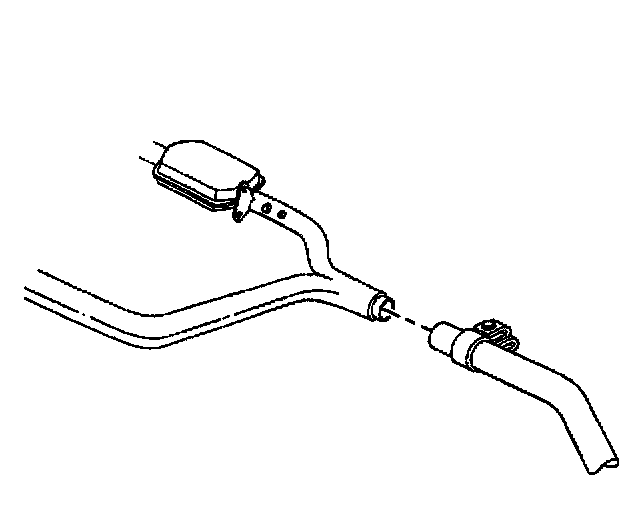
1. Install the exhaust muffler to the vehicle.
2. Raise the axle slightly.
3. Position the exhaust muffler clamp.
NOTICE: Refer to Fastener Notice in Cautions and Notices.
4. Tighten the exhaust muffler clamp attaching the muffler to the right catalytic converter.
^ Tighten the exhaust muffler clamp bolt to 68 Nm (50 ft. lbs.).
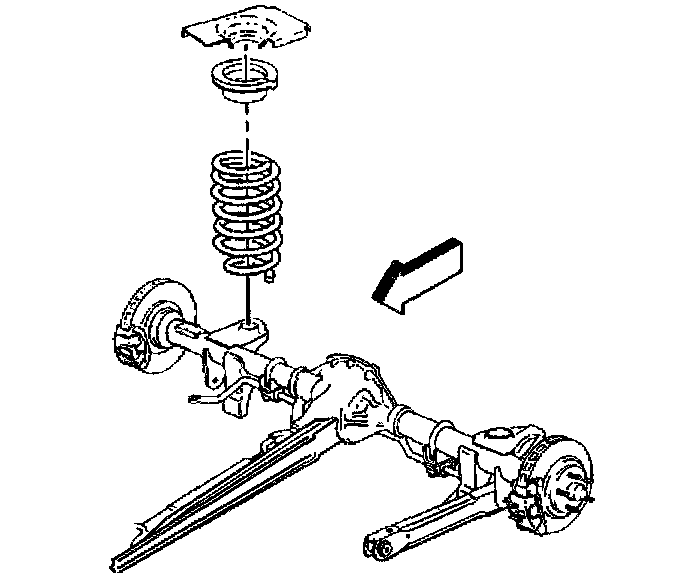
5. Install the passenger side rear coil spring and bushing.
6. Raise the axle completely.
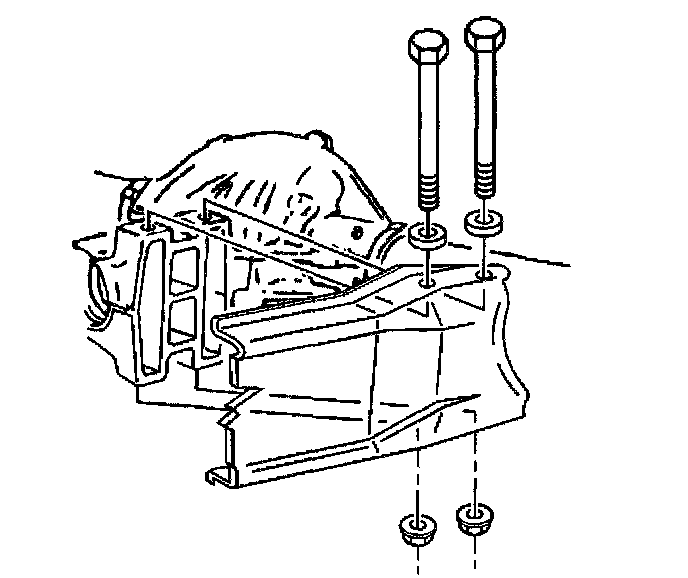
7. Install the torque arm bolts at the rear axle.
^ Tighten the torque arm bolts to 130 Nm (96 ft. lbs.).
^ Tighten to torque arm nuts to 132 Nm (97 ft. lbs.).
8. Install the rear track bar.
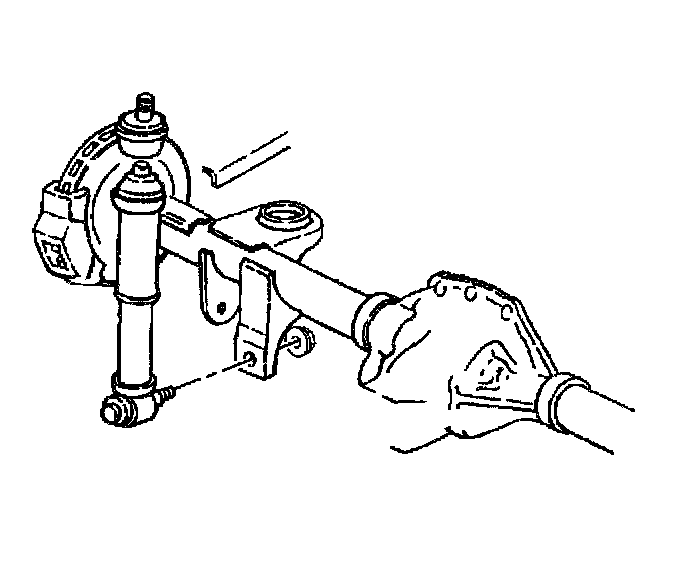
9. Connect the passenger side rear shock to the rear axle.
^ Tighten the rear shock nuts to 90 Nm (66 ft. lbs.).
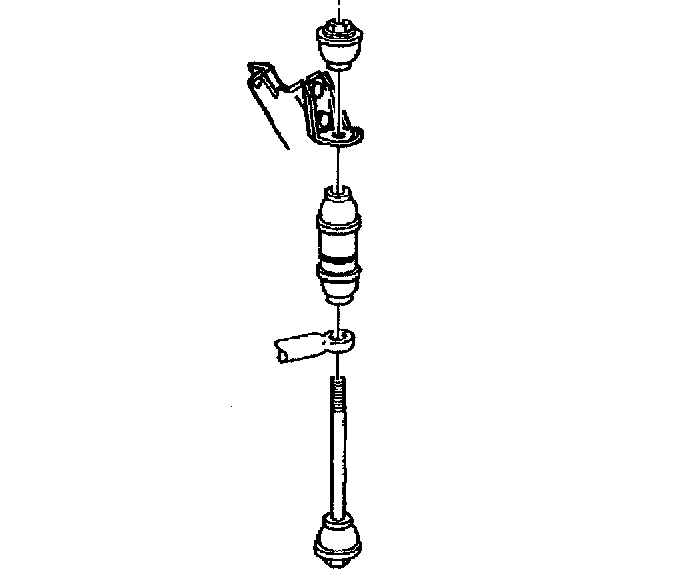
10. Connect the passenger side rear stabilizer bar end link.
^ Tighten the end link nut to 17 Nm (13 ft. lbs.).
11. Remove the rear axle support.
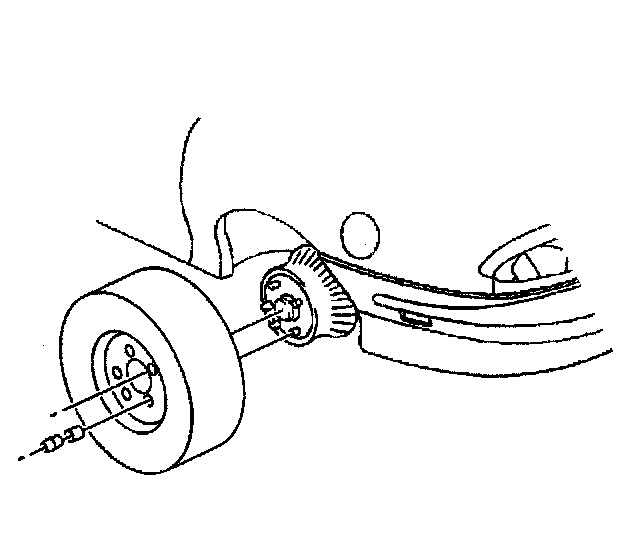
12. Install the drivers side rear tire
^ Tighten the wheel nuts to 120 Nm (89 ft. lbs.).