Engine Installation
INSTALLATION PROCEDURE^ Tools Required
- J38836 Pilot Bushing Installer/Clutch Alignment Arbor
1. Install the engine lifting devise.
2. Remove the engine from the engine stand.
3. If equipped with a manual transmission perform the following:
4. Install the clutch disc and pressure plate to the flywheel.
5. Install the pressure plate bolts finger tight.
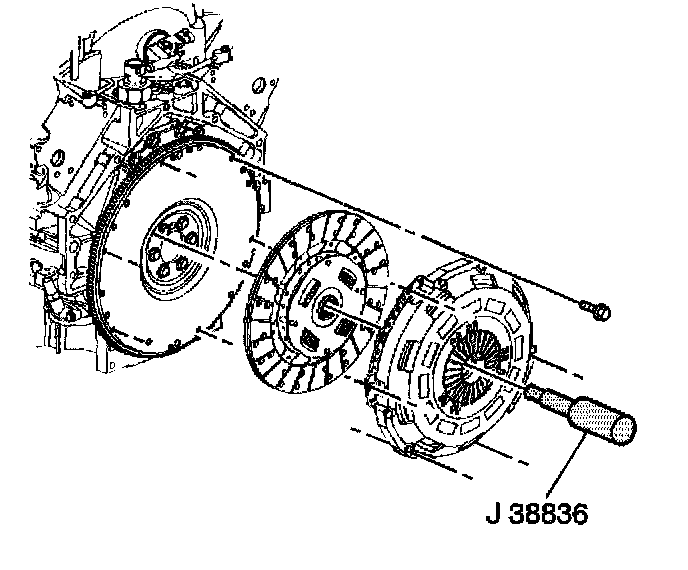
6. Using the J38836 to align the clutch disc splines with the pilot bearing.
NOTICE: Refer to Fastener Notice in Service Precautions.
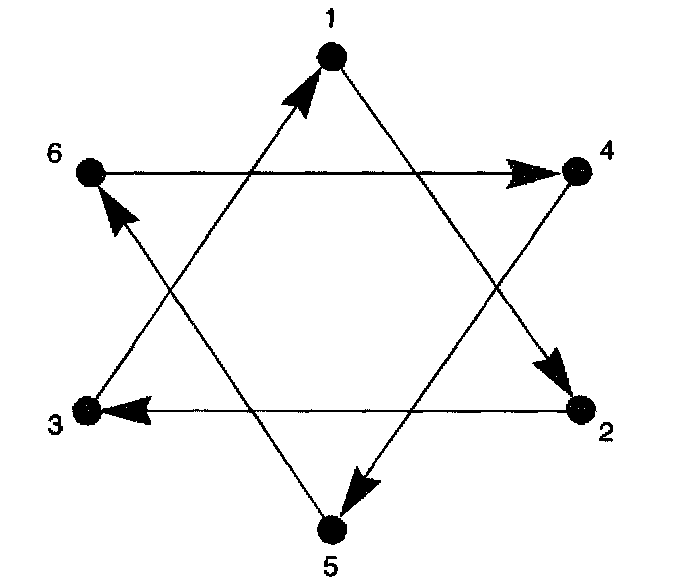
7. Tighten the clutch pressure plate bolts.
^ Tighten the clutch pressure plate bolts in sequence (as shown) and evenly over 3 increments with the fourth increment to 70 Nm (52 ft. lbs.).
8. Remove the J38836.
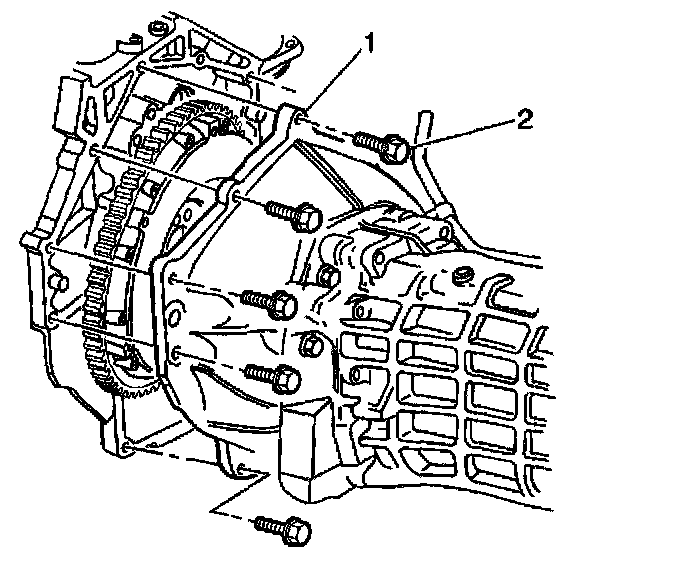
9. Install the flywheel housing to engine bolts (2).
^ Tighten the flywheel housing to engine bolts (2) to 50 Nm (37 ft. lbs.).
10. If equipped with an automatic transmission perform the following:
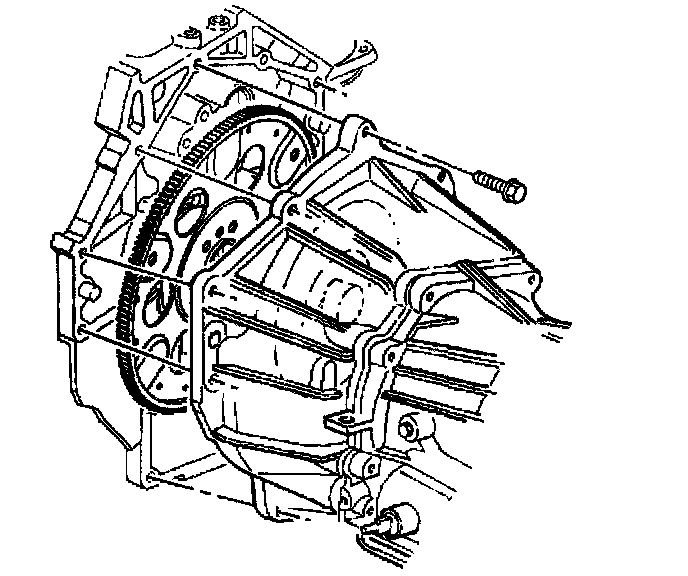
11. Remove the J21366 from the transmission.
12. Install the transmission to engine bolts.
^ Tighten the transmission to engine bolts to 50 Nm (37 ft. lbs.).
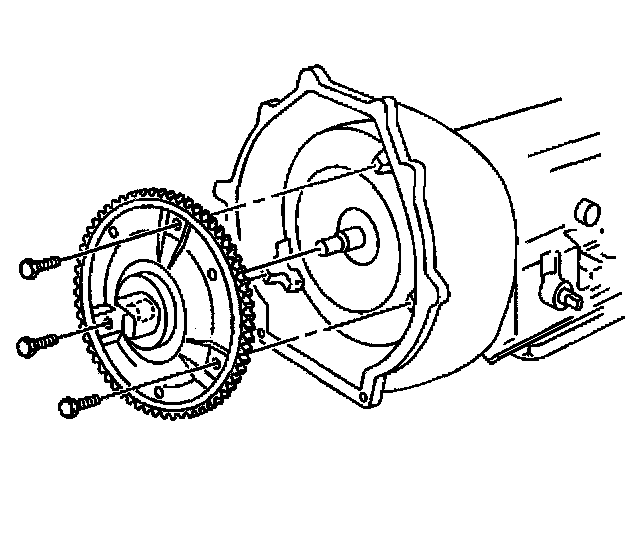
13. Install the flywheel to torque converter bolts.
^ Tighten the flywheel to torque converter bolts to 60 Nm (44 ft. lbs.).
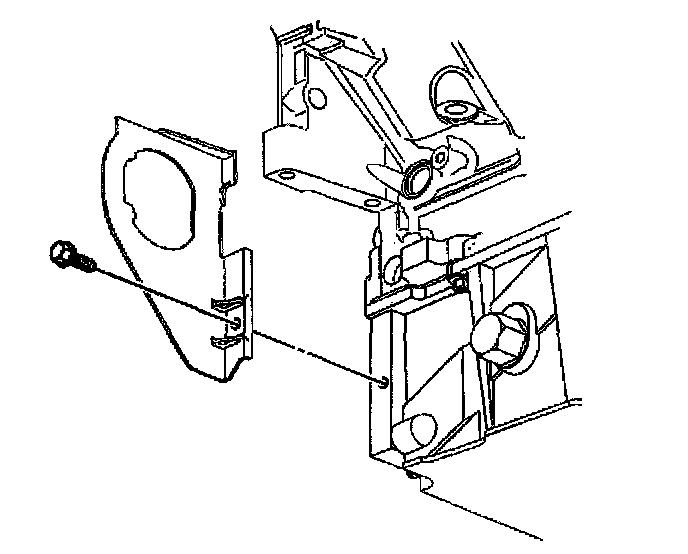
14. Install the right side transmission closeout and bolt.
^ Tighten the right side closeout bolt to 12 Nm (106 inch lbs.).
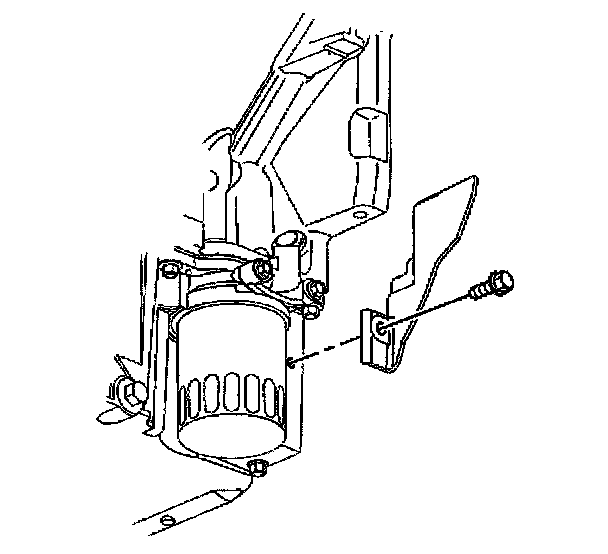
15. Install the left side transmission closeout and bolt.
^ Tighten the left side closeout bolt to 12 Nm (106 inch lbs.).
16. Connect the electrical connectors to the transmission.
17. With the aide of an assistant, lower the engine and transmission to the crossmember.
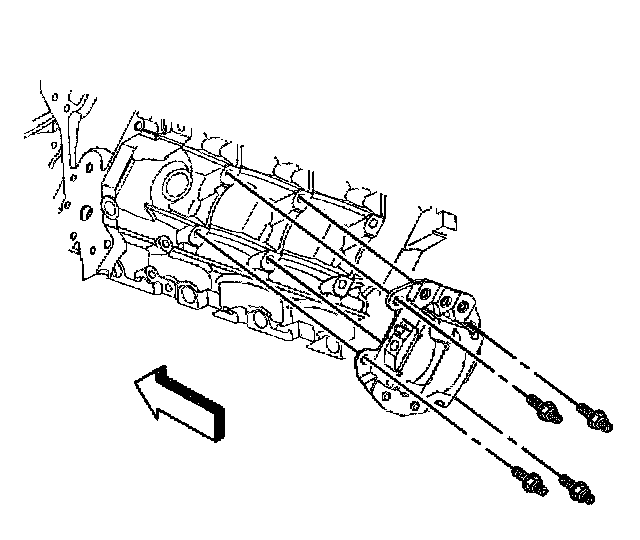
18. Install the left side engine mount bracket and studs.
^ Tighten the engine mount bracket studs to 50 Nm (37 ft. lbs.).
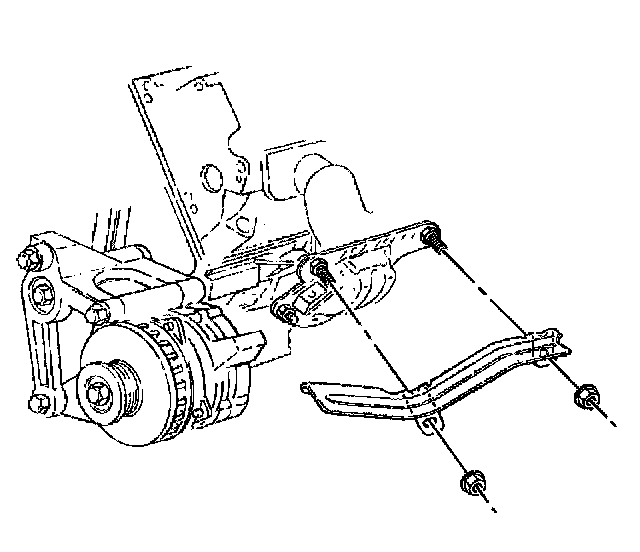
19. Install the engine mount heat shield.
20. Install the engine mount heat shield nuts.
^ Tighten the engine mount heat shield nuts to 10 Nm (89 inch lbs.).
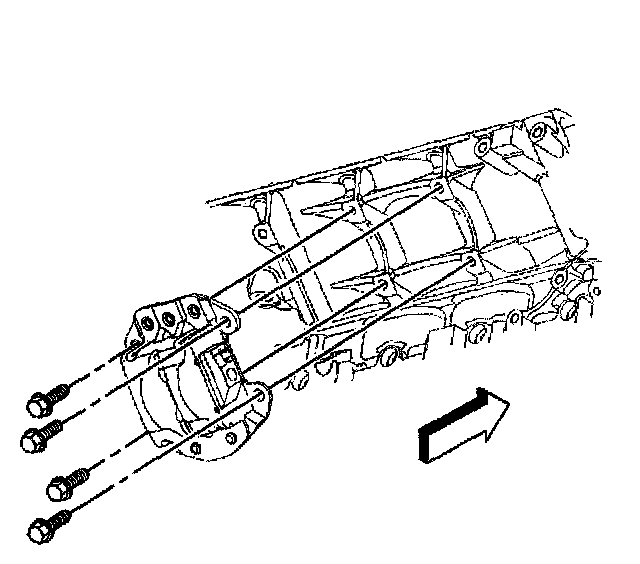
21. Install the right side engine mount bracket and bolts.
^ Tighten the engine mount bracket bolts to 50 Nm (37 ft. lbs.).
22. Remove the lifting devise from the engine.
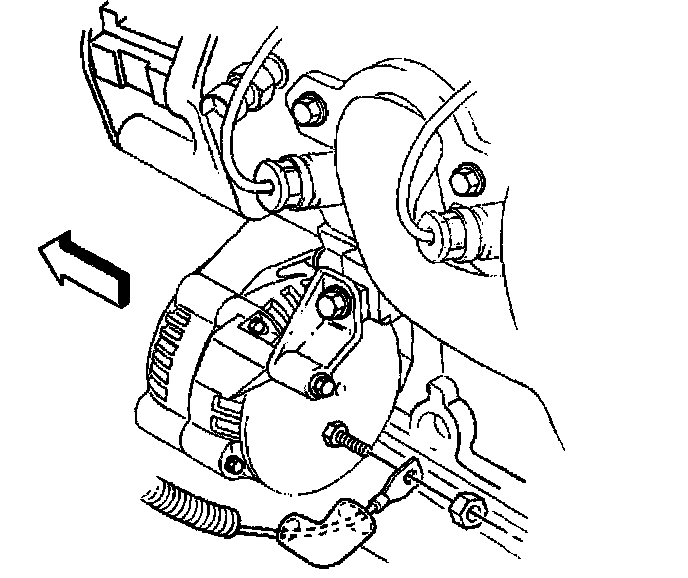
23. Install the positive cable to the generator.
24. Install the positive cable nut to the generator.
^ Tighten the positive cable nut to the generator to 22 Nm (16 ft. lbs.).
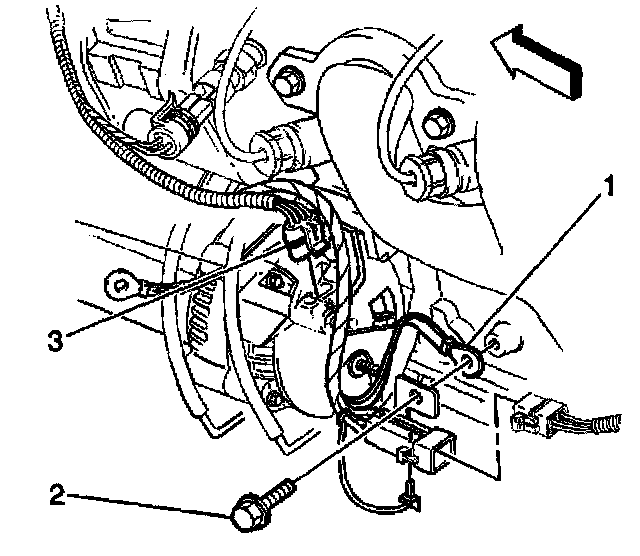
25. Connect the generator electrical connector (3).
26. Position the power steering pump to the engine.
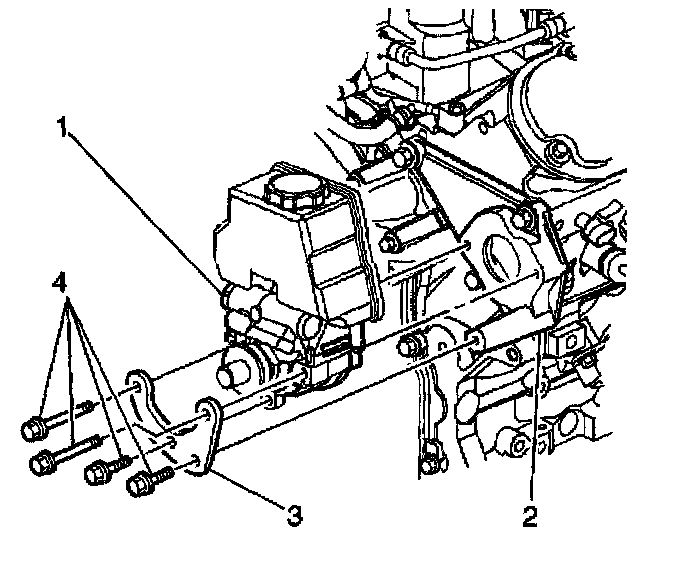
27. Install the power steering pump (1) to the bracket (2).
28. Install the power steering pump brace (3) and bolts (4).
^ Tighten the power steering pump bolts (4) to 25 Nm (18 ft. lbs.).
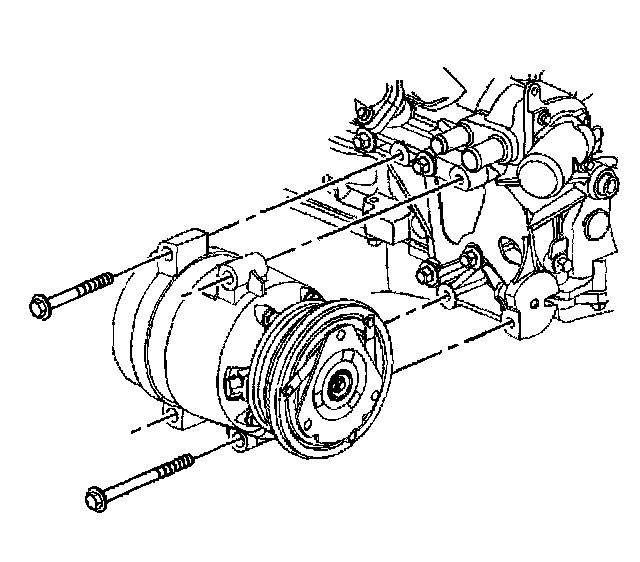
29. Install the A/C compressor.
30. Install the A/C compressor bolts.
^ Tighten the A/C compressor bolts to 50 Nm (37 ft. lbs.).
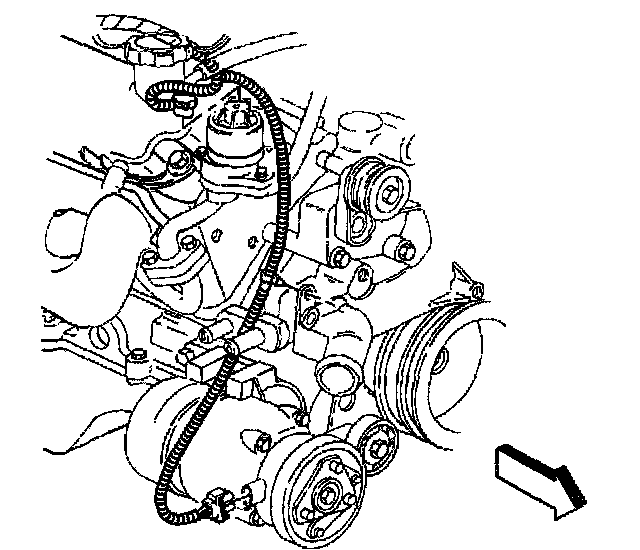
31. Connect the A/C compressor electrical connector.
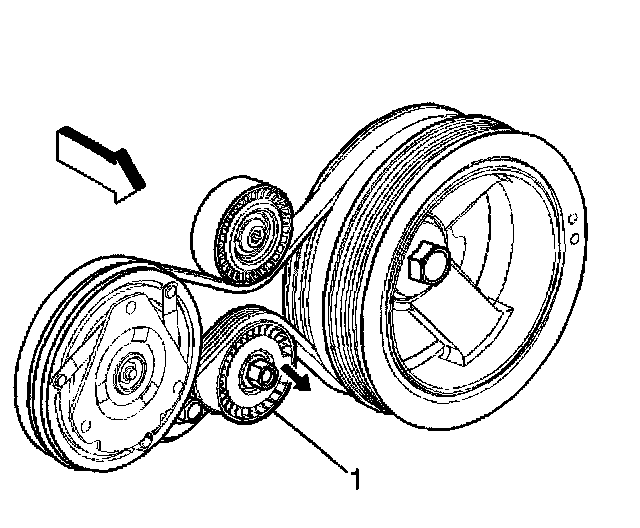
32. Route the A/C belt over the crankshaft balancer.
33. Rotate the A/C drive belt tensioner (1) clockwise to relieve the tension.
34. Install the drive belt between the idler and around the tensioner (1) and over the compressor pulley.
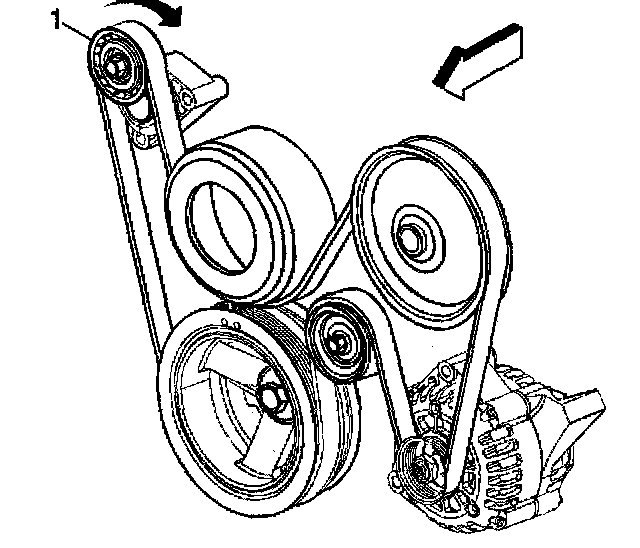
35. Route the drive belt around the pulleys.
36. Position a hex-head socket on the belt tensioner pulley (1) bolt.
37. Rotate the drive belt tensioner clockwise to relieve tension.
38. Install the drive belt around the tensioners.
39. Remove the straps from the crossmember to the J39580.
40. Lower the vehicle and install the engine and transmission to the vehicle.
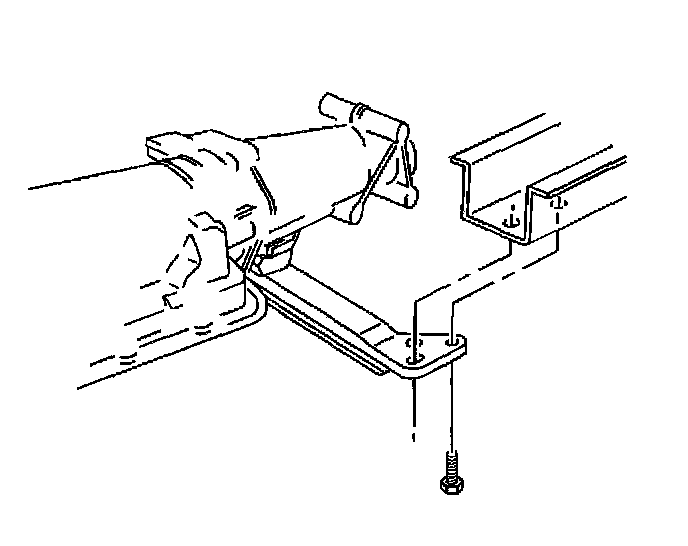
41. Install the transmission support bolts.
^ Tighten the transmission support bolts to 90 Nm (66 ft. lbs.).
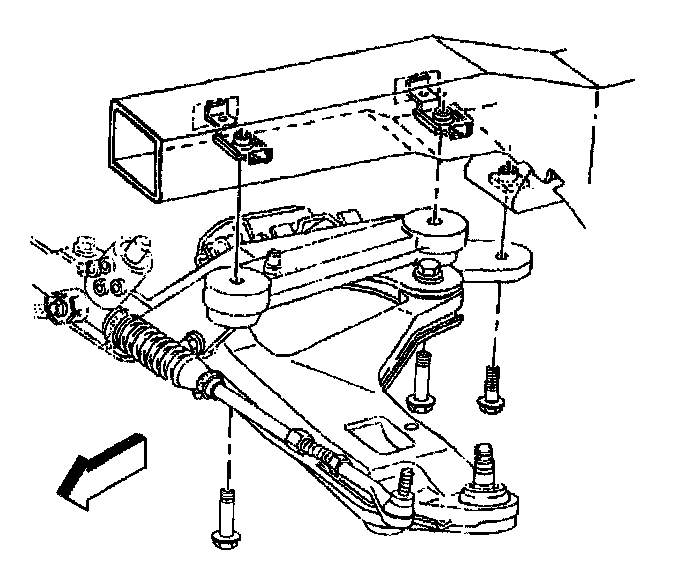
42. Install the front crossmember bolts.
^ Tighten the upper four crossmember bolts to 125 Nm (92 ft. lbs.).
^ Tighten the lower two crossmember bolts to 145 Nm (107 ft. lbs.).
43. Raise and suitably support the vehicle.
44. Remove the J39580 from below the vehicle.
45. Remove the support from both steering knuckles.
46. Install the upper control arm ball studs to the steering knuckles.
47. Install the upper control arm nuts to the left and right upper ball joints.
^ Tighten the upper control arm nuts to 53 Nm (39 ft. lbs.).
48. Install the cotter pins to the upper control arm nuts.
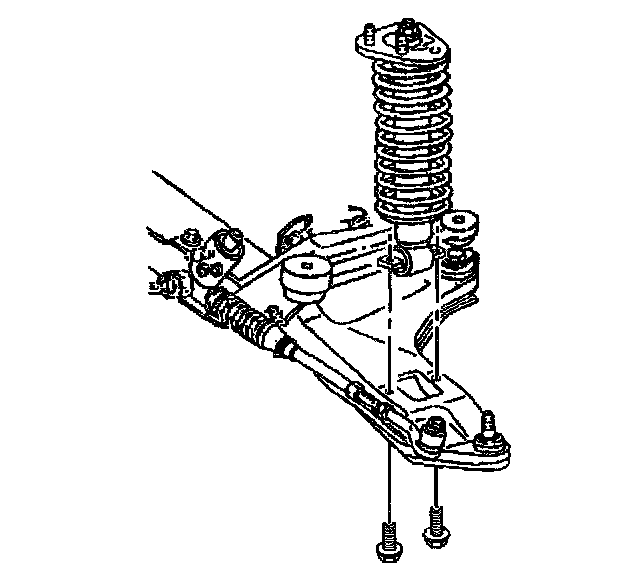
49. Install the right and left lower shock bolts to the lower control arms.
^ Tighten the shock bolts to 65 Nm (48 ft. lbs.).
50. Lower the vehicle.
51. Install the transmission control, if equipped.
52. Install the floor shift control, if equipped.
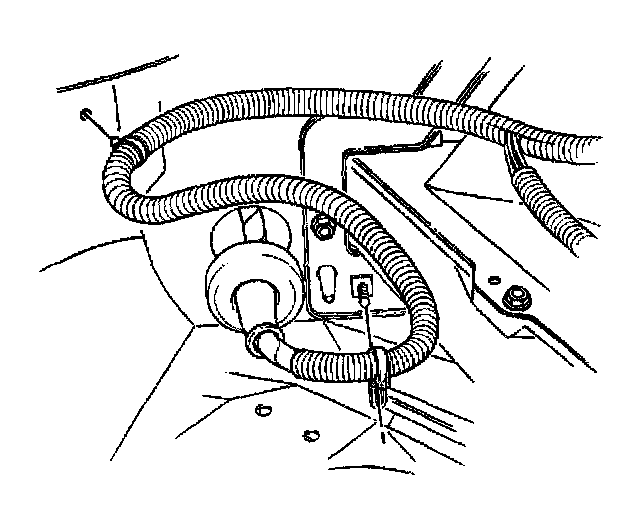
53. Install the engine wire harness through the front of dash.
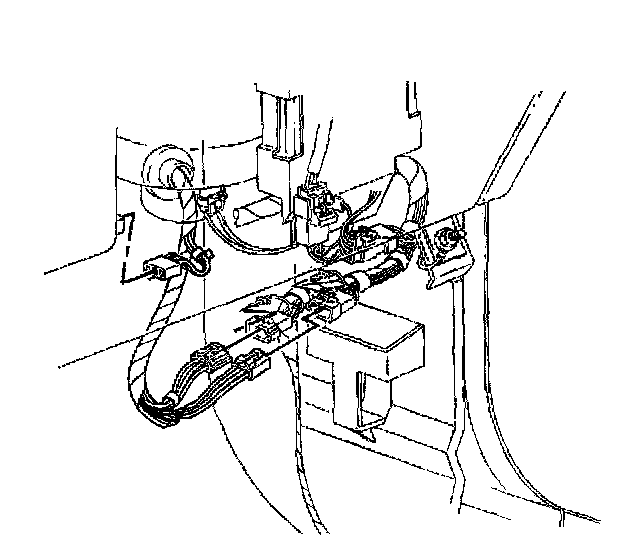
54. Connect the engine wiring harness to the instrument panel wiring harness.
55. Install the hinge pillar trim panel.
56. Install the right side insulator panel.
57. Install the PCM to the vehicle.
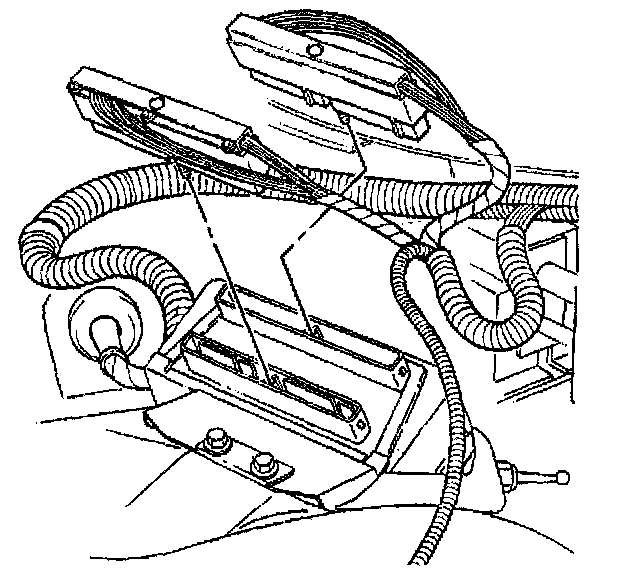
58. Connect the Powertrain Control Module (PCM) connectors.
^ Tighten the PCM connector bolts to 8 Nm (71 inch lbs.).
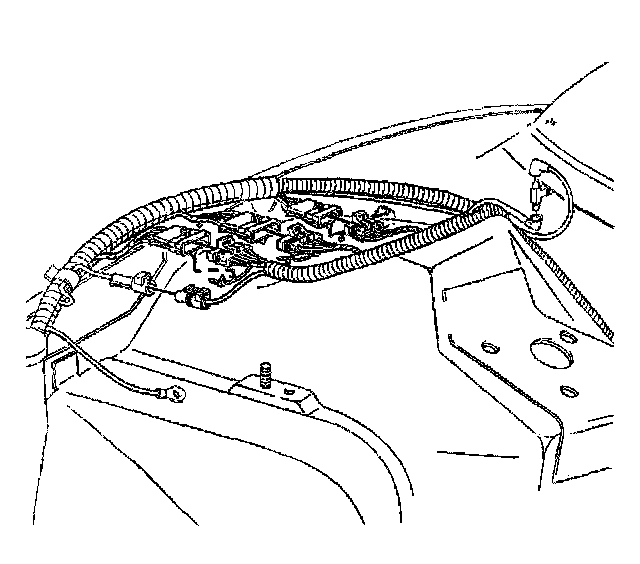
59. Connect the engine harness vacuum tube to the bottom of the vacuum check valve.
60. Connect the forward lamp harness to the engine harness.
61. Connect the secondary captured locks.
62. Install the front two brake pipes to the brake pressure modulator valve.
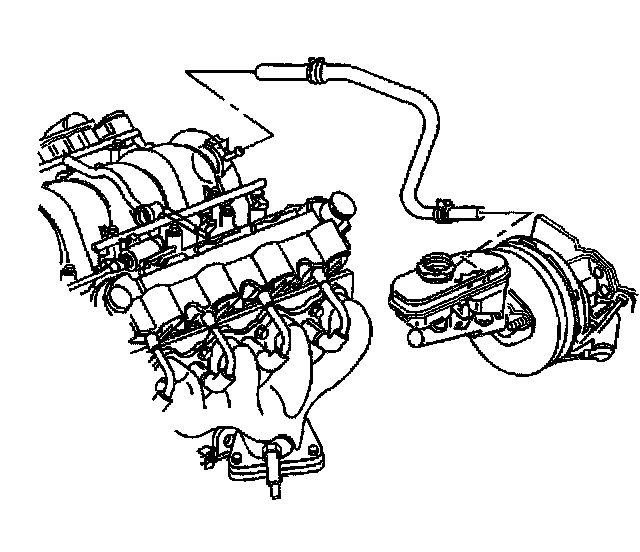
63. Install the brake booster vacuum hose.
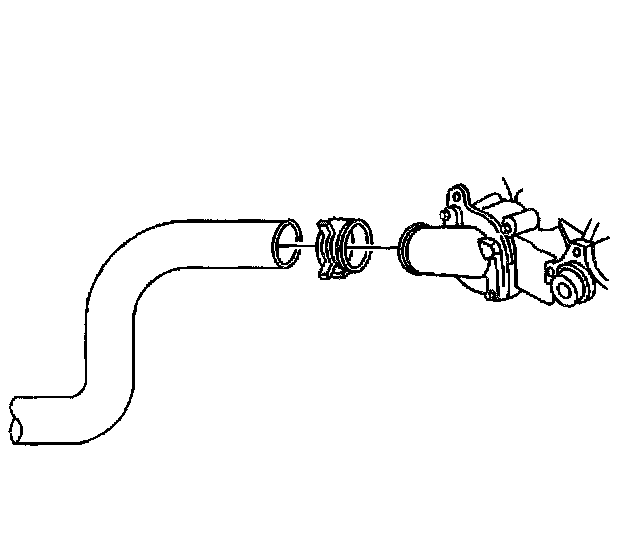
64. Install the outlet hose to the water outlet.
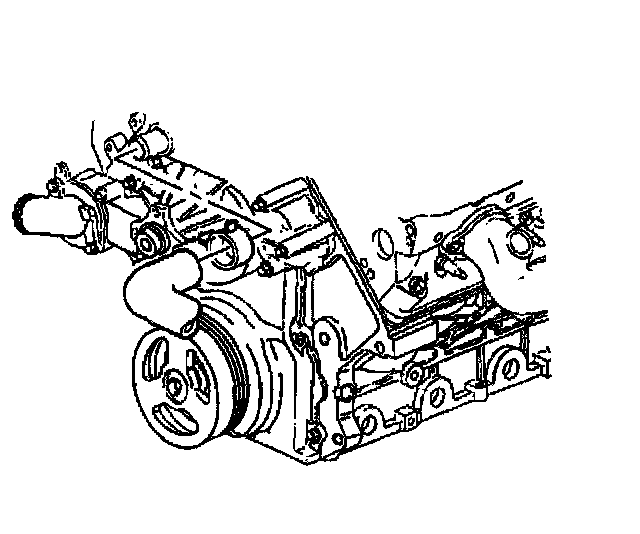
65. Install the inlet hose to the water pump.
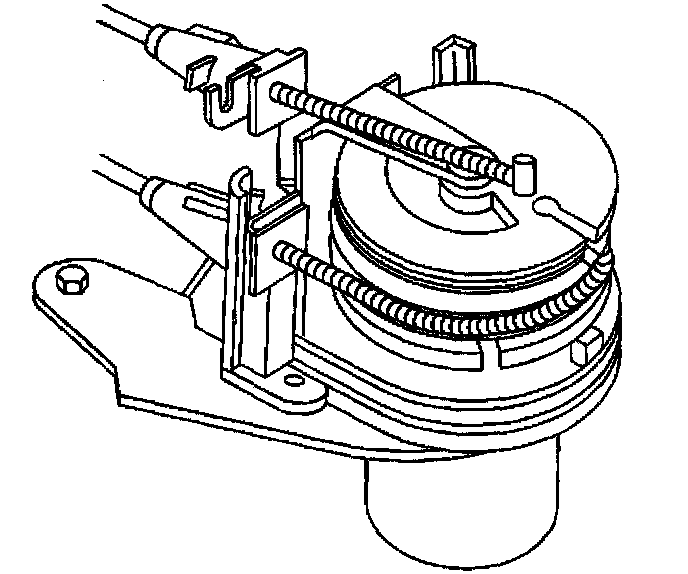
66. Install the cruise control and accelerator control cables to the servo adjuster, if equipped.
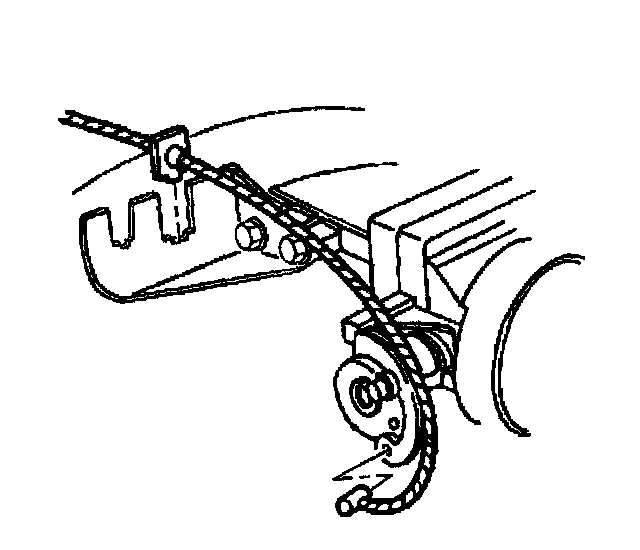
67. Install the accelerator and cruise control cable to the throttle body bracket.
68. Install the accelerator control cable to the throttle lever.
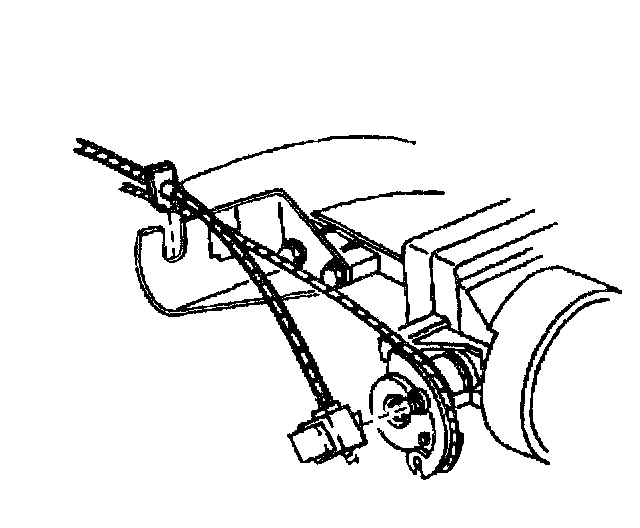
69. Install the cruise control cable to the throttle lever.
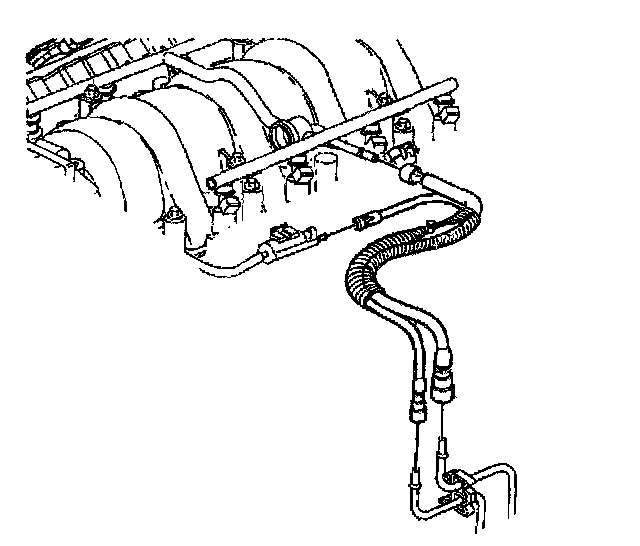
70. Connect the fuel feed pipe to the fuel rail.
71. Connect the fuel return pipe to the fuel rail.
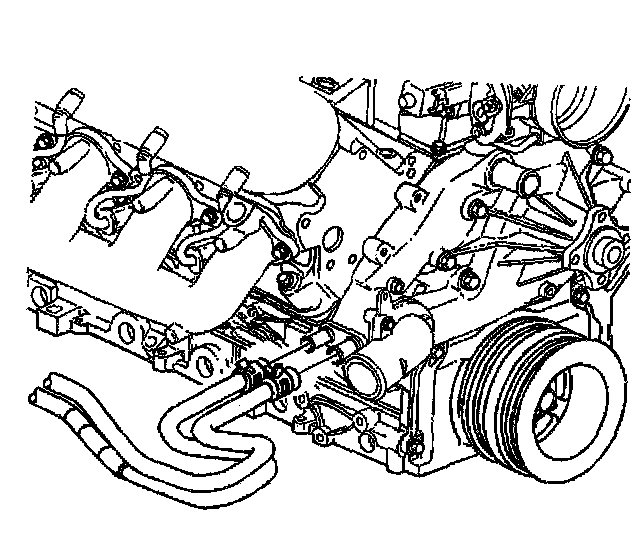
72. Install the inlet and outlet heater hoses to the water pump.
73. Install a new O-ring.
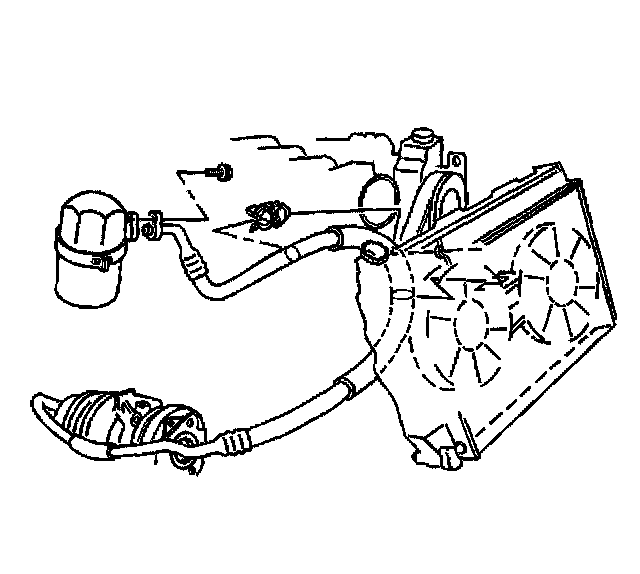
74. Install the A/C compressor and condenser hose bolt at the accumulator.
^ Tighten the A/C compressor and condenser hose bolt at the accumulator to 16 Nm (12 ft. lbs.).
75. Raise and suitably support the vehicle.
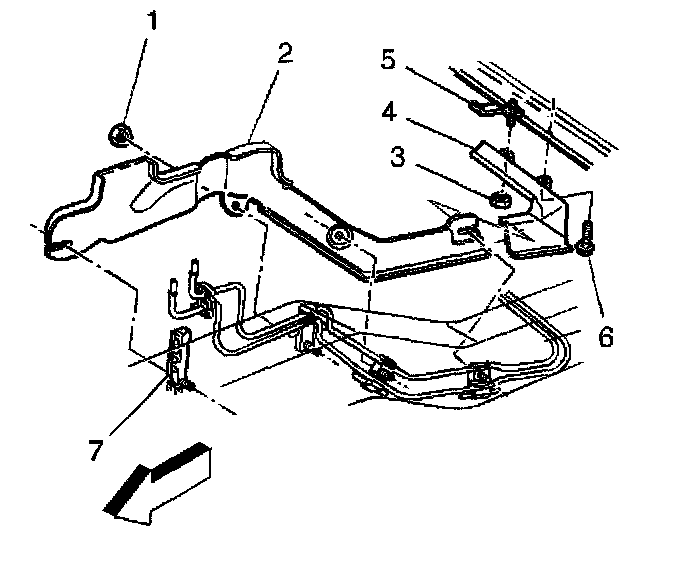
76. Connect the brake lines to the brake pipe clip.
77. Install the front fuel pipe heat shield (2).
78. Install the front fuel pipe heat shield nuts (1).
^ Tighten the front fuel pipe heat shield nuts (1) to 5 Nm (44 inch lbs.).
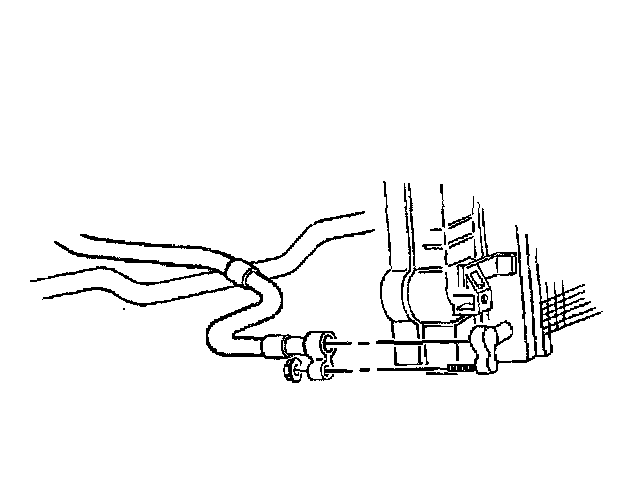
79. Install a new O-ring.
80. Install the A/C compressor and condenser hose nut at the condenser.
^ Tighten the A/C compressor and condenser hose nut at the condenser to 16 Nm (12 ft. lbs.).
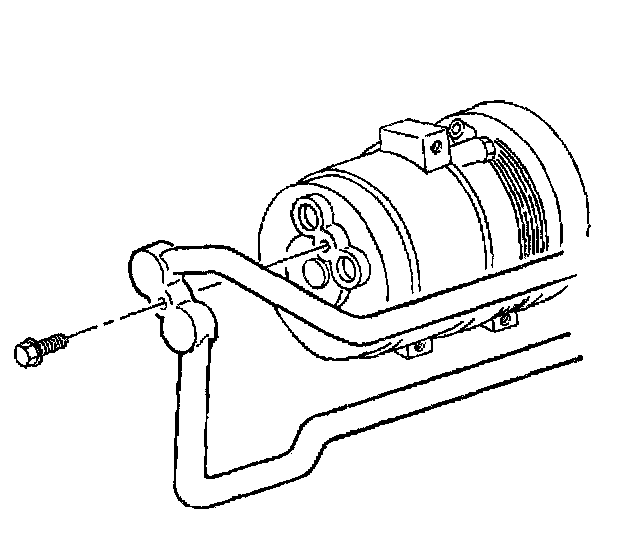
81. Install a new O-ring.
82. Install the A/C compressor and condenser hose bolt.
^ Tighten the A/C compressor and condenser hose bolt to 33 Nm (24 ft. lbs.).
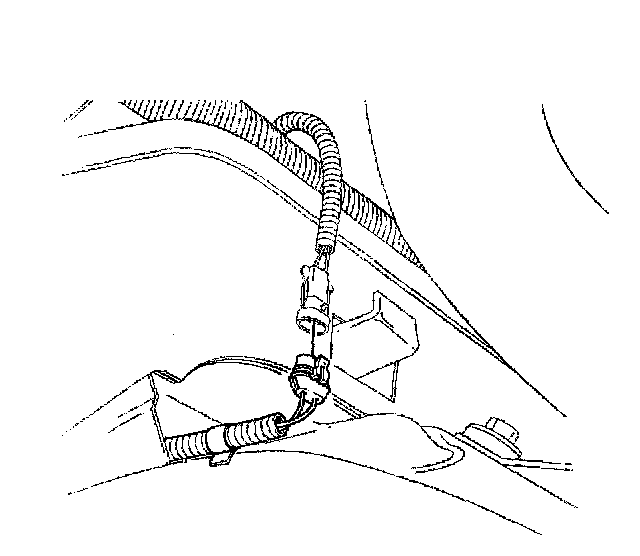
83. Connect the wheel speed sensors electrical connectors.
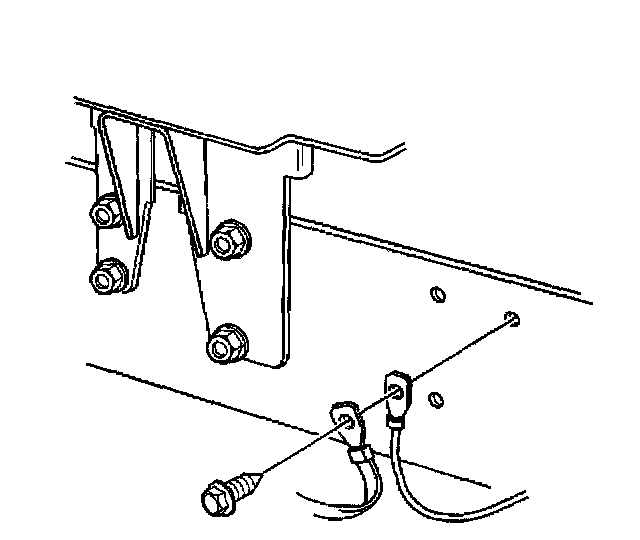
84. Install the RF (Radio Frequency) ground strap and cruise control ground lead from the front rail.
85. Install the wiring harness ground bolt.
^ Tighten the wiring harness ground bolt to 12 Nm (106 inch lbs.).
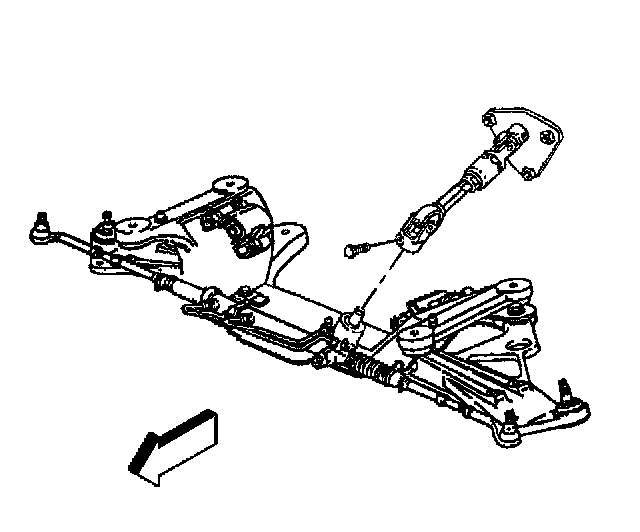
86. Install the intermediate steering shaft and shaft bolt to the rack.
^ Tighten the intermediate steering shaft bolt to 47 Nm (35 ft. lbs.).
87. Install the stabilizer bar brackets.
88. Install the stabilizer bar bracket bolts.
^ Tighten the stabilizer bar bracket bolts to 55 Nm (41 ft. lbs.).
89. Install the left side front air deflector.
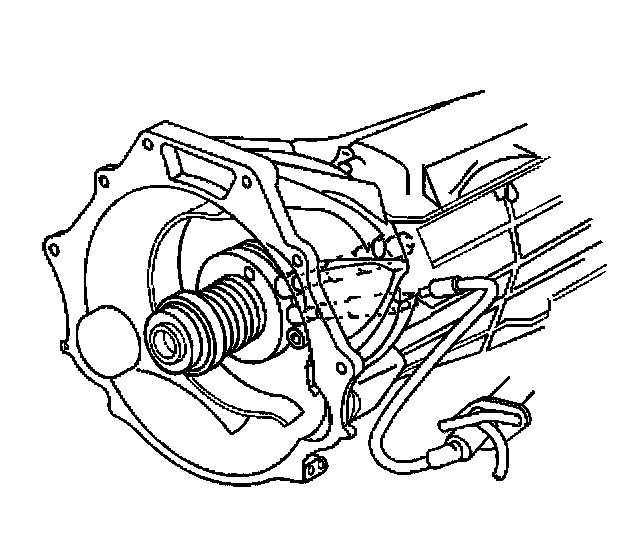
90. On vehicles equipped with a manual transmission, connect the clutch actuator cylinder line to the actuator cylinder.
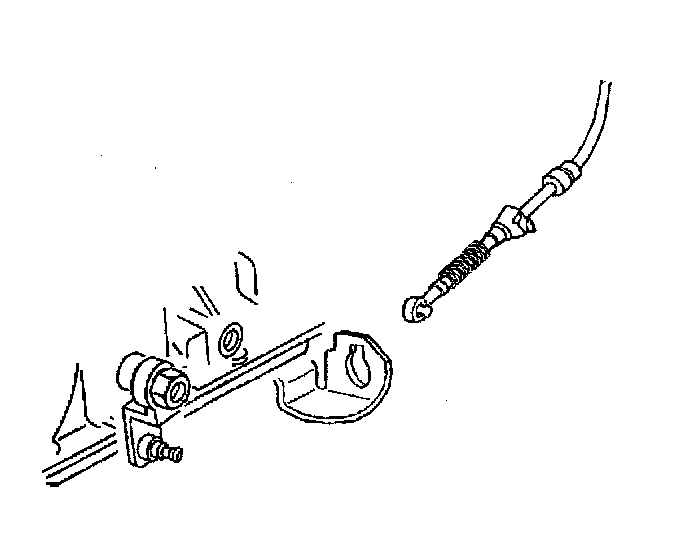
91. On vehicles equipped with a automatic transmission, install the range selector lever cable to the cable bracket.
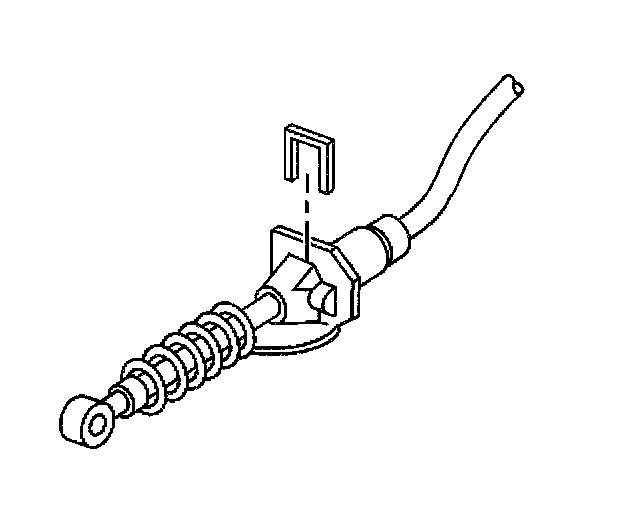
92. Install the retainer to the range selector lever cable.
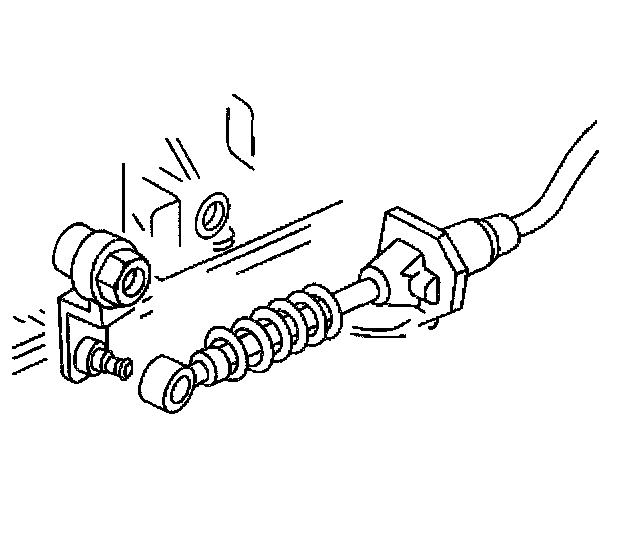
93. Snap the transmission range selector lever cable to the range selector lever at the transmission.
94. Install the starter motor.
95. Install the torque arm.
96. Install the propeller shaft.
97. Install the right side oxidation catalytic converter.
98. Install the front wheels.
99. Lower the vehicle.
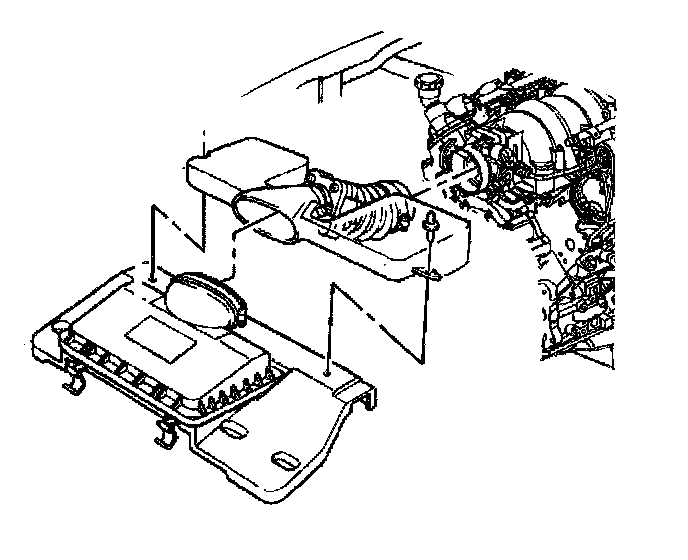
100. Install the air intake duct resonator.
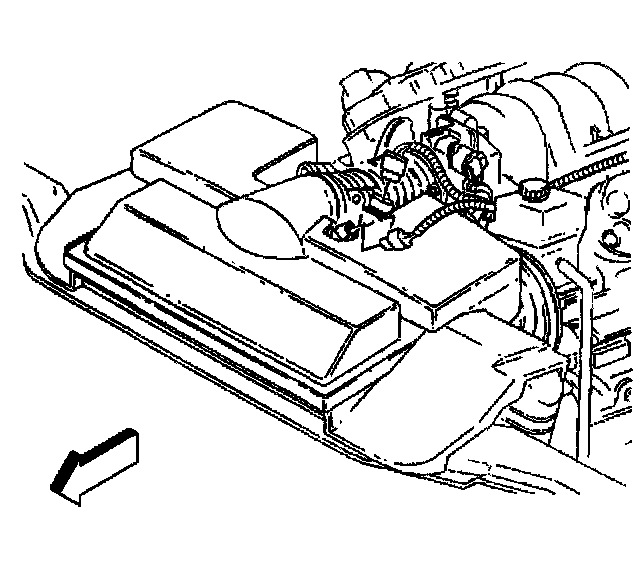
101. Connect the Intake Air Temperature (IAT) sensor electrical connector.
102. Connect the Mass Airflow (MAF) sensor electrical connector.
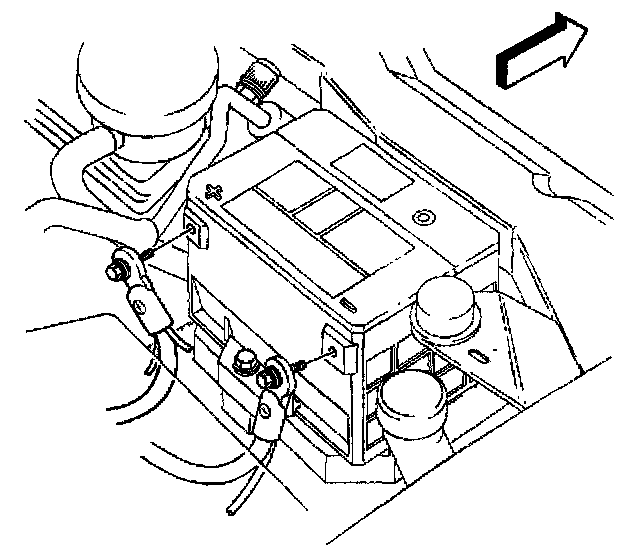
103. Connect the positive battery cable.
104. Refill the engine oil.
105. Refill the transmission fluid.
106. Refill the engine coolant.
107. Recharge the refrigerant.
108. Bleed the brakes.
109. Bleed the clutch hydraulic system.
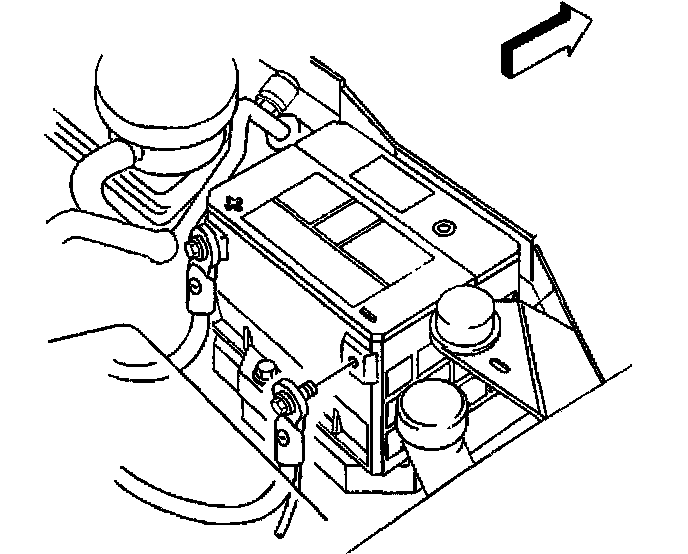
110. Connect the negative battery cable.