Oil Pan: Service and Repair
REMOVAL PROCEDURE^ Tools Required
- J41044 Engine Support Adapters
- J42451 Engine Support Adapter Kit
- J28467-B Universal Support Fixture
- J36462-A Engine Support Adapter Leg
IMPORTANT: DO NOT reuse the oil pan gasket. The original oil pan gasket is retained and aligned to the oil pan by rivets. When installing a new gasket, it is not necessary to rivet the gasket to the oil pan.
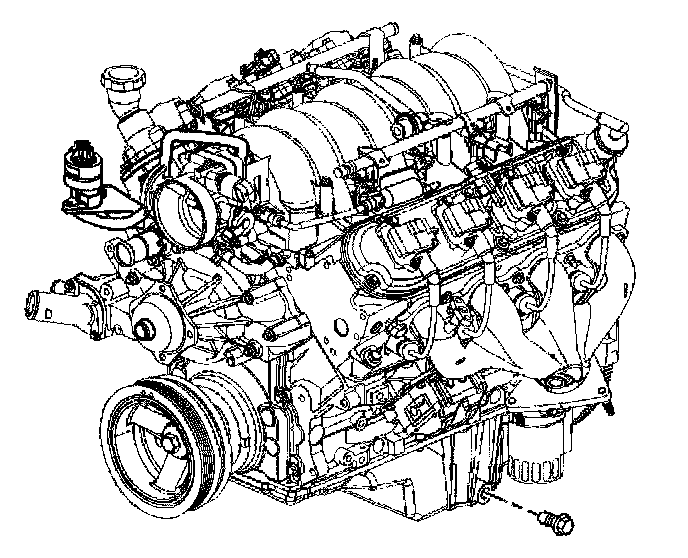
1. Support the engine using J41044, J42451, J28467-8 and J36462-A.
2. Raise and suitably support the vehicle.
3. Remove the oil drain plug.
4. Drain the engine oil.
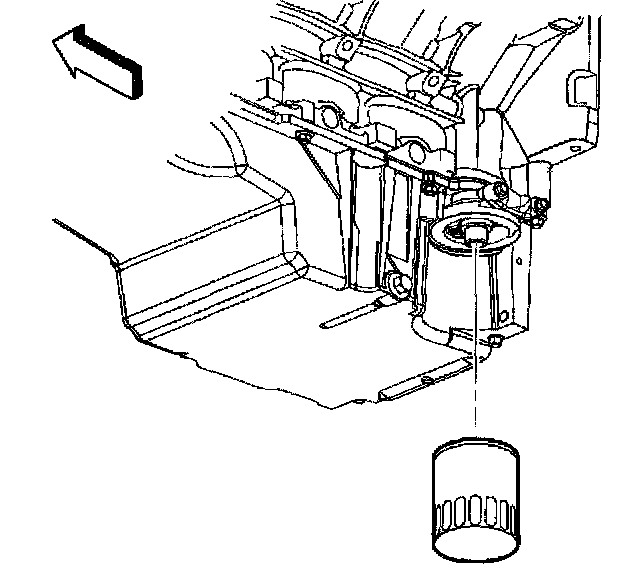
5. Remove the oil filter.
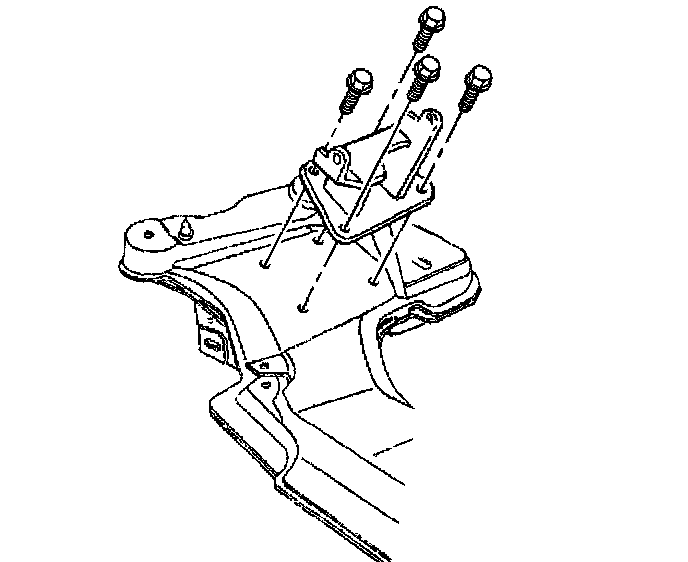
6. Remove the right side engine mount to cradle bolts.
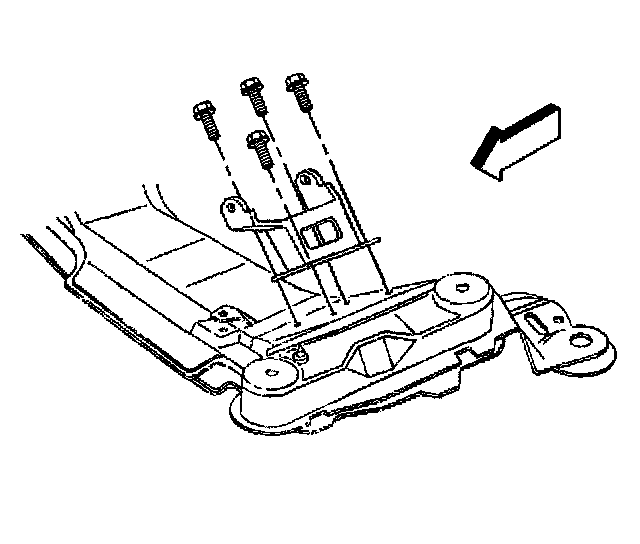
7. Remove the left side engine mount to cradle bolts.
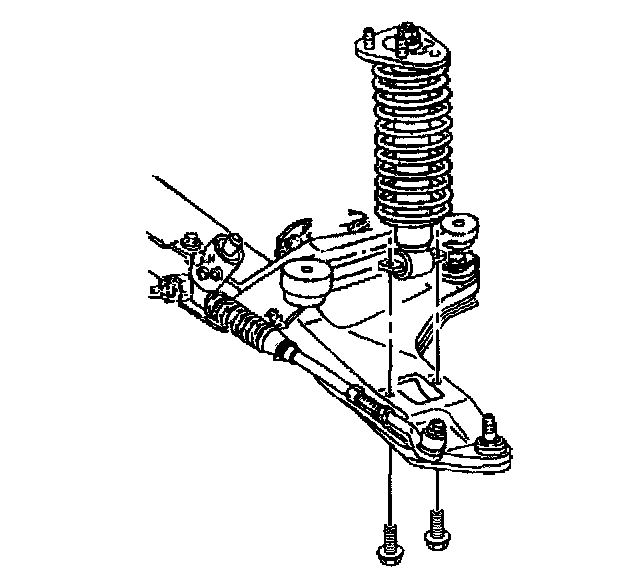
8. Remove the right and left lower shock bolts.
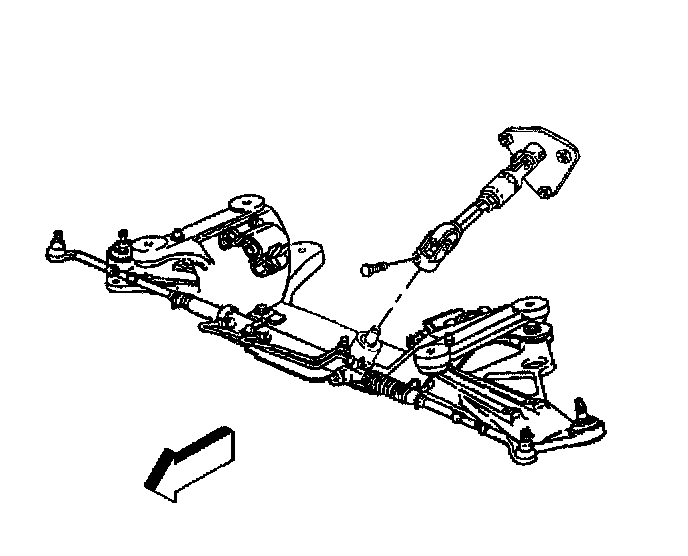
9. Remove the intermediate steering shaft bolt.
10. Support the engine cradle using adjustable jack stands.
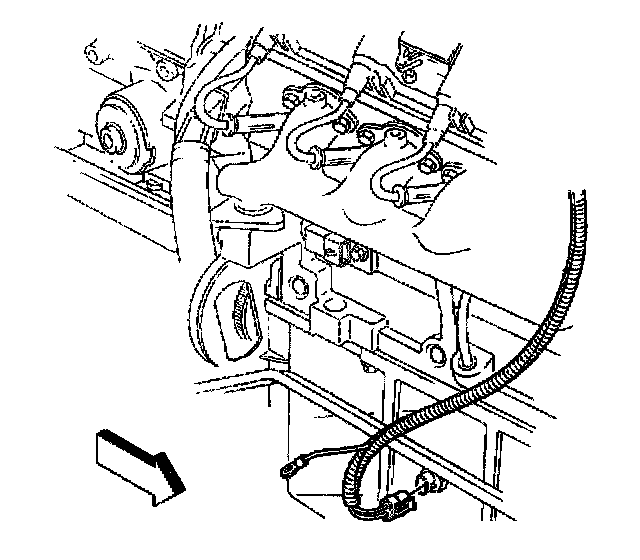
11. Disconnect the oil level sensor connector, if required.
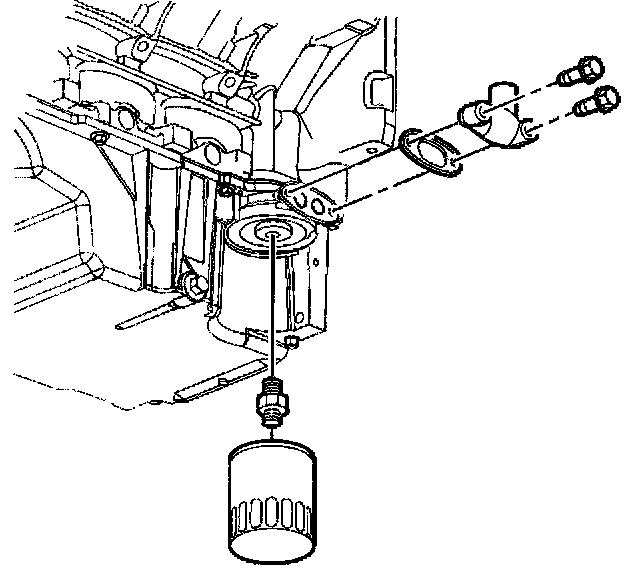
12. Remove the oil level sensor from the oil pan, if required.
13. Remove the starter motor.
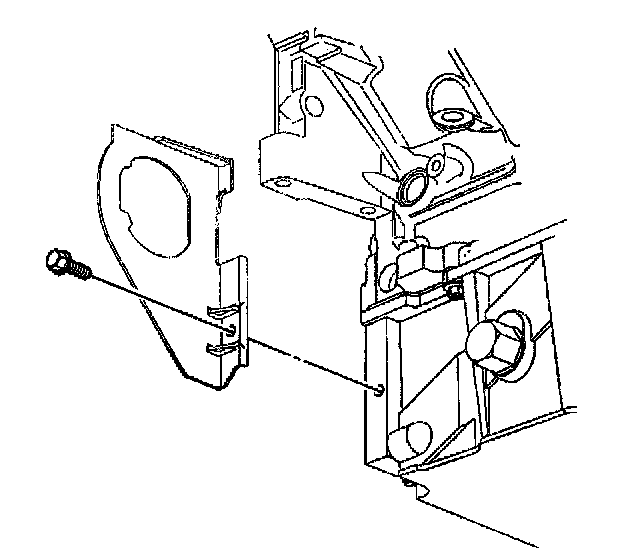
14. Remove the right side closeout and bolt.
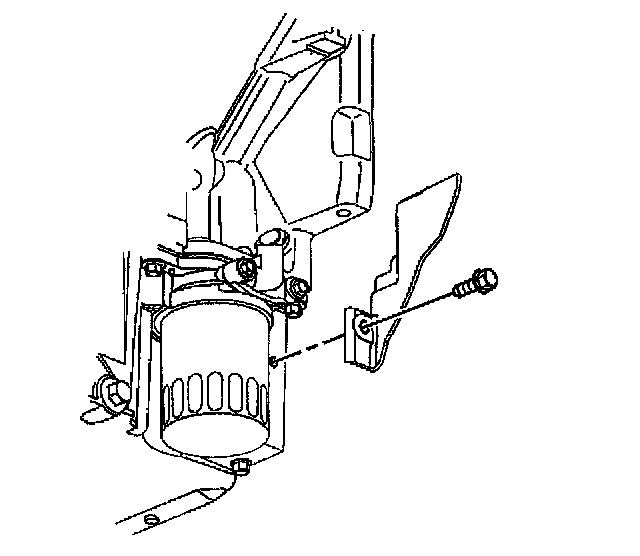
15. Remove the left side closeout and bolt.
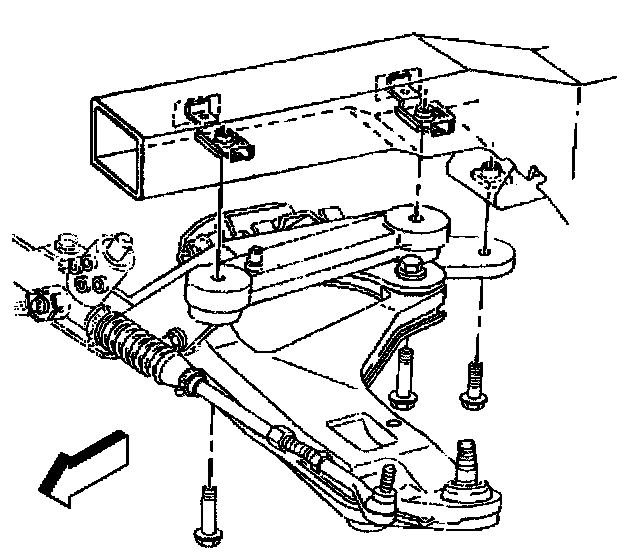
16. Loosen the six cradle bolts three or four turns.
17. Lower the cradle slightly using the adjustable jack stands.
18. It may be necessary to also raise the engine using the engine support fixture.
19. Remove the bottom two transmission bellhousing bolt.
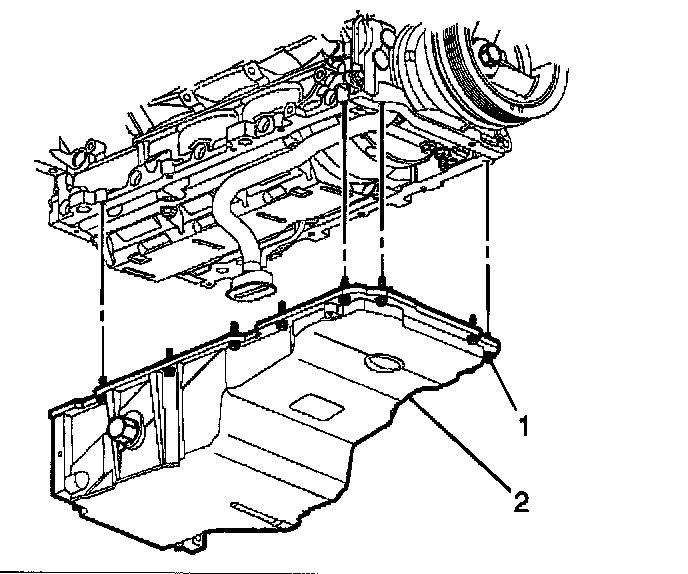
20. Remove the oil pan bolts (1).
21. Lower the oil pan, position the pan until it can be removed from around the pickup screen.
IMPORTANT: DO NOT allow foreign material to enter the oil passages of the oil pan, cap or cover the openings as required.
22. Use care not to gouge, score, or damage the oil pan sealing surface.
23. Remove the oil pan gasket rivets and gasket from the oil pan (2).
24. Discard the old gasket and rivets.
INSTALLATION PROCEDURE
IMPORTANT: The alignment of the structural oil pan is critical. The rear bolt hole locations of the oil pan provide mounting points for the transmission bellhousing. To ensure the rigidity of the powertrain and correct transmission alignment, it is important that the rear of the block and the rear of the oil pan must NEVER protrude beyond the engine block and transmission bellhousing plane.
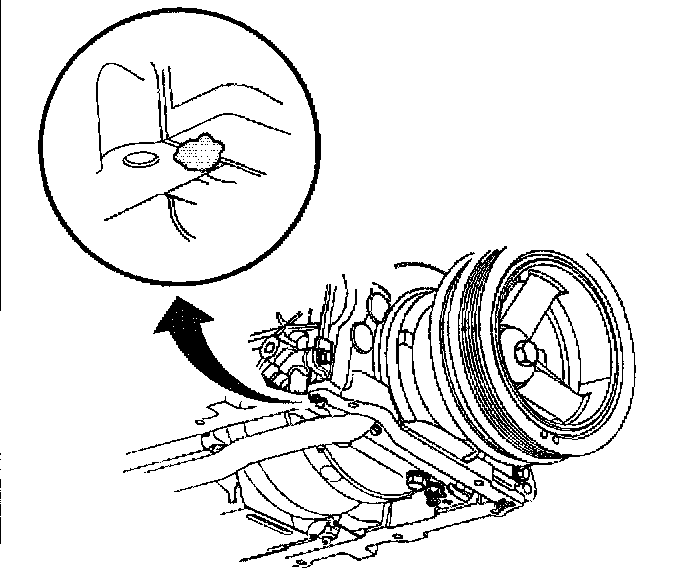
1. Apply a 5 mm (0.20 inch) bead of sealant GM P/N 12378190 or equivalent 20 mm (0.80 inch) long to the oil pan to engine block junction.
2. Apply the sealant directly onto the tabs of the front cover gasket that protrudes into the oil pan surface.
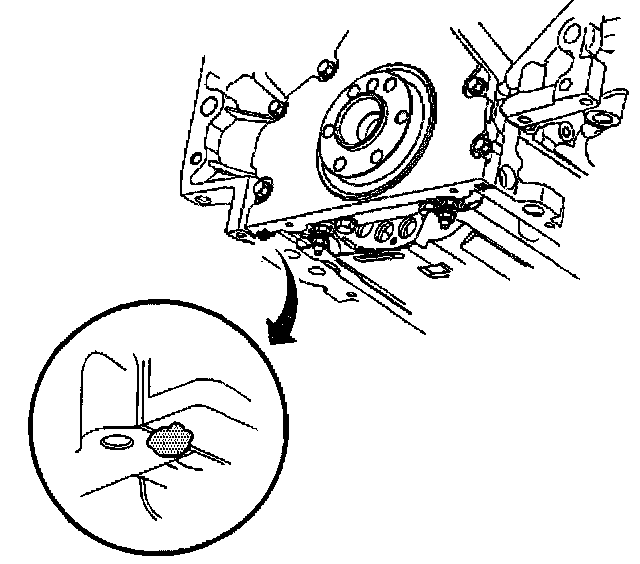
3. Apply a 5 mm (0.20 inch) bead of sealant GM P/N 12378190 or equivalent 20 mm (0.80 inch) long to the oil pan to engine block junction.
4. Apply the sealant directly onto the tabs of the front cover gasket that protrudes into the oil pan surface.
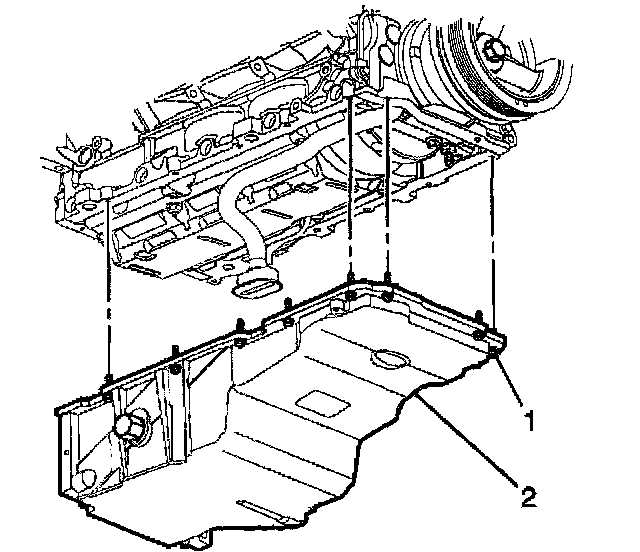
5. Pre-assemble the oil pan gasket to the pan (2).
^ Install the gasket onto the pan (2).
^ Install the oil pan bolts (1) to the pan through the gasket.
6. Install the oil pan (2), gasket and bolts (1) to the engine block
7. Snug the oil pan bolts finger tight. Do not overtighten.
8. Install the two lower bellhousing bolts to position the oil pan correctly.
NOTICE: Refer to Fastener Notice in Service Precautions.
9. Snug the lower bellhousing bolts finger tight. Do not overtighten.
9.1. Tighten the oil pan-to-block and oil pan-to-front cover bolts to 25 Nm (18 ft. lbs.).
9.2. Tighten the oil pan-to-rear cover bolts to 12 Nm (106 inch lbs.).
9.3. Tighten the bellhousing bolts to 50 Nm (37 ft. lbs.).
10. Raise the engine cradle and/or if necessary, lower the engine.
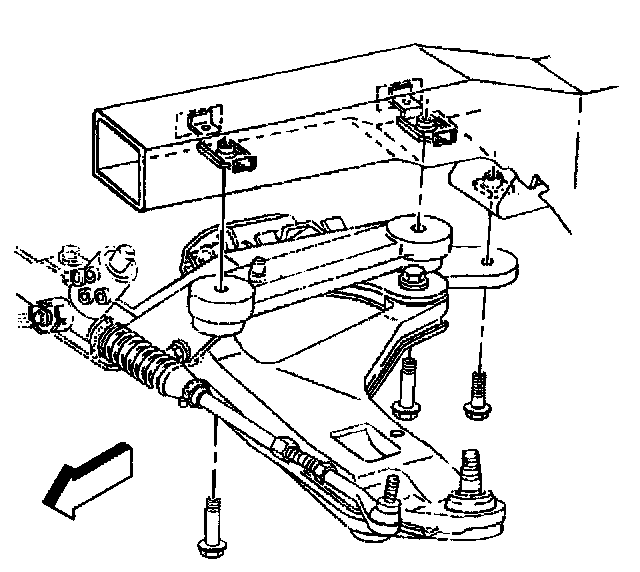
11. Tighten the cradle bolts.
^ Tighten the upper four cradle bolts to 125 Nm (92 ft. lbs.).
^ Tighten the lower two cradle bolts to 145 Nm (107 ft. lbs.).
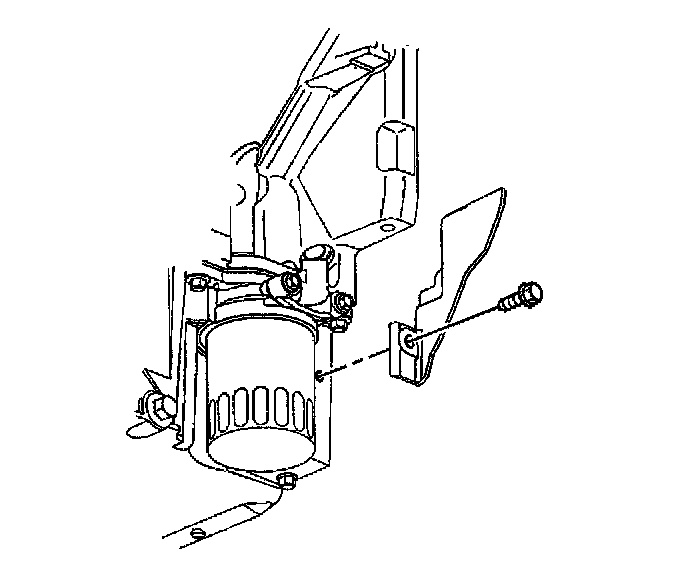
12. Install the left side closeout and bolt.
^ Tighten the left side closeout bolt to 12 Nm (106 inch lbs.).
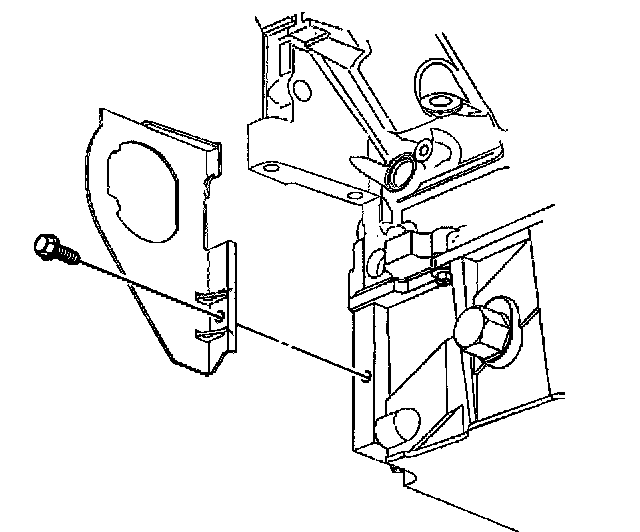
13. Install the right side closeout and bolt.
^ Tighten the right closeout bolt to 12 Nm (106 inch lbs.).
14. Install the starter motor.
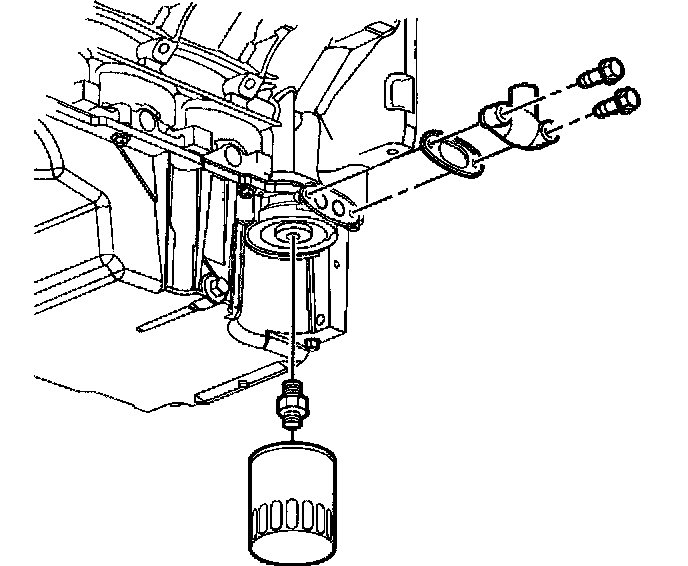
15. Install the oil level sensor to the oil pan.
^ Tighten the oil level sensor to 35 Nm (26 ft. lbs.).
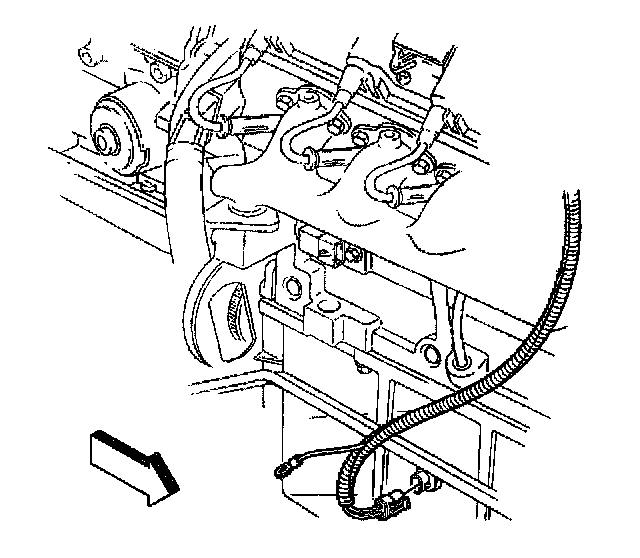
16. Connect the oil level sensor electrical connector.
17. Remove the adjustable jack stands.
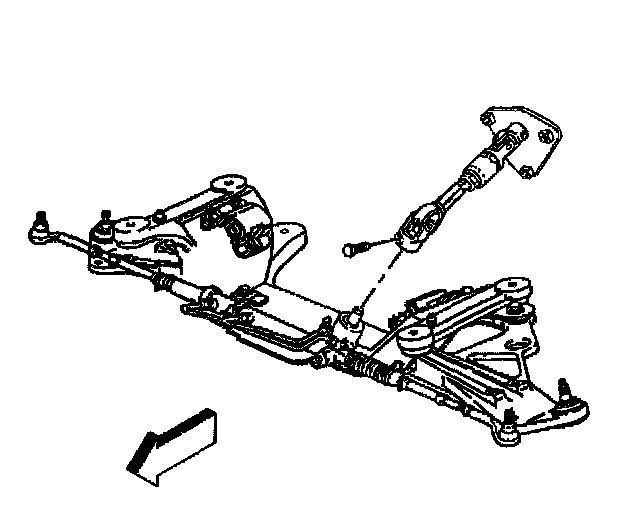
18. Connect the intermediate steering shaft bolt.
^ Tighten the intermediate shaft bolt to 47 Nm (35 ft. lbs.).
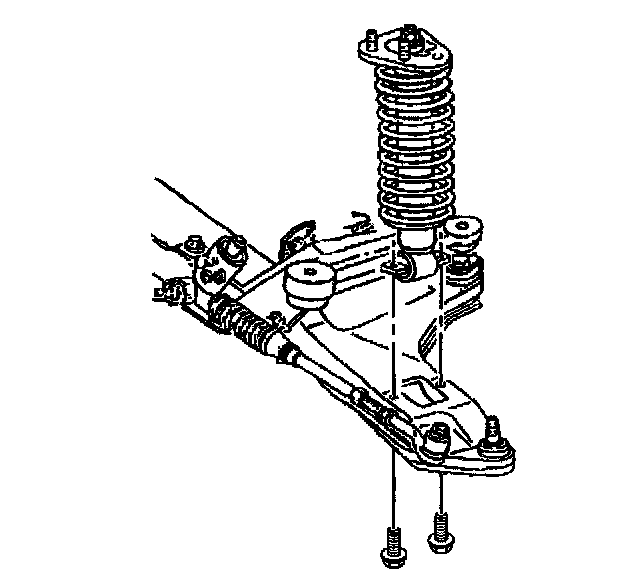
19. Install the right and left lower shock bolts.
^ Tighten the shock bolts to 65 Nm (48 ft. lbs.).
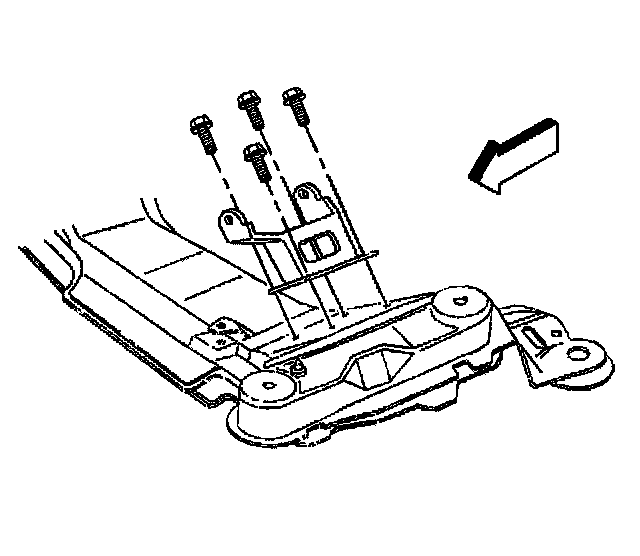
20. Install the left side engine mount cradle bolts
^ Tighten the engine mount to cradle bolts to 58 Nm (43 ft. lbs.).
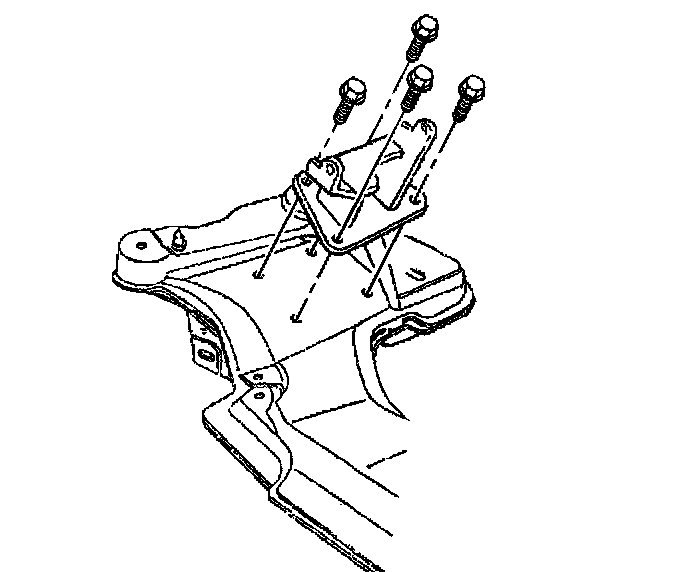
21. Install the right side engine mount cradle bolts.
^ Tighten the right side engine mount cradle bolts to 58 Nm (43 ft. lbs.).
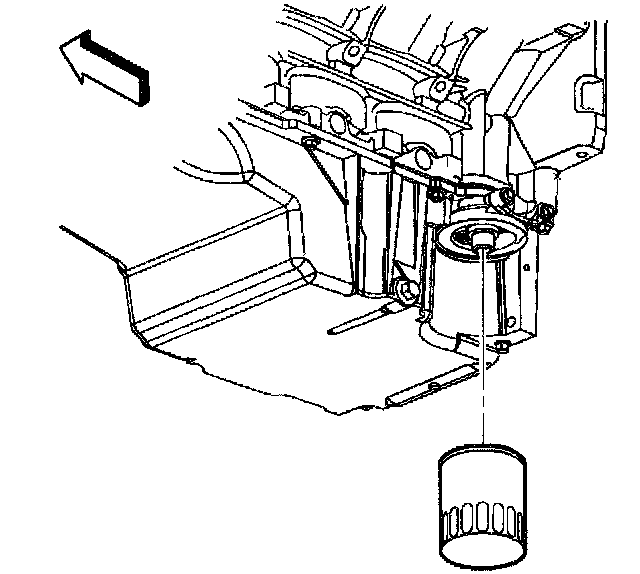
22. Install the oil filter.
^ Tighten the oil filter to 30 Nm (22 ft. lbs.).
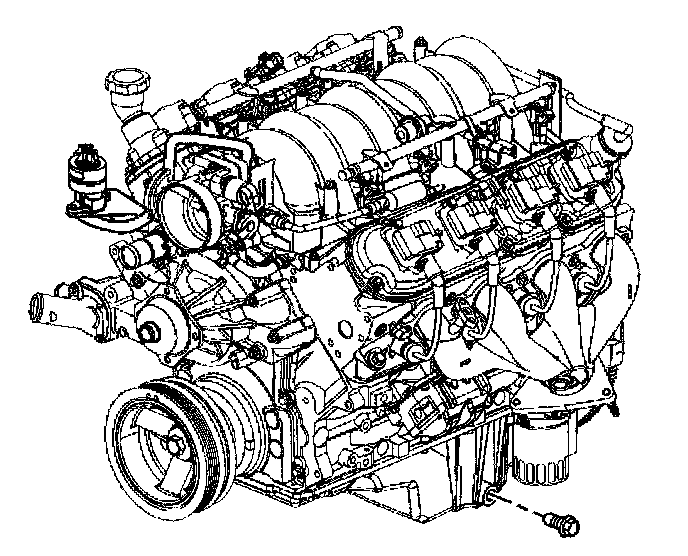
23. Install the oil drain plug.
^ Tighten the oil drain plug to 25 Nm (18 ft. lbs.).
24. Lower the vehicle.
25. Remove the J41044, J4245 1, J28467-B and J36462-A.
26. Refill the engine with oil.