Center Pillar Upper Trim Panel Replacement
WARNING: This page is about a different car, the 2016 Cadillac CTS. However, it is still accessible from the selected car via links, so may be relevant.
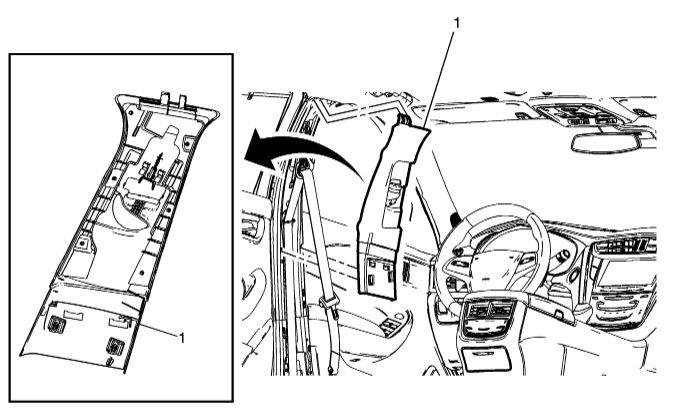 Courtesy of GENERAL MOTORS COMPANY
| Callout |
Component Name |
|
Preliminary Procedures
- Remove the center pillar lower trim panel. Refer to Center Pillar Lower Trim Panel Replacement .
- Remove the seat belt tensioner fastener and feed the seat belt through the center pillar upper trim panel. Refer to Front Seat Belt Anchor Plate Tensioner Replacement
.
- Move the driver or passenger seat to the full forward position.
- Partially remove door weather strip seals to clear either side of trim panel.
|
| 1 |
Center Pillar Upper Trim Panel Assembly Procedure
- Set upper trim seat belt height adjuster to full lower position.
- Starting at the bottom, gently pull on the center pillar upper trim panel to disengage the retaining clips.
- Set the new trim panel seat belt height adjuster to full lower position and feed the seat belt through the panel prior to installation.
- Check the seat belt guide adjuster in both directions:
- Lower direction: seat belt guide adjuster has to lock into place and can only unlock with the releasing device.
- Upper direction: continuously adjustable without releasing device.
- Verify seat belt operation for ease of effort, smooth retraction and D-ring swivel in upper and lower positions.
|