Radio Volume Compensator Interior Noise Microphone Replacement (Headliner)
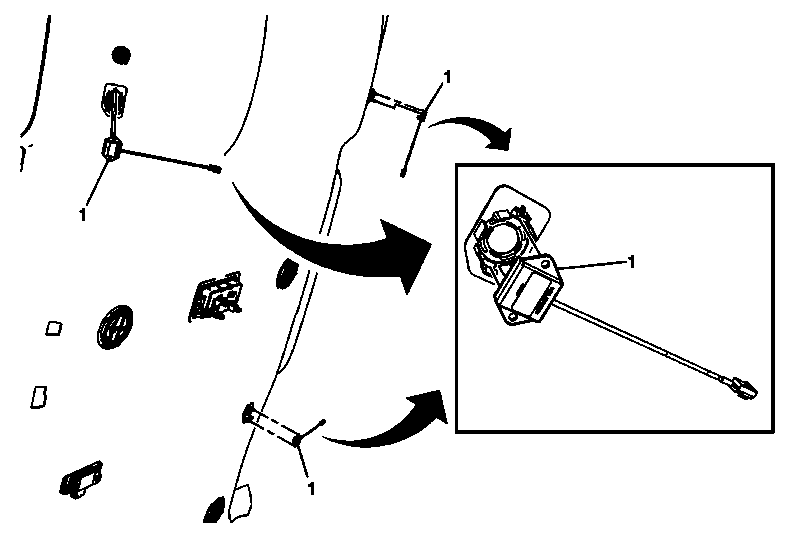 Courtesy of GENERAL MOTORS COMPANY
 Radio Volume Compensator Interior Noise Microphone Replacement (Headliner)
| Callout |
Component Name |
Preliminary Procedure
Lower the front or rear of the headlining trim panel enough to gain access to the microphone. Refer to Headlining Trim Panel Replacement (LWB w/U42 w/o CF5)
, Headlining Trim Panel Replacement (LWB w/CJ2)
, Headlining Trim Panel Replacement (SWB w/o CF5 and U42)
, Headlining Trim Panel Replacement (LWB w/CJ3)
, Headlining Trim Panel Replacement (Avalanche/Escalade EXT w/CF5 w/o U42)
, Headlining Trim Panel Replacement (SWB w/CF5 w/o U42)
, Headlining Trim Panel Replacement (Avalanche/Escalade EXT w/U24 w/o CF5)
, Headlining Trim Panel Replacement (LWB w/CF5 and U42)
, Headlining Trim Panel Replacement (Avalanche/Escalade EXT w/CF5 and U42)
, Headlining Trim Panel Replacement (Avalanche/Escalade EXT w/CJ3)
, Headlining Trim Panel Replacement (SWB w/CF5 and U42)
, Headlining Trim Panel Replacement (SWB w/U42 w/o CF5)
, Headlining Trim Panel Replacement (LWB w/CF5 w/o U42)
, Headlining Trim Panel Replacement (SWB w/CJ3)
, Headlining Trim Panel Replacement (Avalanche w/CJ2 w/o CF5 and U42) |
| 1 |
Radio Volume Noise Compensator Interior Noise Microphone (Qty: 3)
- Disconnect the electrical connector.
- Note the foam position around the front of the microphone and the center foam plug over the top of the microphone to ensure proper installation.
- Remove the foam plug from the top of the microphone and large foam patch from around the microphone.
- Unsnap the microphone from the grille assembly bracket.
|