Installation Procedure
- Transfer the string to either end of the new hood release cable.
 Courtesy of GENERAL MOTORS COMPANY
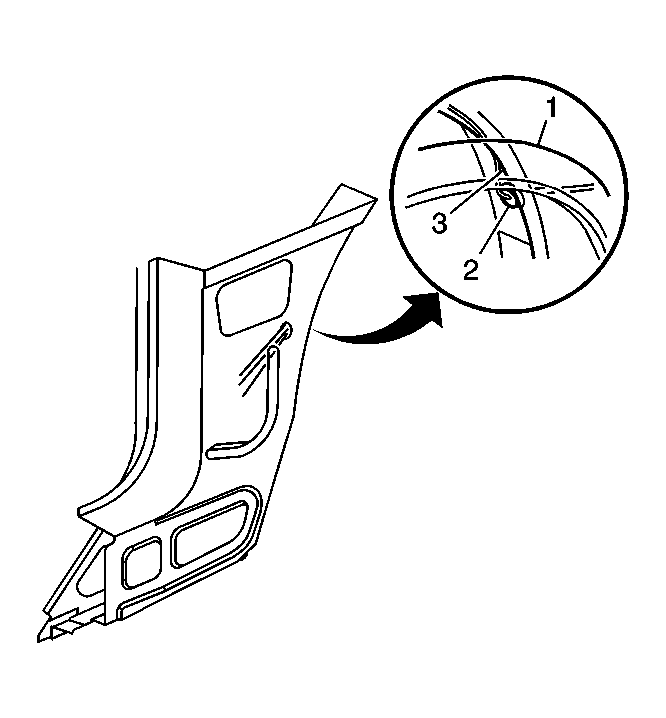
- Route the string and the hood release cable into the passenger compartment.
- Remove the string from the hood release cable.
- Seat the hood release cable grommet into the wheel opening.
 Courtesy of GENERAL MOTORS COMPANY
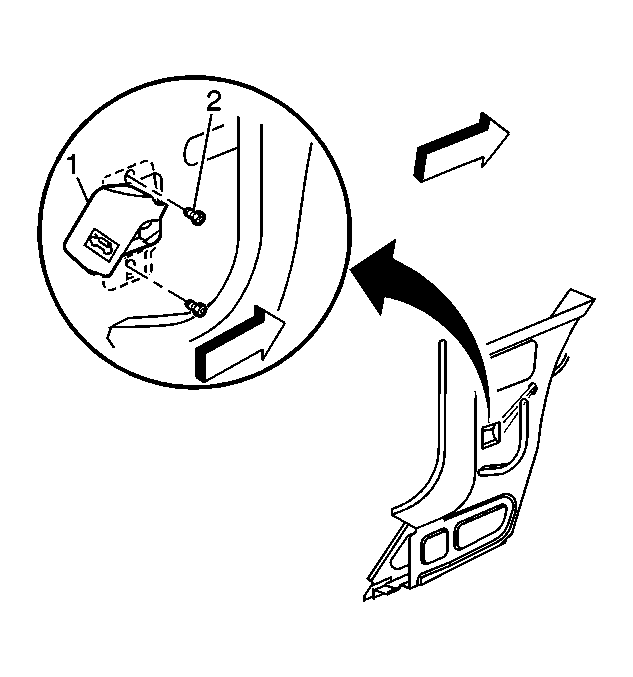
- Connect the hood release cable to the hood release handle (1).
- Install the fasteners (2) in order to secure the hood release handle (1) to the vehicle.
- Pull the string and the hood release cable into the engine compartment.
- Remove the string from the hood release cable.
 Courtesy of GENERAL MOTORS COMPANY
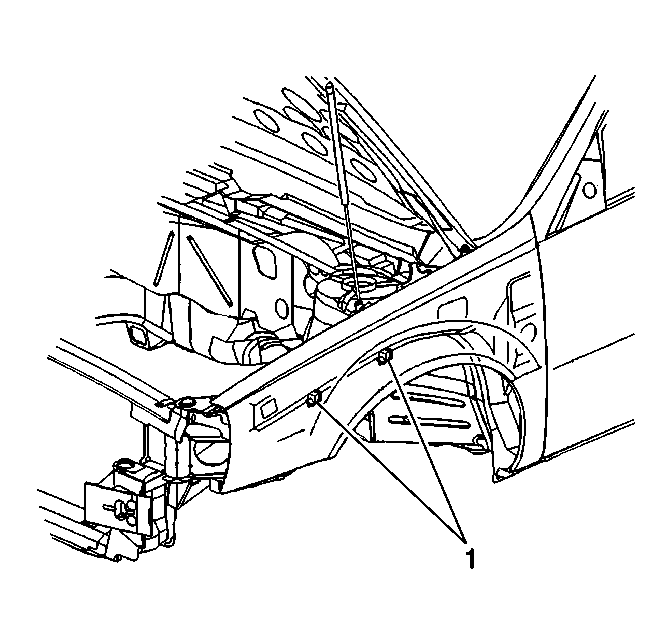
- Position the hood release cable in the clips (1) and close the clips.
- Install the front wheelhouse liner. Refer to Front Wheelhouse Liner Replacement
.
- Install the hood latch. Refer to Hood Primary and Secondary Latch Replacement .
- Close the hood.