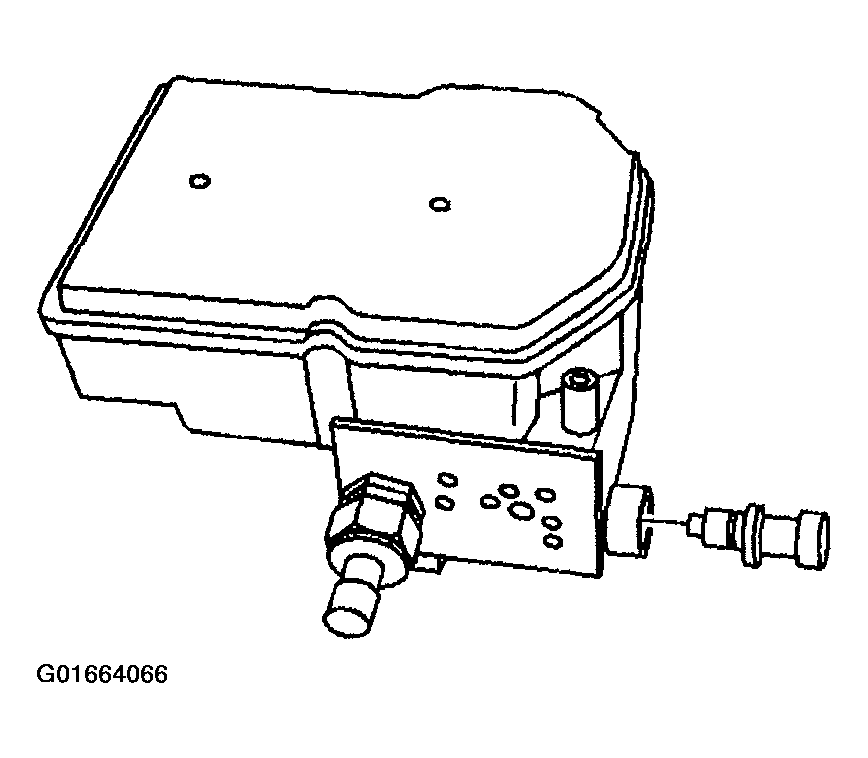
- Install the pressure accumulator switch to the BPMV. Tighten the switch to 3 N.m (30 lbs in).
 Courtesy of GENERAL MOTORS CORP.
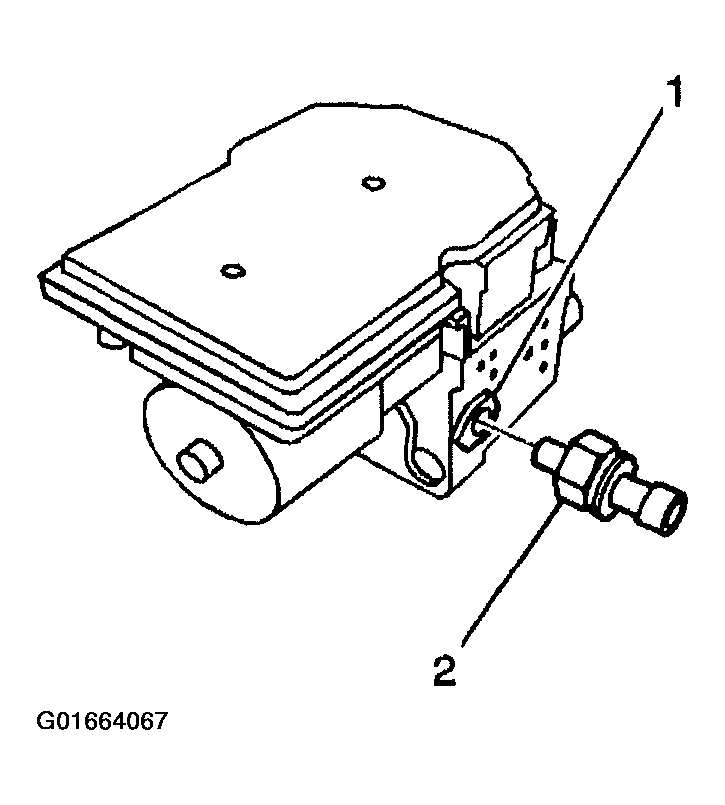
- Install the brake fluid pressure sensor (2) using a backup wrench to keep the brake fluid pressure sensor collar (1) from turning. Tighten the sensor to 16 N.m (12 lbs ft).
 Courtesy of GENERAL MOTORS CORP.
NOTE:
Do not use RTV or any other type of sealant on the EBCM gasket or mating surfaces.
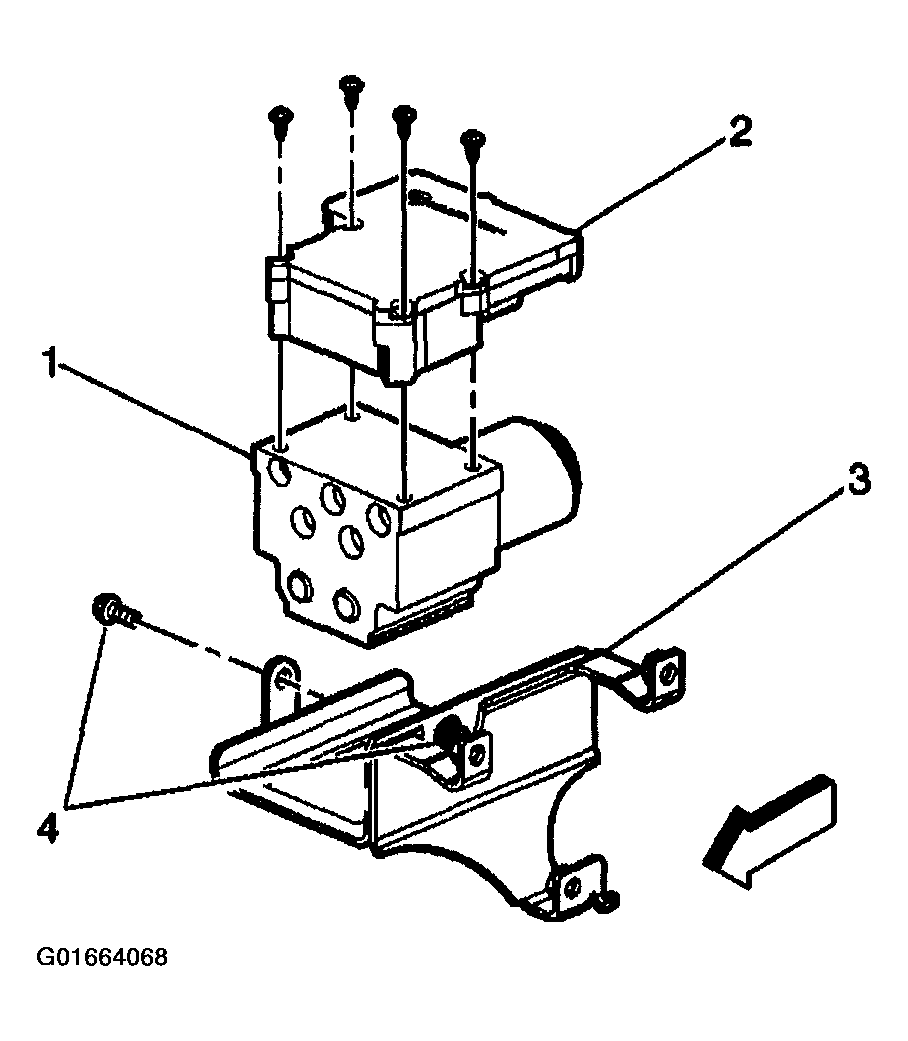
- Install the EBCM (2) onto BPMV (1).
- Install the four EBCM bolts. Tighten the bolts to 5 N.m (39 lbs in) in an X-pattern.
NOTE:
Do not reuse the old mounting bolts. Always install new EBCM bolts with the new BPMV.
- Connect the brake fluid pressure sensor and pressure accumulator switch electrical harnesses.
- Install the BPMV (1) to EHCU bracket (3).
- Install the BPMV to bracket retaining bolts (4). Tighten the bolts to 9 N.m (7 lbs ft).
 Courtesy of GENERAL MOTORS CORP.
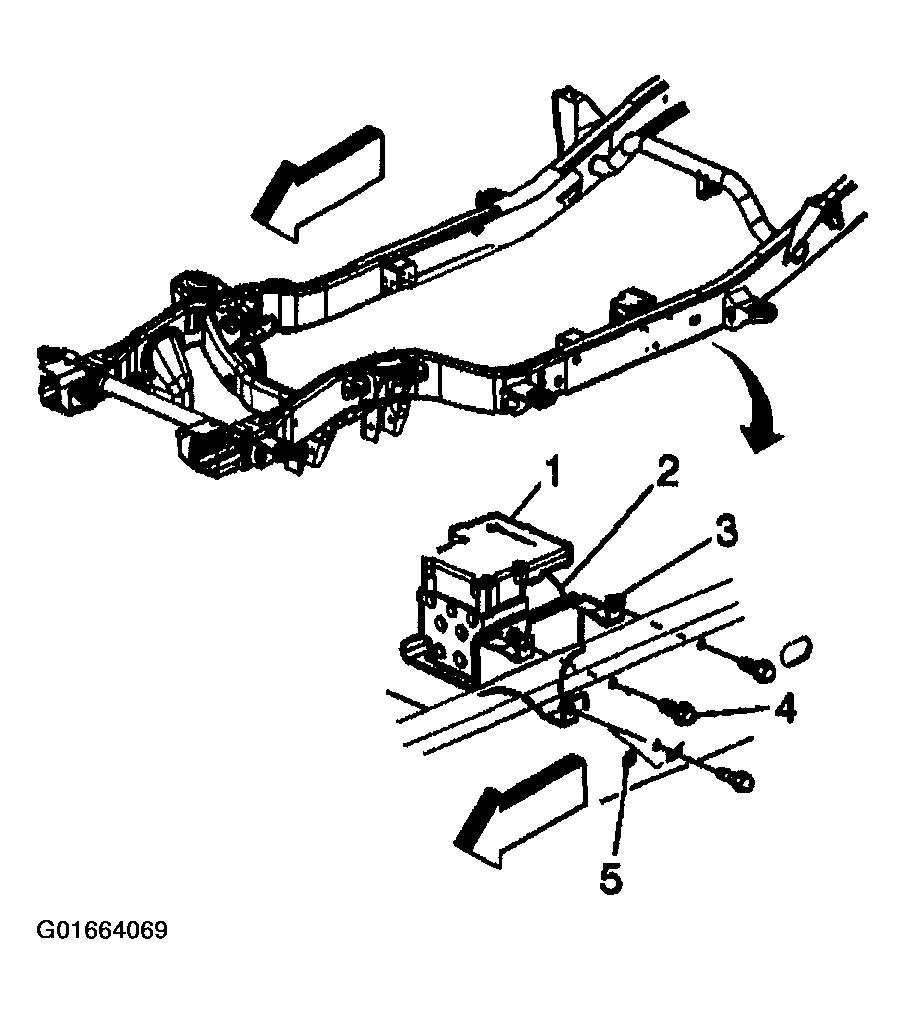
- Install the EHCU to the vehicle frame (5).
- Install the EHCU bracket bolts. Tighten the EHCU bracket bolts (4) to 25 N.m (18 lbs ft).
- Connect the 2 electrical harness connectors to the EBCM (1).
NOTE:
The brake pipes are held in place by a plastic bracket mounted to the frame. Make sure that the brake pipes stay in the correct place for proper reassembly.
 Courtesy of GENERAL MOTORS CORP.
- Install the brake pipes to the BPMV (2). Tighten the brake pipe fittings to 25 N.m (18 lbs ft).
- Bleed the brake system. Refer to MANUAL BLEEDING
or PRESSURE BLEEDING
in Hydraulic Brakes before proceeding.
- Bleed the brake system. Refer to ABS Automated Bleed Procedure (w/JL4) or ABS Automated Bleed Procedure (w/o JL4)
.