Rear Axle Lower Control Arm Bushings: Removal
- Raise and support the vehicle. Remove the tire and wheel assemblies.
- Remove the brake bracket retainer screw. Disconnect the road sensing suspension position sensor and the bracket from the shock tower.
- Lower the exhaust system and heat shield, if you are replacing the right side bushing. Install the screw jack under the rear suspension support forward arm.
- Remove the forward arm nuts and bolts. See Fig 1. Slowly lower the forward arm only as far required in order to gain tool clearance (about 5 inches).
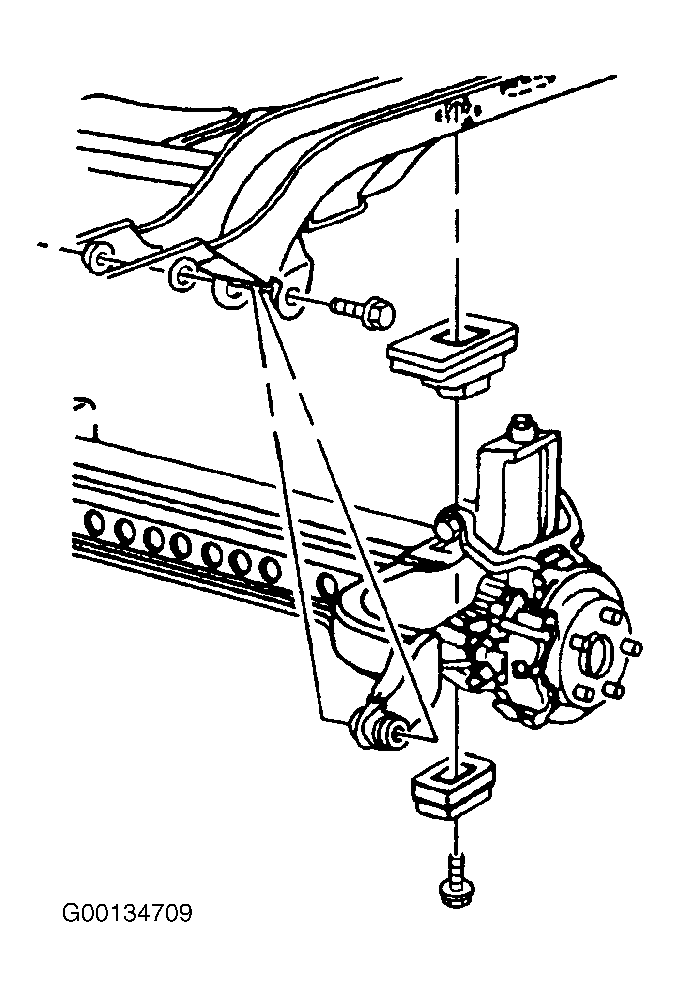 Courtesy of GENERAL MOTORS CORP.
- Using Rear Control Arm Bushing Service Set (J 35739) and Bushing/Remover Installer Set (J 21474), press bushing out of the forward arm. See Fig 2. See SPECIAL TOOLS .
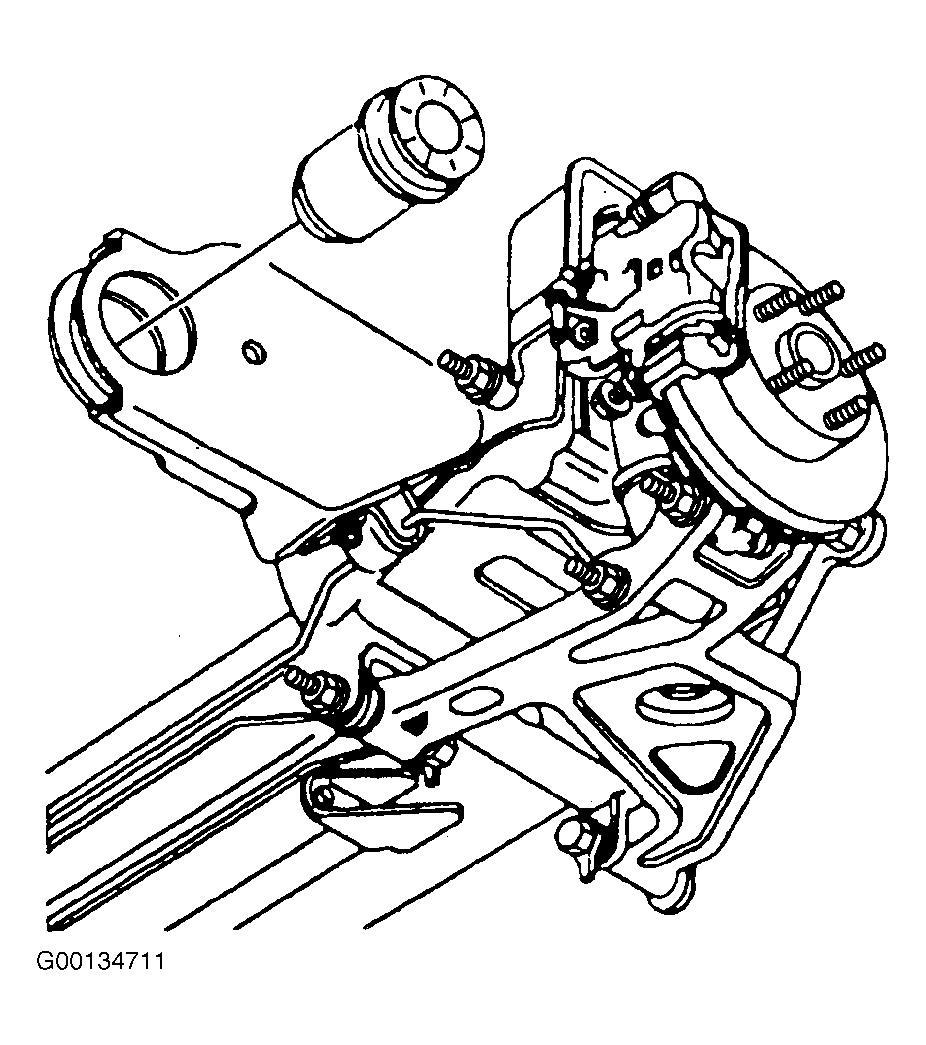 Courtesy of GENERAL MOTORS CORP.
- Coat the threads of the Long Bolt with Bearings (J 21474-19) with high pressure lubricant in order to prevent thread damage. See SPECIAL TOOLS .
- Install Rear Control Arm Bushing Service Set (J 35739), the Receiver (J 21474-5), the Long Nut (J 21474-18) and Long Bolt with Bearing (J21474-19). See Fig 2. See SPECIAL TOOLS .
- Draw the bushing out of the forward arm by tightening the nut.