Antenna Cable Replacement
Antenna Cable Replacement
Removal Procedure
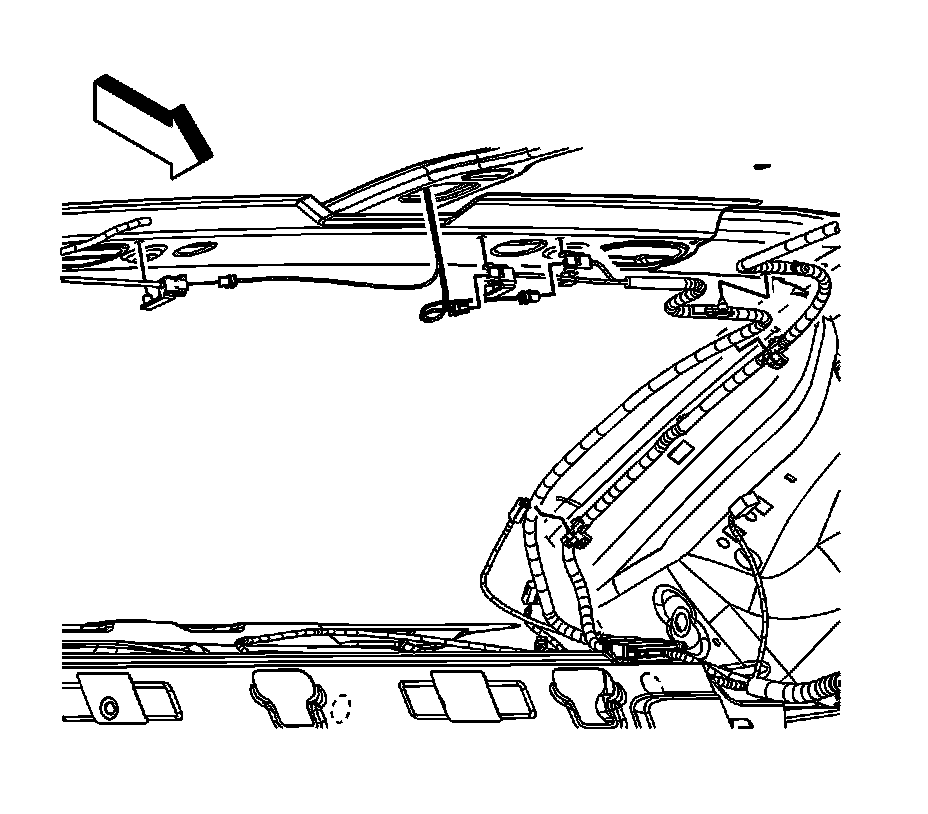
1. Remove the rear seat cushion. Refer to Rear Seat Cushion Replacement (Rear Seat Cushion Replacement).
2. Remove the rear seat back. Refer to Rear Seat Back Replacement (Folding) (Rear Seat Back Replacement (Folding))Rear Seat Back Replacement (Non-folding) (Rear Seat Back Replacement (Non-folding)).
3. Remove the left rear quarter lower panel. Refer to Rear Quarter Lower Trim Panel Replacement (Service and Repair).
4. Remove the left rear upper quarter trim panel. Refer to Rear Quarter Upper Trim Panel Replacement (Service and Repair).
5. Lower the rear of the headliner. Refer to Headlining Trim Panel Replacement (Service and Repair).
6. Disconnect the antenna cable from the radio antenna module.
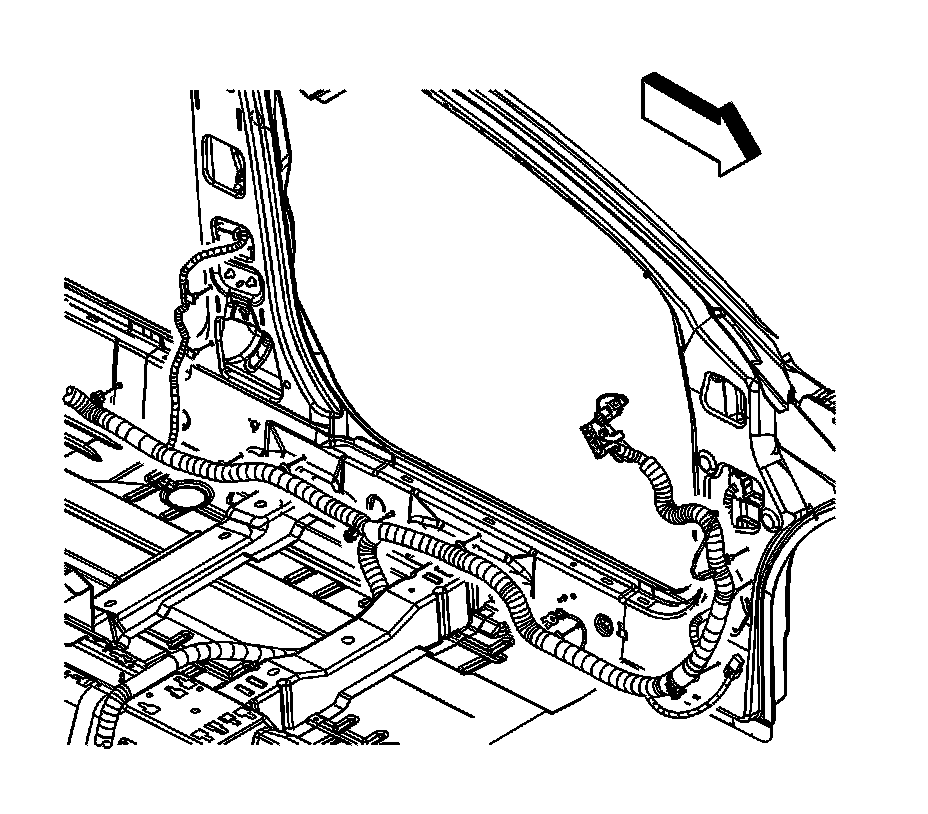
7. Remove the lower center pillar trim panel. Refer to Center Pillar Lower Trim Panel Replacement (Service and Repair).
8. Remove the left lower pillar garnish molding. Refer to Lower Pillar Garnish Molding Replacement (Service and Repair).
9. Adjust the carpet for access to the antenna cable and body harness as required. Refer to Front Floor Panel Carpet Replacement (Service and Repair).
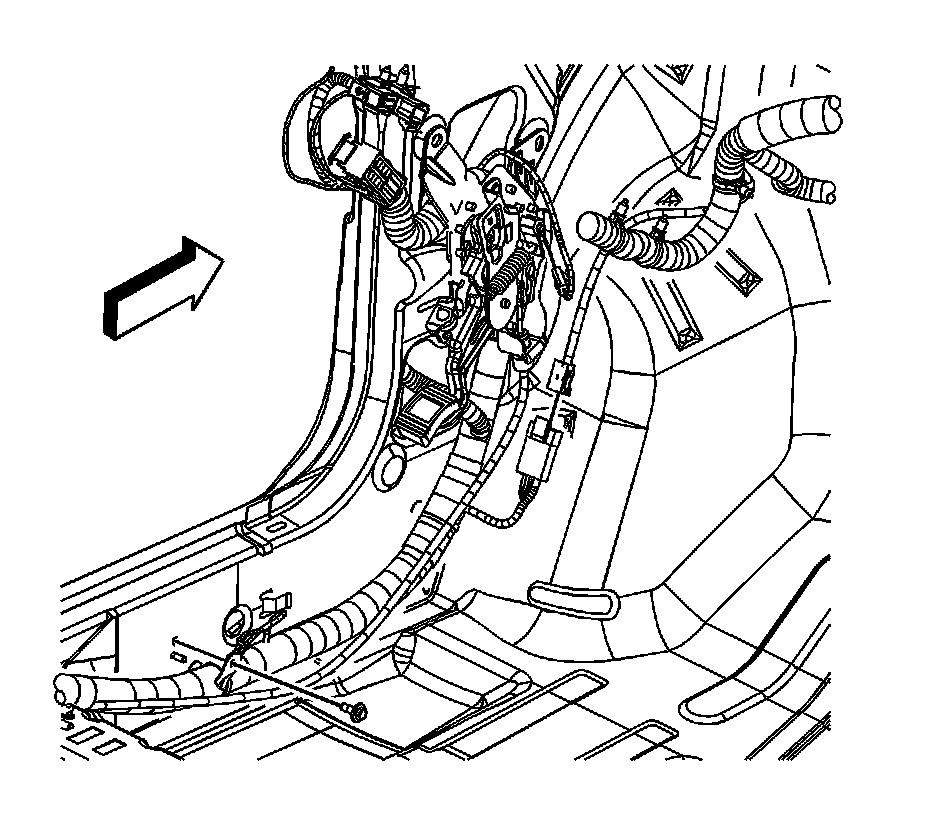
10. Disconnect the antenna cable from the antenna extension cable.
11. Cut off the visible ends of the antenna cable from the wiring harness in the following locations:
* The lower pillar garnish molding
* The rear header area
Installation Procedure
1. Install the antenna cable to the vehicle. Use electrical tape in order to secure the antenna cable to the top of the wiring harness. Secure the cable to the harness at least every 150 mm (6 in).
2. Connect the antenna cable to the antenna extension cable.
3. Install the carpet. Refer to Front Floor Panel Carpet Replacement (Service and Repair).
4. Install the lower center pillar trim panel. Refer to Center Pillar Lower Trim Panel Replacement (Service and Repair).
5. Install the left lower pillar garnish molding. Refer to Lower Pillar Garnish Molding Replacement (Service and Repair).
6. Connect the antenna cable to the radio antenna module
7. Install the headliner. Refer to Headlining Trim Panel Replacement (Service and Repair).
8. Install the left rear upper quarter trim panel. Refer to Rear Quarter Upper Trim Panel Replacement (Service and Repair).
9. Install the left rear quarter lower trim panel. Refer to Rear Quarter Lower Trim Panel Replacement (Service and Repair).
10. Install the rear seat back. Refer to Rear Seat Back Replacement (Folding) (Rear Seat Back Replacement (Folding))Rear Seat Back Replacement (Non-folding) (Rear Seat Back Replacement (Non-folding)).
11. Install the rear seat cushion. Refer to Rear Seat Cushion Replacement (Rear Seat Cushion Replacement).