Removal Procedure
- Disconnect the negative battery cable. Refer to BATTERY NEGATIVE CABLE DISCONNECT/CONNECT PROCEDURE
in Battery.
- Disable the SIR system. Refer to DISABLING SYSTEM
in Air Bag Restraint Systems.
- Remove the upper garnish moldings from the windshield pillar. Refer to GARNISH MOLDING REPLACEMENT - WINDSHIELD PILLAR
in Stationary Windows.
- Remove the upper trim panel from the instrument panel (I/P). Refer to TRIM PANEL REPLACEMENT - INSTRUMENT PANEL (I/P) UPPER
.
- Remove the front floor console, if equipped. Refer to CONSOLE REPLACEMENT - FRONT FLOOR (D06)
.
- Remove the left and the right I/P insulators. Refer to CLOSEOUT/INSULATOR PANEL REPLACEMENT - RIGHT
and to CLOSEOUT/INSULATOR PANEL REPLACEMENT - LEFT
.
- Remove the steering column filler. Refer to STEERING COLUMN FILLER REPLACEMENT
.
- Remove the knee bolster. Refer to KNEE BOLSTER REPLACEMENT
.
- Remove the steering column. Refer to STEERING COLUMN REPLACEMENT
in Steering Wheel and Column.
- Remove the hood latch release handle. Refer to HOOD LATCH RELEASE HANDLE REPLACEMENT
in Body Front End.
- Remove the bolts from the data link connector, and move the DLC harness to one side.
- Remove the front carpet retainers. Refer to CARPET RETAINER REPLACEMENT - FRONT
in Interior Trim.
- Remove the accessory trim plate from the I/P. Refer to TRIM PLATE REPLACEMENT - INSTRUMENT PANEL (I/P) ACCESSORY
.
- Remove the cluster trim plate from the I/P. Refer to TRIM PLATE BEZEL REPLACEMENT - INSTRUMENT PANEL (I/P) CLUSTER
.
- Remove the inside air temperature sensor, if equipped. Refer to INSIDE AIR TEMPERATURE SENSOR REPLACEMENT
.
- Remove the headlamp switch. Refer to HEADLAMP SWITCH REPLACEMENT
in Lighting Systems.
- Remove the I/P cluster. Refer to INSTRUMENT PANEL CLUSTER (IPC) REPLACEMENT
.
- Remove the radio. Refer to RADIO REPLACEMENT
in Entertainment.
- Remove the HVAC control assembly. Refer to HVAC CONTROL ASSEMBLY REPLACEMENT
in HVAC Systems - Manual or to HVAC CONTROL MODULE REPLACEMENT
in HVAC Systems - Automatic.
- Remove the I/P compartment. Refer to COMPARTMENT REPLACEMENT - INSTRUMENT PANEL (I/P)
.
- Release the I/P compartment lamp by depressing the retainers.
- Disconnect the electrical connector and remove the I/P compartment lamp.
- Disconnect the fuse block from the cross vehicle beam by releasing the locking tab. Reposition the fuse block.
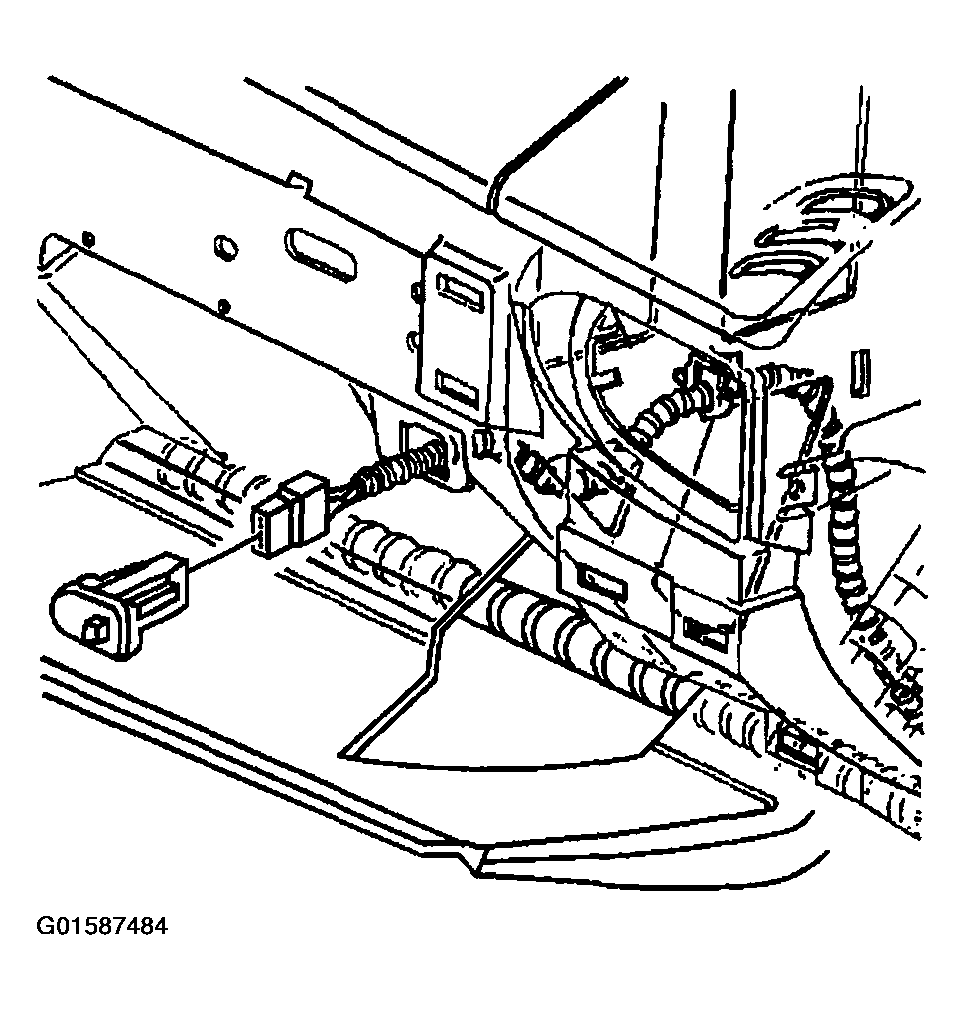 Courtesy of GENERAL MOTORS CORP.
- Remove the bolts from the right end of the I/P.
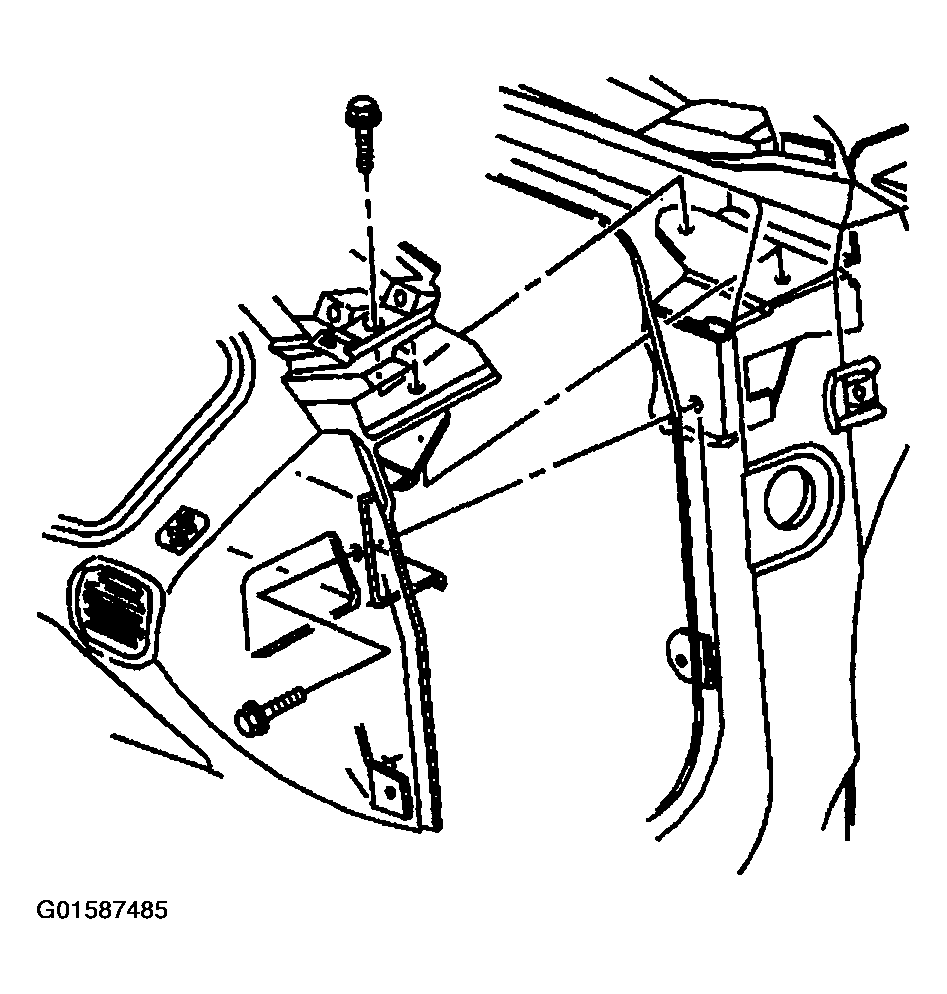 Courtesy of GENERAL MOTORS CORP.
- Remove the center and the lower bolts from the I/P.
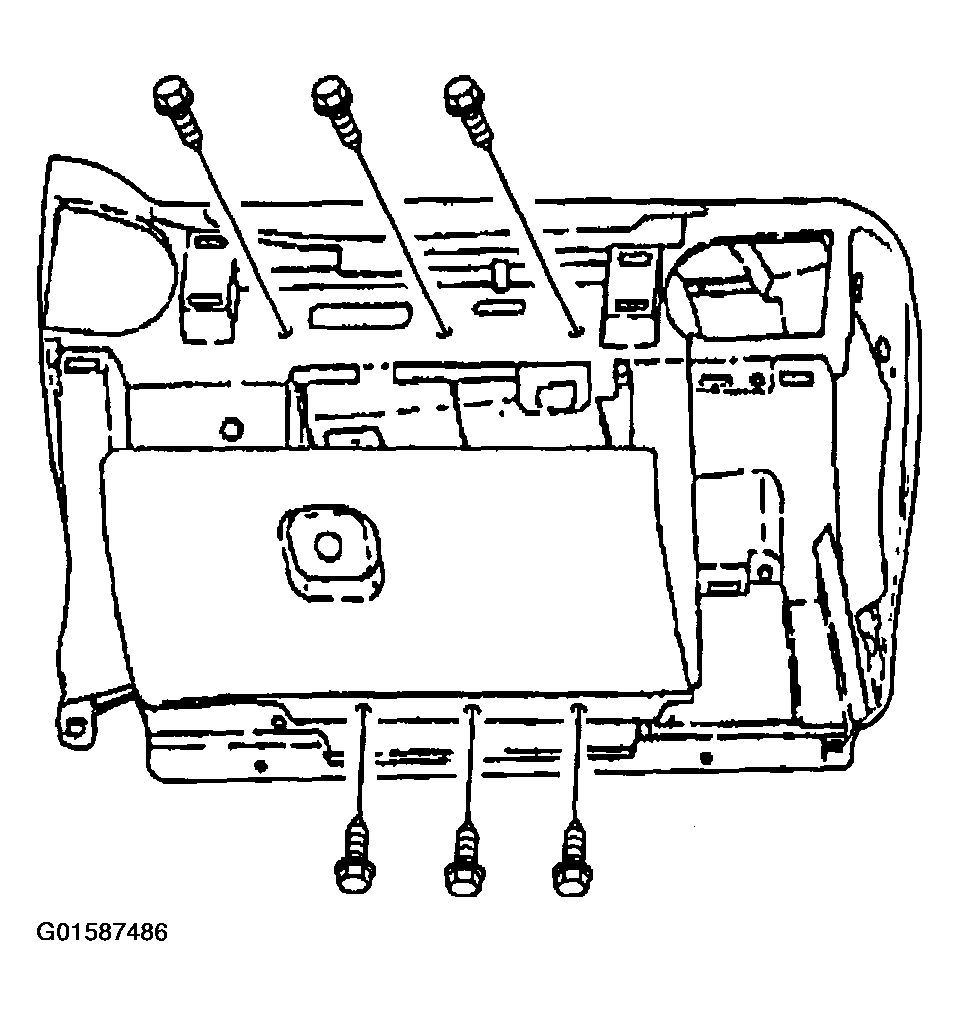 Courtesy of GENERAL MOTORS CORP.
- Remove the bolt from the left end of the I/P.
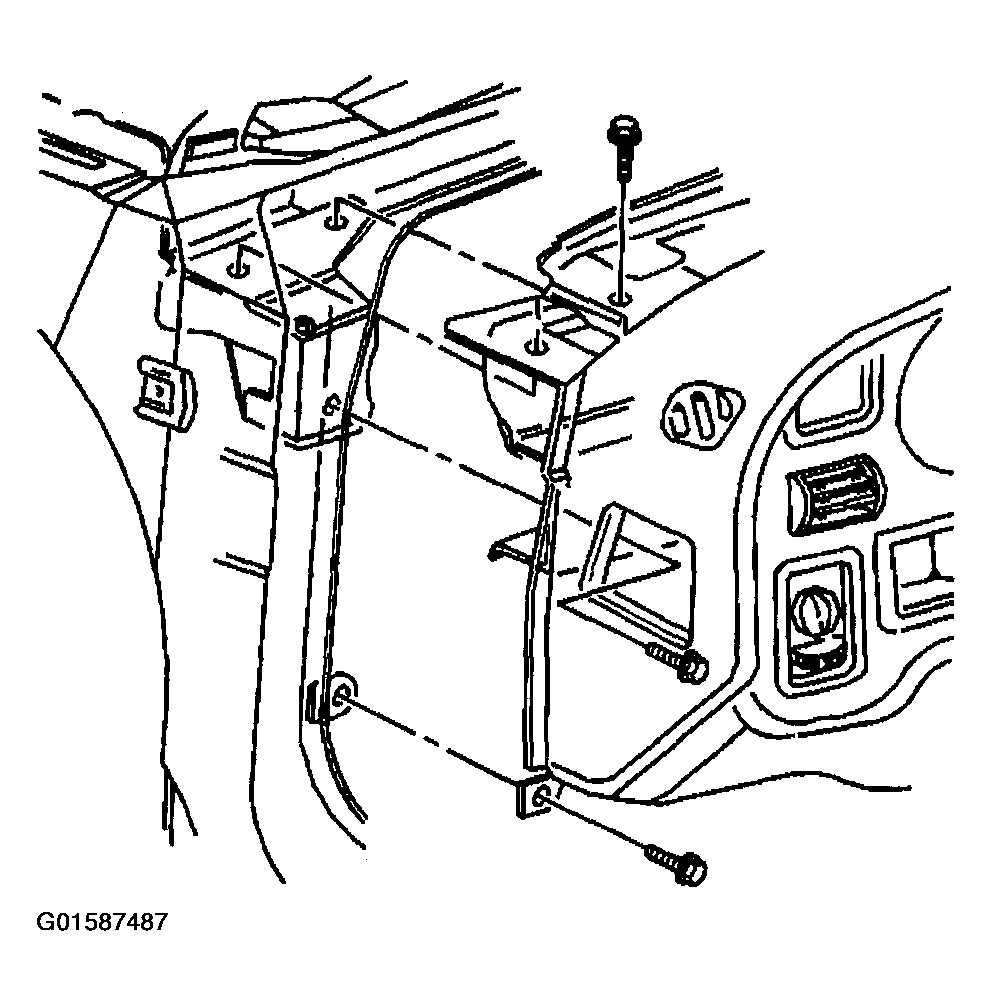 Courtesy of GENERAL MOTORS CORP.
- Remove the bolts from the upper I/P.
- Reposition the wiring harness from the I/P assembly.
- Remove the I/P assembly from the vehicle.
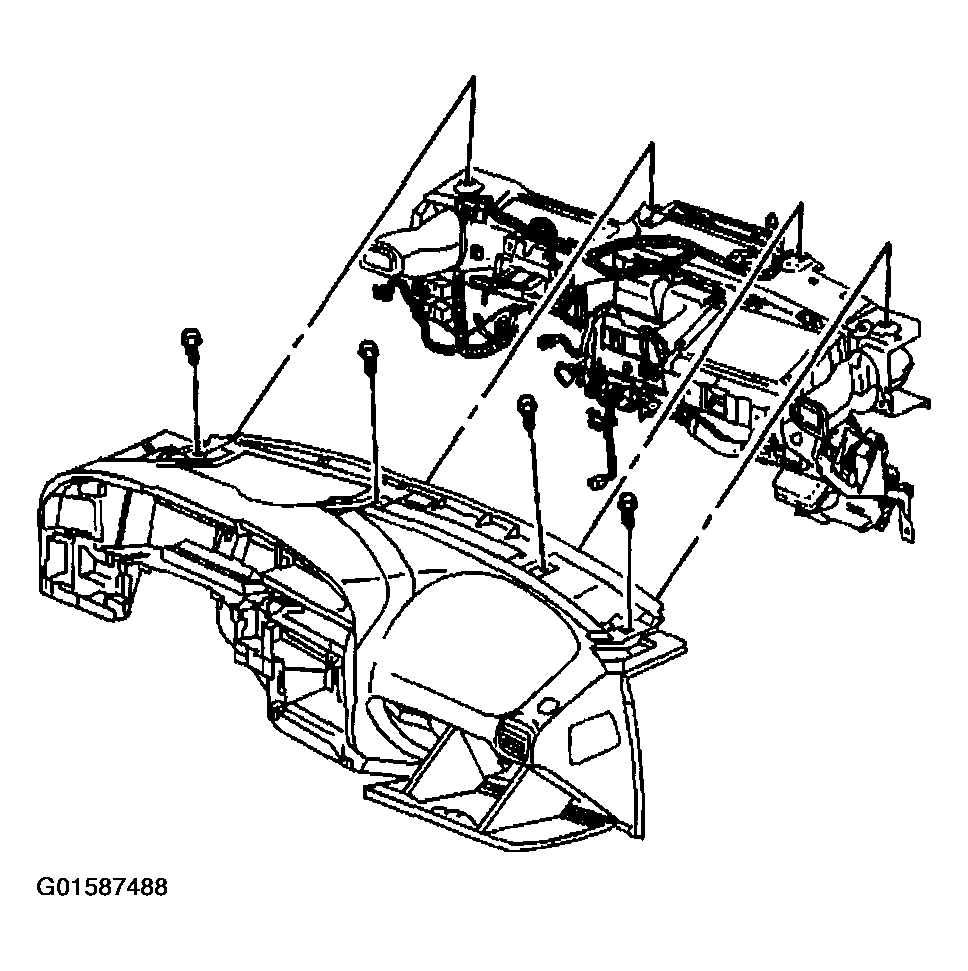 Courtesy of GENERAL MOTORS CORP.