Removal & Installation
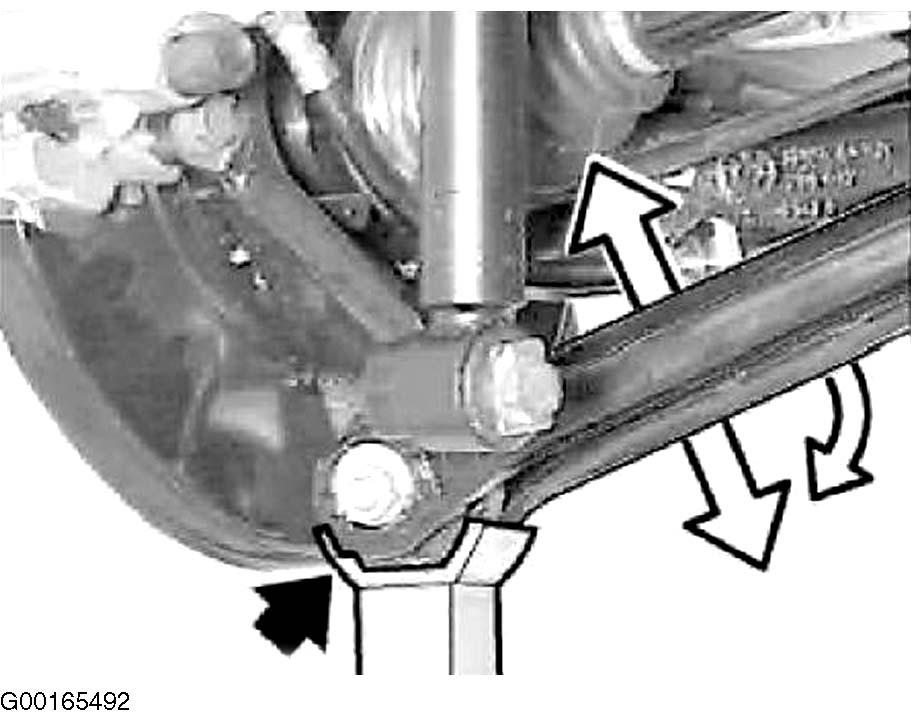
- Support trailing arm from underneath using a workshop jack. Spread plastic panel and remove from control arm. See Fig 1.
- Mark position of eccentric bolt (1) to control arm with center marks (2). This simplifies subsequent camber adjustment. See Figure.
- Release nut (1) on trailing arm on left and right and remove eccentric bolt. See Figure.
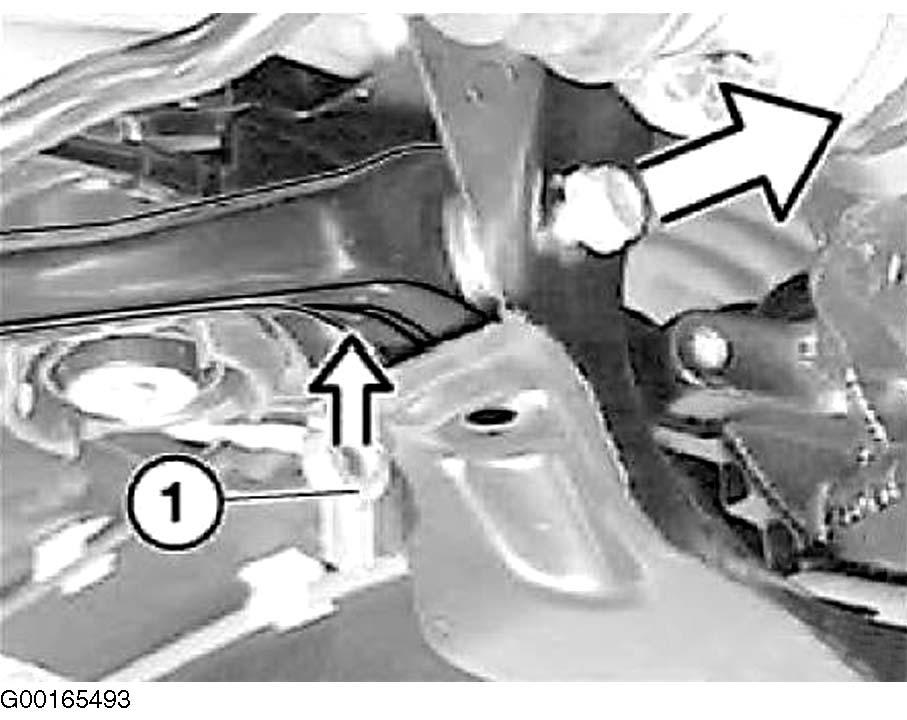
- Release bolt on rear axle carrier and remove. See Fig 2. On compact car with final drive 188, in order to remove the bolt, it is possible to detach the final drive from the rear axle carrier and press it towards the rear. See FRONT/REAR DRIVE AXLE - REPAIR (2WD & 4WD)
and PROPELLER SHAFT - REPAIR - E46
.
- Take off control arm.
- To install, reverse removal procedure. Welded seam of control arm must face upwards. Insert thread plate (1) into opening in rear axle carrier. See Fig 2.
- Insert eccentric bolt on trailing arm in direction (F) of travel. Fit eccentric washer (2). See Figure.
- Tighten all fasteners to specification. See TORQUE SPECIFICATIONS .
- Install opening in plastic panel upwards.
- Perform chassis alignment check.
 Courtesy of BMW OF NORTH AMERICA, INC.
 Courtesy of BMW OF NORTH AMERICA, INC.