Remove spare wheel.
Release screws.
CAUTION:
Do not kink air pipes.
Set air supply system (1) to one side.
Follow instructions for disconnecting and connecting battery. Refer to 12 00 ... INSTRUCTIONS FOR DISCONNECTING AND CONNECTING BATTERY .
Disconnect battery negative lead.
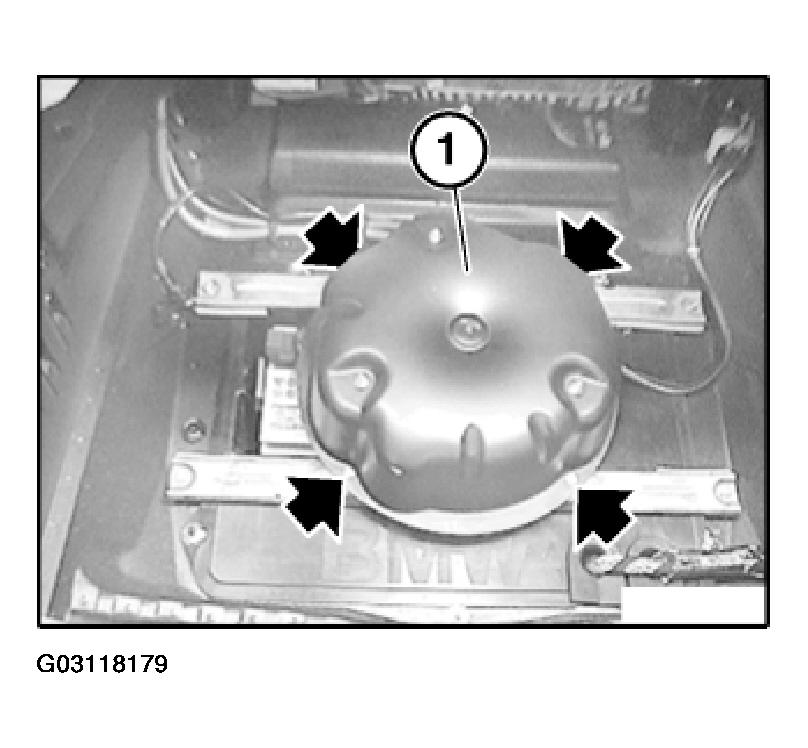 Courtesy of BMW OF NORTH AMERICA, INC.
Disconnect supply cable (1) for vehicle electrical system.
Installation:
- Remove faulty fuses and carry out troubleshooting.
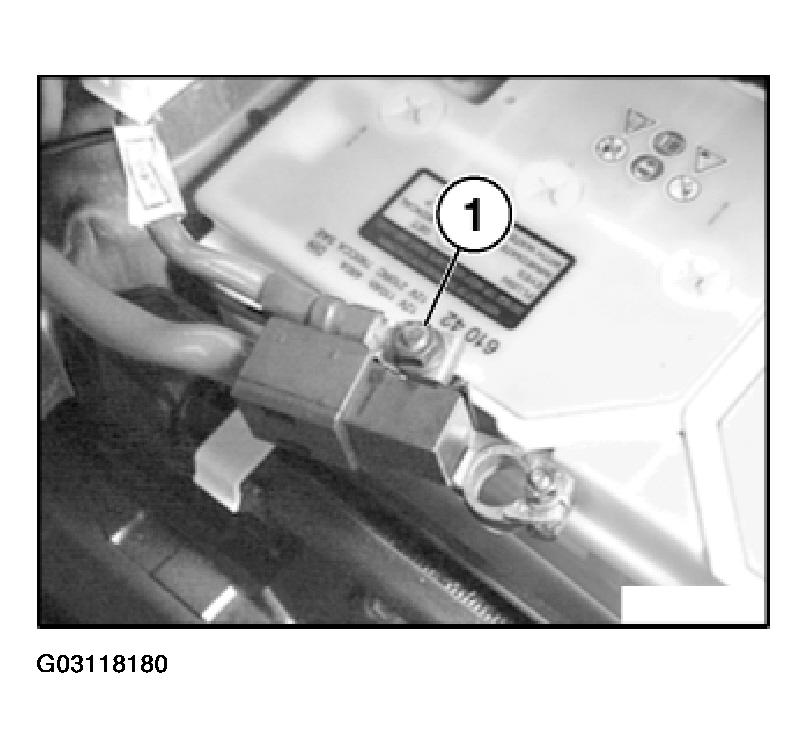 Courtesy of BMW OF NORTH AMERICA, INC.
CAUTION:
Pay attention to interface. The repair cable is always a standard length. The heavy-current connector of the repair cable has a larger diameter than the battery positive lead. In some Series (e.g. E46 touring), the heavy-current connector of the repair cable can lead to installation problems. This is the case when the interface is in the area of the close-fitting trim panels. Find matching interface (e.g. approx. 10 cm behind rear seat backrest in E46 touring).
Lay repair cable parallel to battery positive lead.
Mark interface of battery positive lead at end of repair cable.
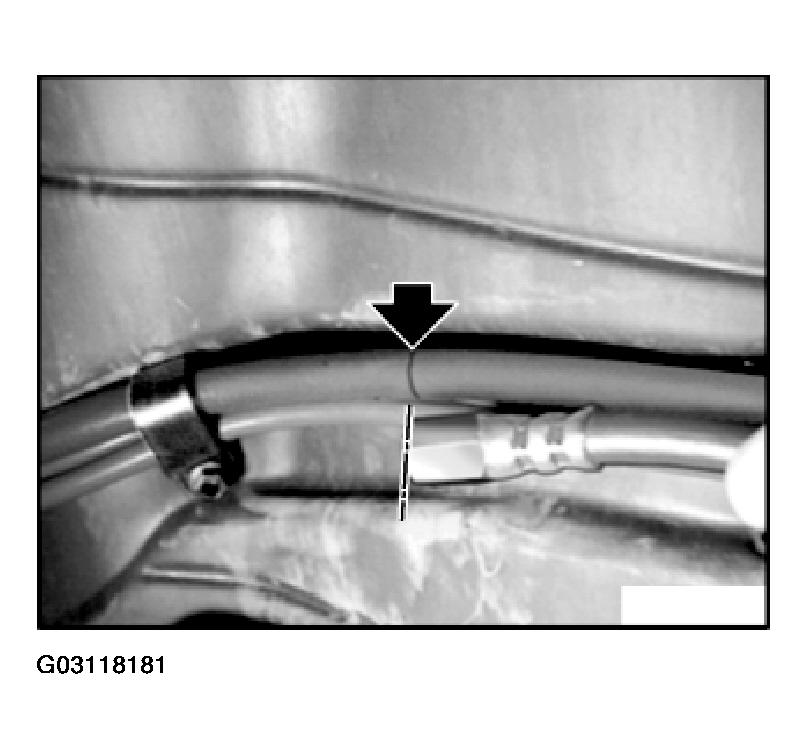 Courtesy of BMW OF NORTH AMERICA, INC.
Release cable ties (1).
Disconnect plug connection (2).
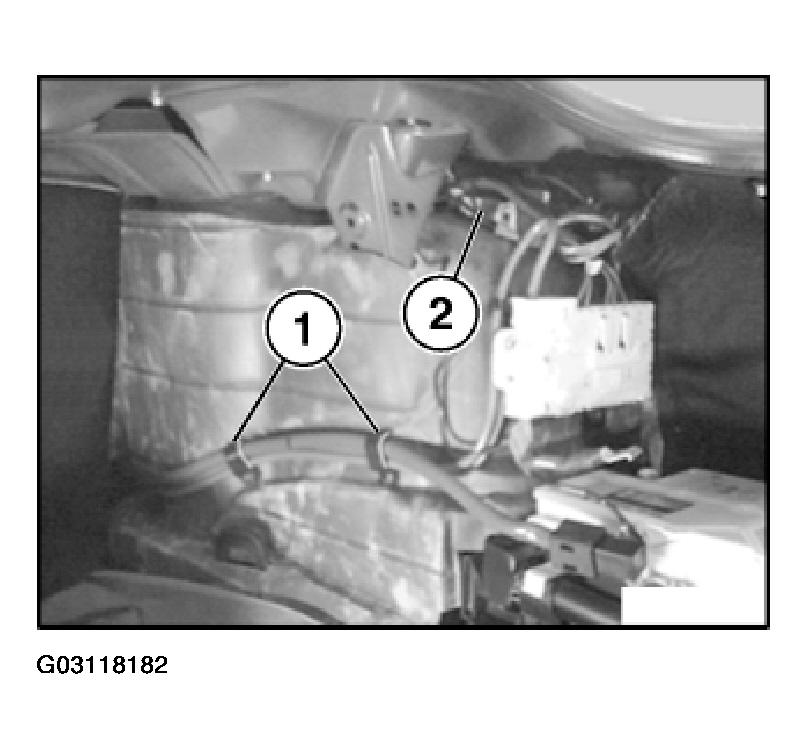 Courtesy of BMW OF NORTH AMERICA, INC.
CAUTION:
Do not use bolt cutters or similar tools to cut through the cable. A cable end that has been squashed flat will no longer fit into the clamping sleeve.
Saw through battery positive cable at marked point with an iron saw.
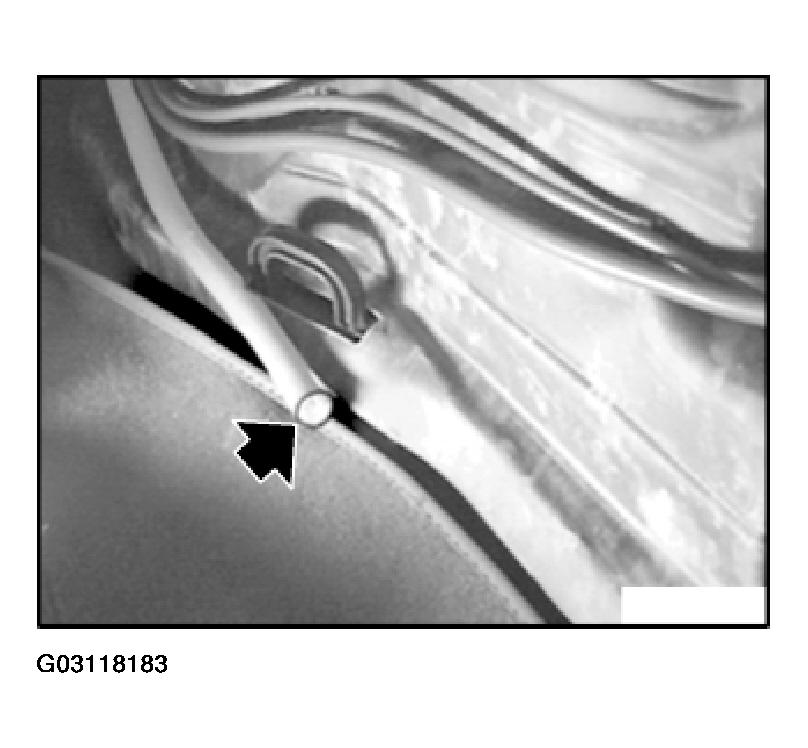 Courtesy of BMW OF NORTH AMERICA, INC.
Strip insulation - length (A) - from cable end.
Distance (A) = 15 mm.
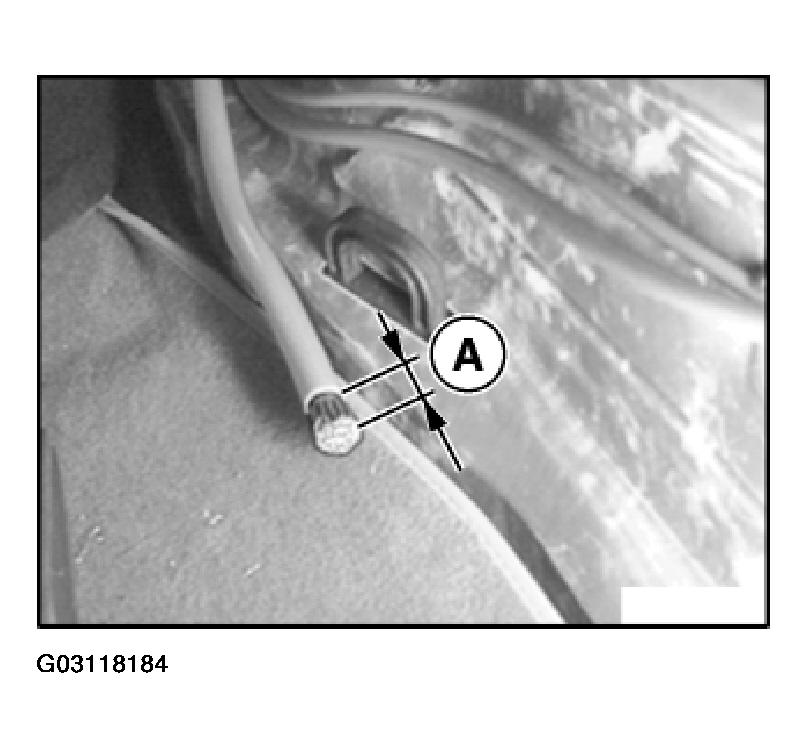 Courtesy of BMW OF NORTH AMERICA, INC.
Push heavy-current connector (1) over stripped cable end and screw into position.
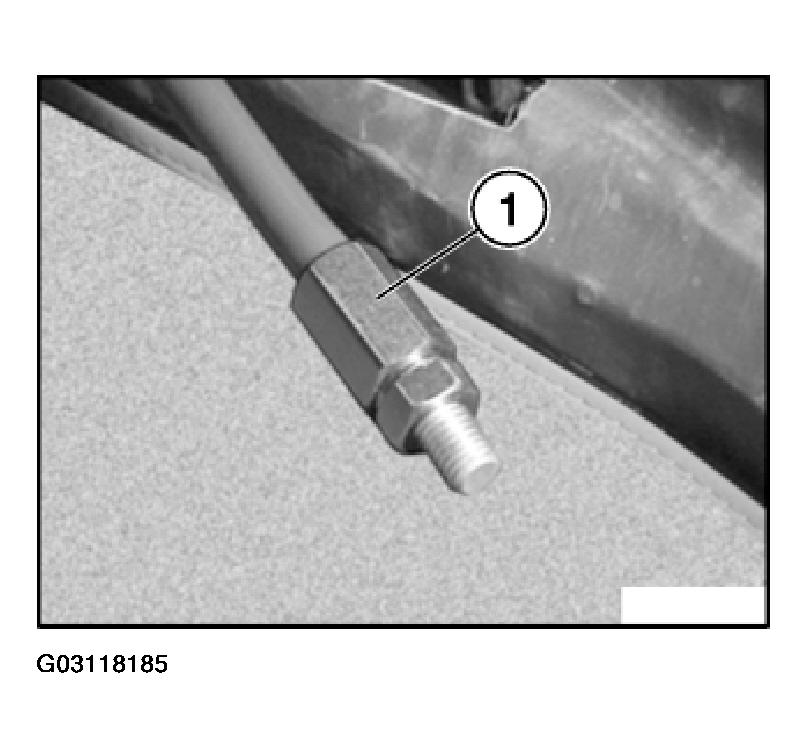 Courtesy of BMW OF NORTH AMERICA, INC.
Push shrink-fit hose (3) over repair cable.
Screw threaded sleeve (1) of repair cable (2) to heavy-current connector.
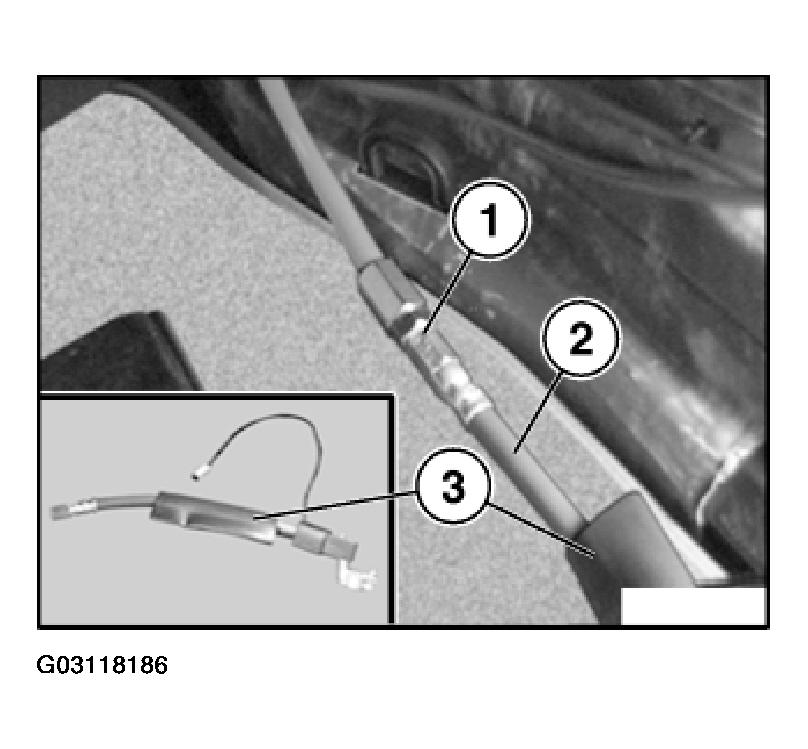 Courtesy of BMW OF NORTH AMERICA, INC.
Push shrink-fit hose (1) over connecting point and shrink on with a hot-air blower (2).
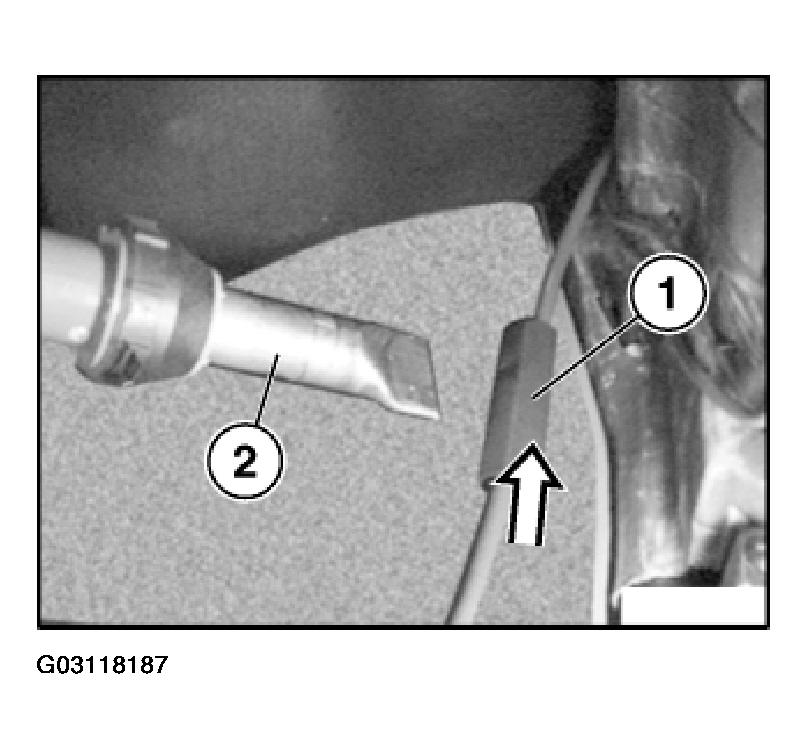 Courtesy of BMW OF NORTH AMERICA, INC.
NOTE:
Heat up shrink-fit hose until it has settled completely around the connection point.
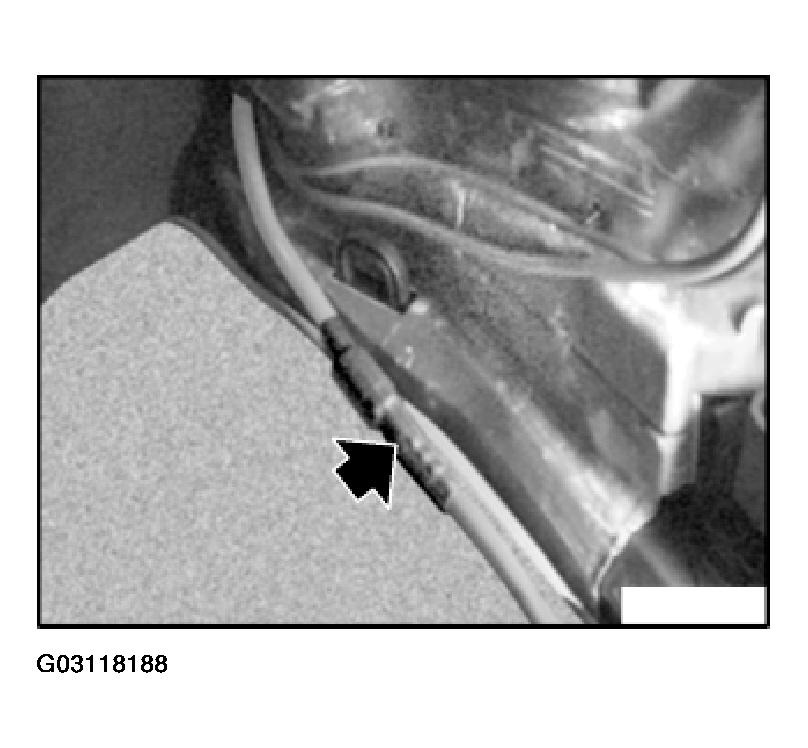 Courtesy of BMW OF NORTH AMERICA, INC.
When laying the repaired battery positive cable, observe the following:
- The shrink-fit hose must not be scuffed during any movement.
- The repair cable must not cause any disturbing noises during driving operation.
NOTE:
Offsetting cutting line by approx. 10 cm produces excess length of battery positive lead (1). Lay battery positive lead (1) without kinks or abrasions. (Shown on E46 touring.)
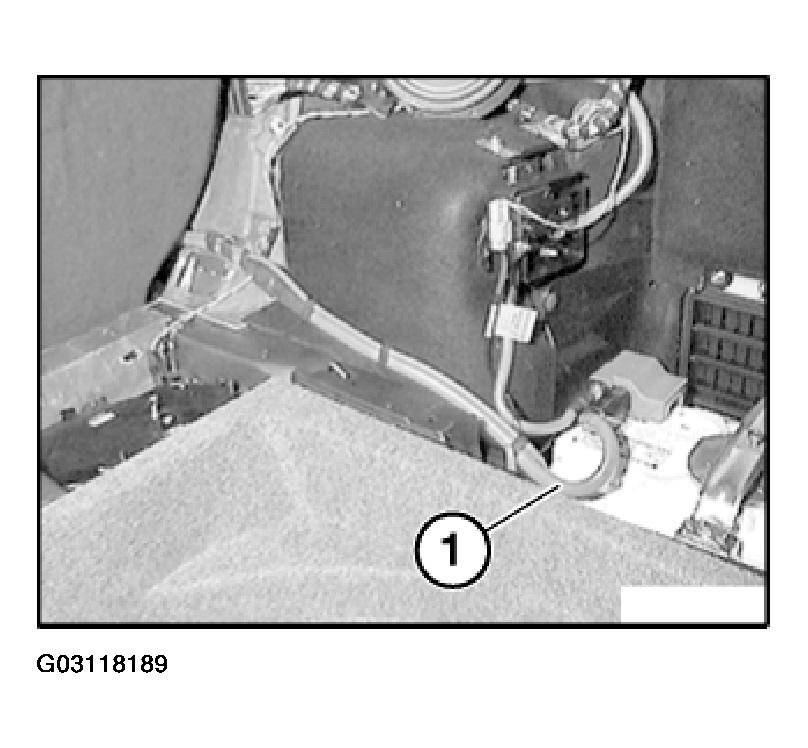 Courtesy of BMW OF NORTH AMERICA, INC.