Removal & Installation (Air Suspension)
- Remove wheel.
- Unfasten control rod for level control system on the swinging arm if necessary.
- Disconnect fuse on air supply system so that there is no unintentional system regulation. Slacken pipes on distributor block so as to reduce system pressure.
- Remove shock absorber from swinging arm. See SHOCK ABSORBER .
- Remove stabilizer link from swinging arm. See STABILIZER BAR .
- Mark position of eccentric screw on rear axle carrier with colored spots. This makes the subsequent camber adjustment easier when reinstalling the previous swinging arm. See Fig 1.
- Unfasten disc collar nut (1) and pull out eccentric bolt. See Fig 2.
- Unfasten screw for swinging arm to rear axle support and remove. See Fig 3.
- Support wheel carrier with workshop hoist. Unfasten nut, unfasten screw and remove swinging arm. See Fig 4.
- To install, reverse removal procedure.
- Replace nuts and tighten fasteners to specification. See TORQUE SPECIFICATIONS
.
- Inset locking nut (1) in recess on rear axle carrier and tighten down screw for swinging arm to rear axle support. See Fig 3.
- Replace disc collar nut (1) and install eccentric washer (2). See Fig 2. Tighten to specification. See TORQUE SPECIFICATIONS
.
- Adjust rear axle after assembly.
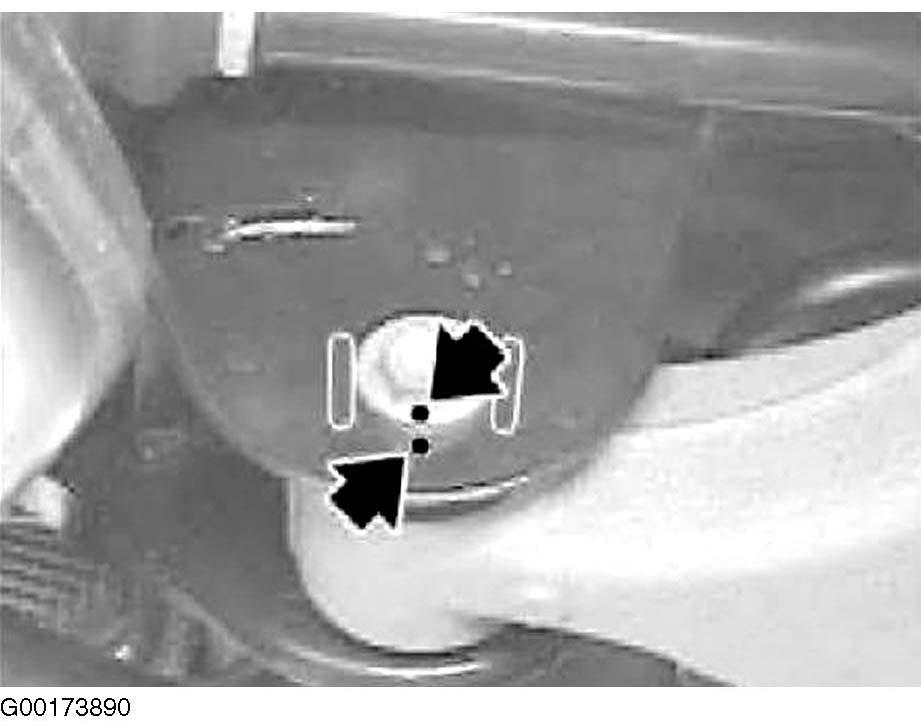 Courtesy of BMW OF NORTH AMERICA, INC.
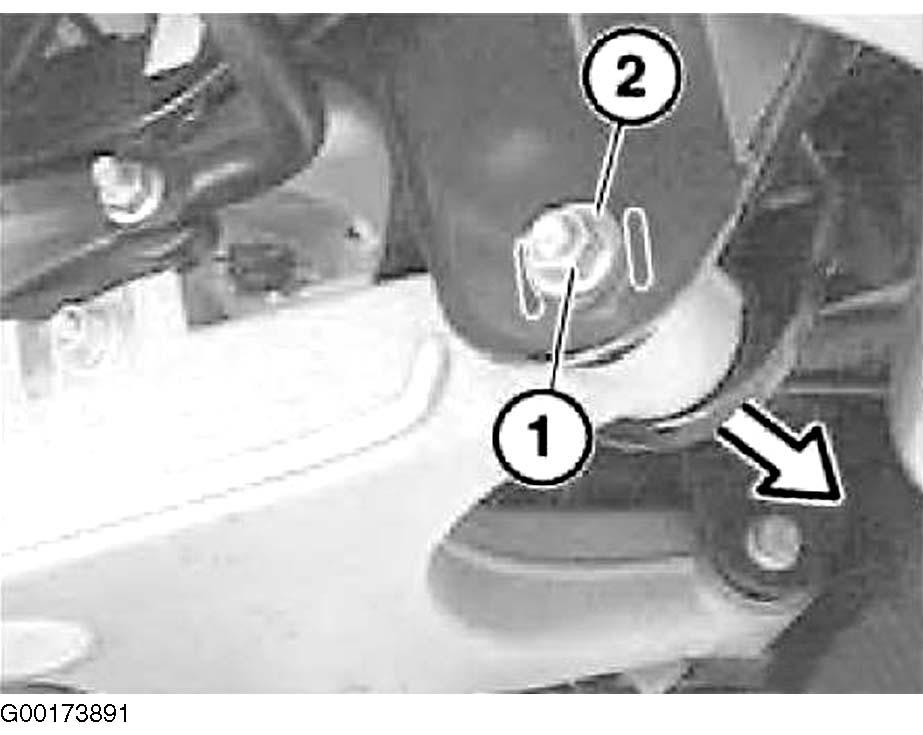 Courtesy of BMW OF NORTH AMERICA, INC.
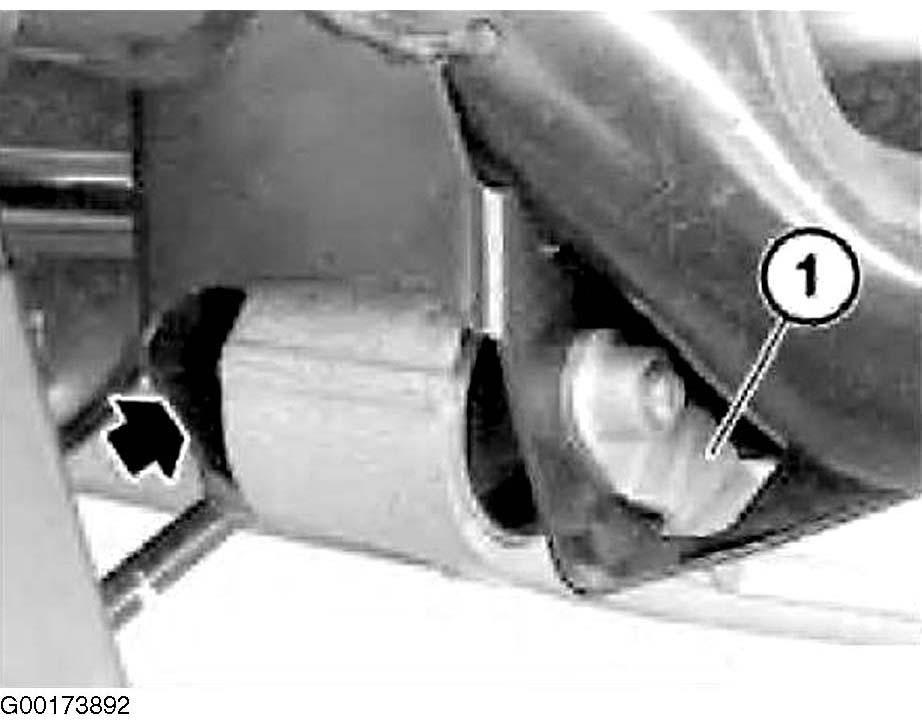 Courtesy of BMW OF NORTH AMERICA, INC.
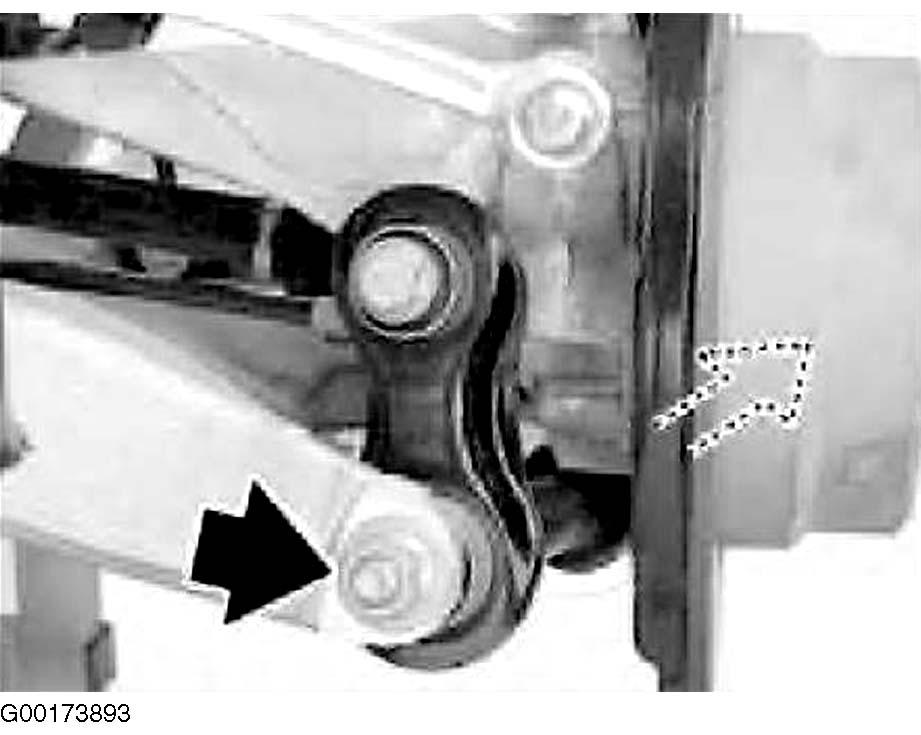 Courtesy of BMW OF NORTH AMERICA, INC.