Lower Control Arm Rubber Mount To Trailing Arm: Removal
- Remove wheel.
- Support trailing arm from underneath using a workshop jack. Mark position of eccentric bolt (1) to control arm with center marks (2). This simplifies subsequent camber adjustment. See Figure.
- Release nut (1) on trailing arm and remove eccentric bolt. See Figure.
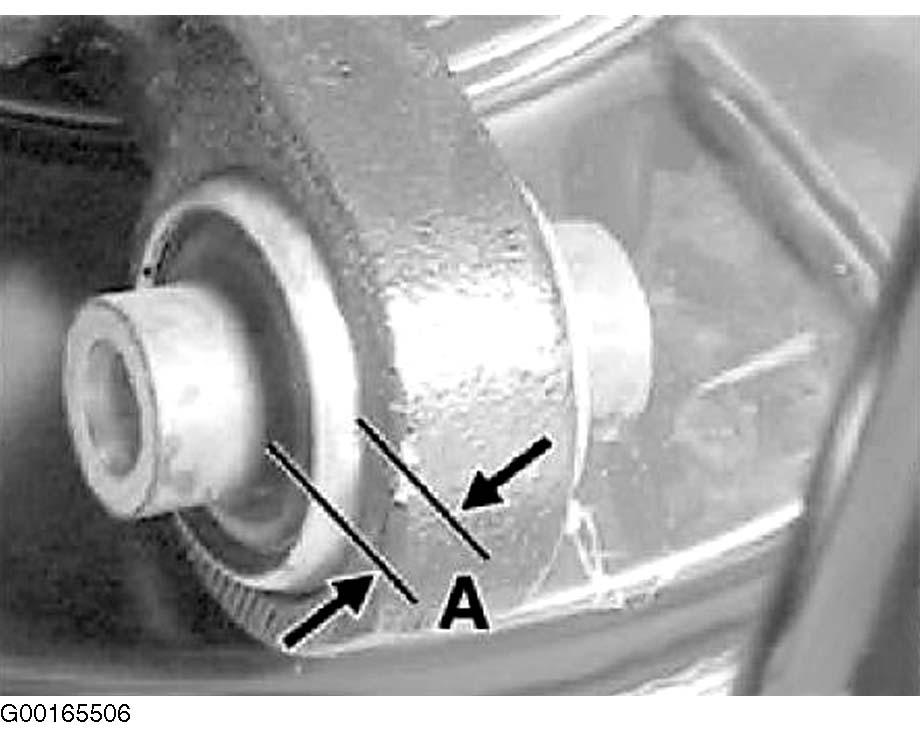
- Measure and note protrusion (A) of old rubber mount. See Fig 1.
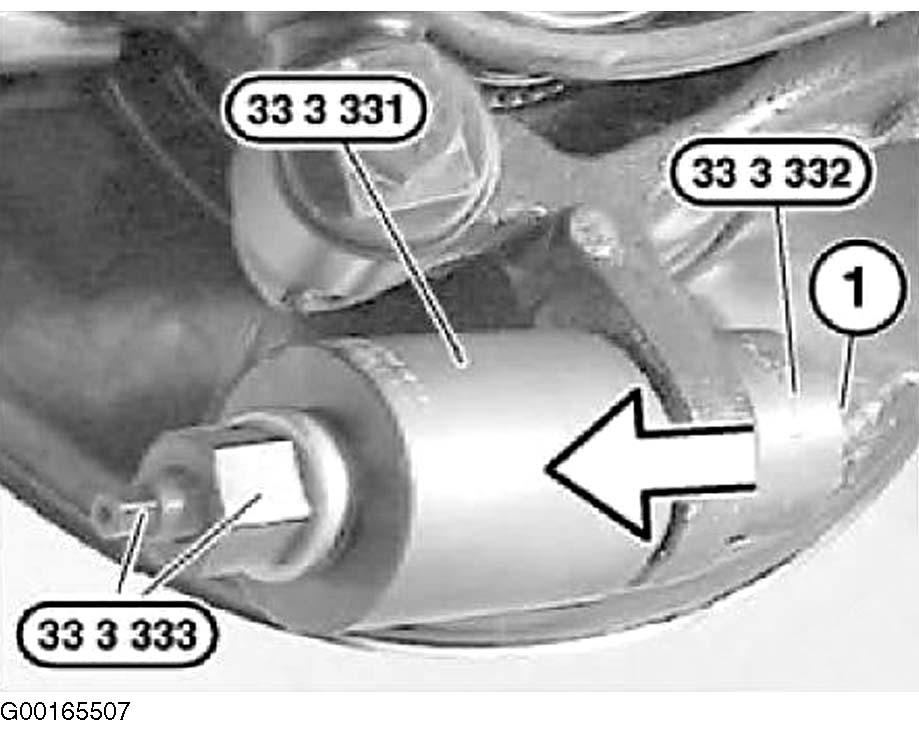
- Pull out rubber mount with special tool (33 3 331/332/333). Use commercially available 12 mm nut (1). See Fig 2.
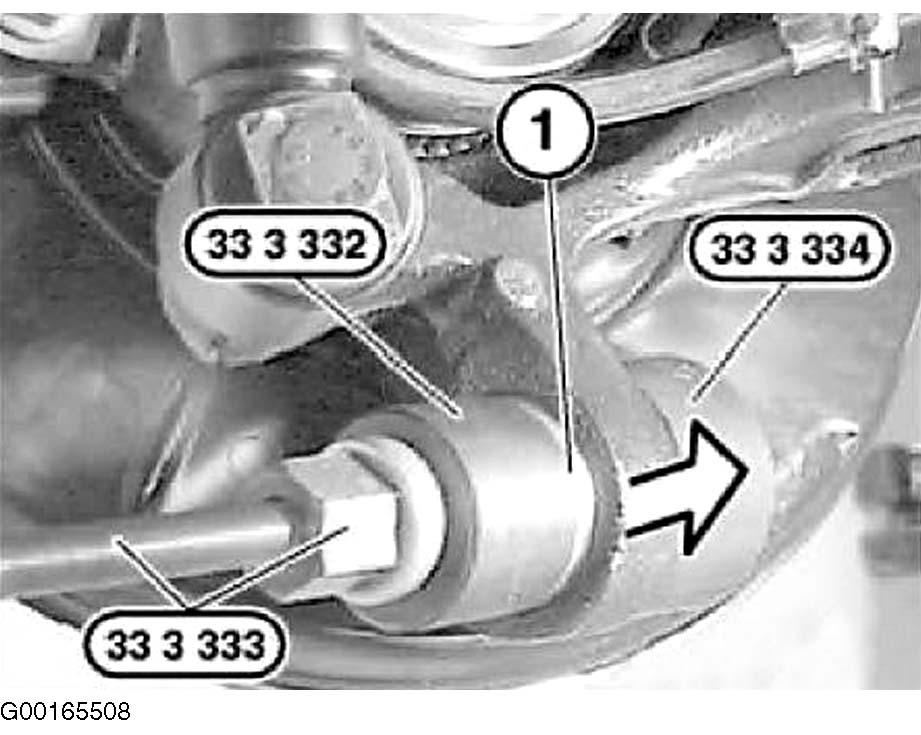
- Pull in new rubber mount (1) as far as the previously measured protrusion (A) using special tool (33 3 332/333/334). See Fig 3.
- Fit eccentric washer (2). Observe bolt insertion direction opposing direction of travel (F). See Figure. Tighten eccentric bolt nut to specification. See TORQUE SPECIFICATIONS .
- Perform wheel alignment check. See WHEEL ALIGNMENT SPECIFICATIONS & PROCEDURES under ADJUSTMENTS.
 Courtesy of BMW OF NORTH AMERICA, INC.
 Courtesy of BMW OF NORTH AMERICA, INC.
 Courtesy of BMW OF NORTH AMERICA, INC.