Valve Body Valve Installation
Valve Body Valve Installation
1. Coat all parts with ATF before assembly.
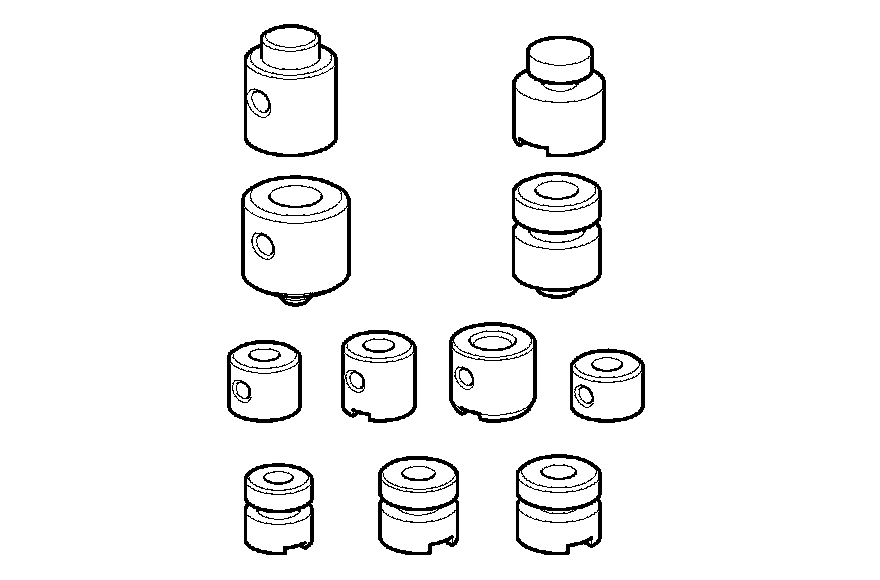
2. Install the valves and springs in the sequence shown for the main valve body Main Valve Body Disassembly, Inspection, and Reassembly, the secondary valve body Secondary Valve Body Disassembly, Inspection, and Reassembly, the regulator valve body Regulator Valve Body Disassembly, Inspection, and Reassembly, and the accumulator body Accumulator Body Disassembly, Inspection, and Reassembly. Refer to the following valve cap illustrations, and install each valve cap so the end shown facing up will be facing the outside of the valve body, then secure the valve cap with the valve cap clip.
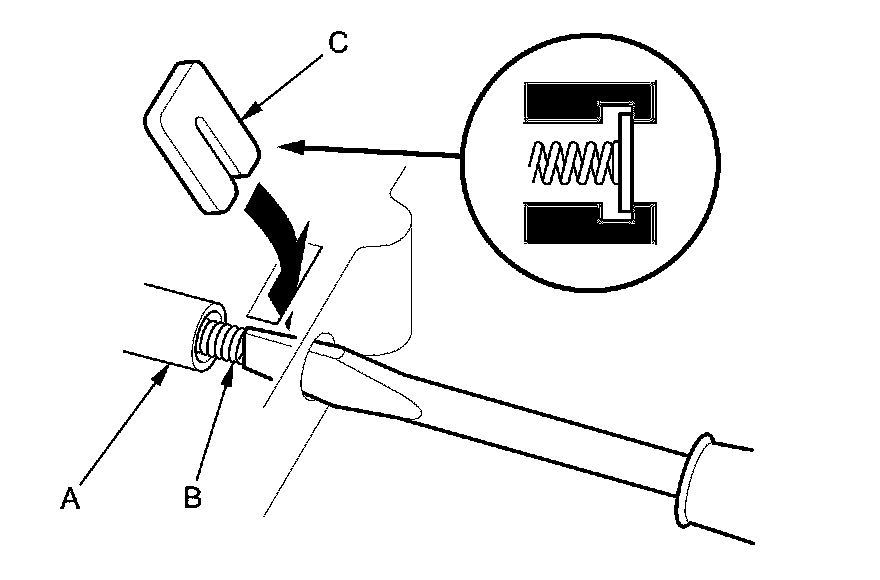
3. Install the valve (A) and the valve spring (B) in the valve body. Push the valve spring in using a screwdriver, then install the spring seat (C).