Evaporative Emission Control Canister: Service and Repair
EVAP Canister Replacement
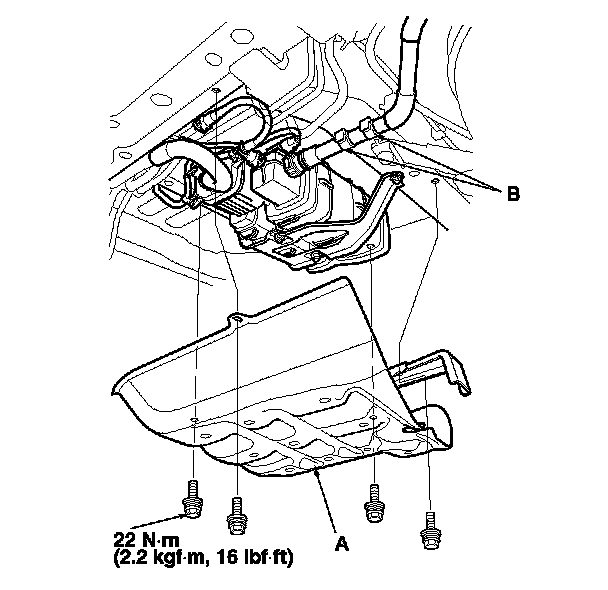
1. Remove the EVAP canister cover (A). Open the clamps (B).
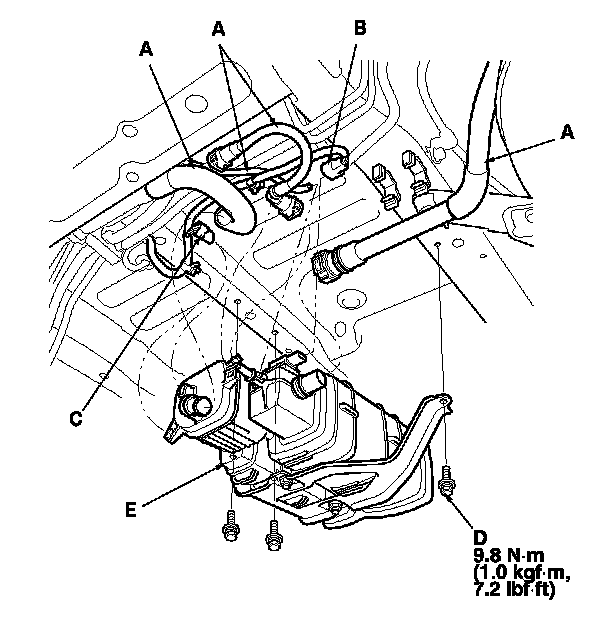
2. Remove the hoses (A), the FTP sensor connector (B), and the EVAP canister vent shut valve connector (C).
3. Remove the bolts (D).
4. Remove the EVAP canister assembly (E).
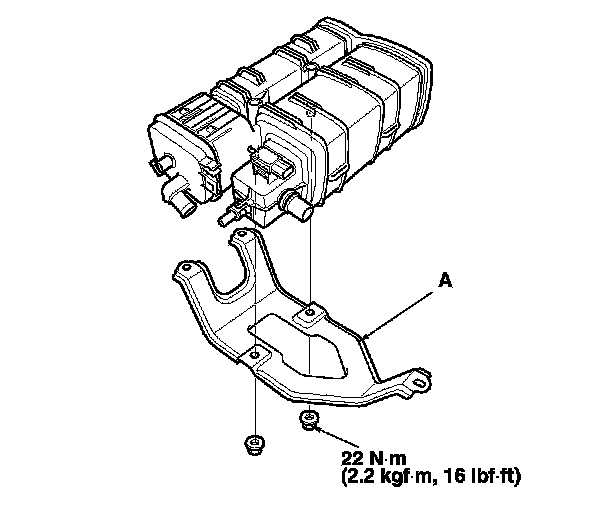
5. Remove the EVAP canister bracket (A).
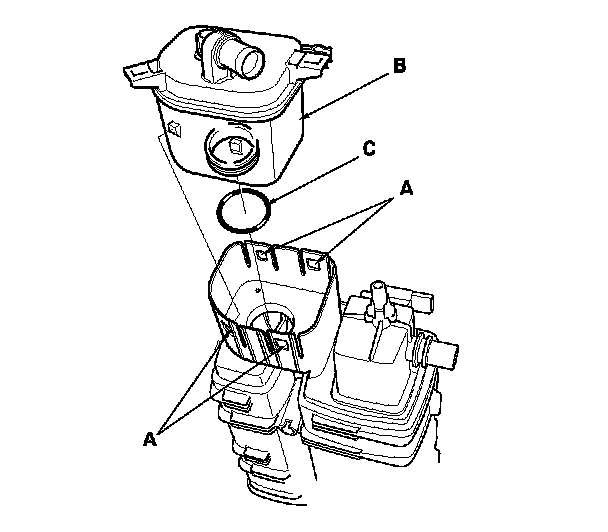
6. Pry the lock tabs outward (A), then remove the EVAP canister vent shut valve (B).
NOTE: Be careful not to damage the lock tabs.
7. Install the EVAP canister vent shut valve in the new EVAP canister with a new O-ring (C).
NOTE: Do not coat the O-ring with oil.
8. Install the parts in the reverse order of removal.