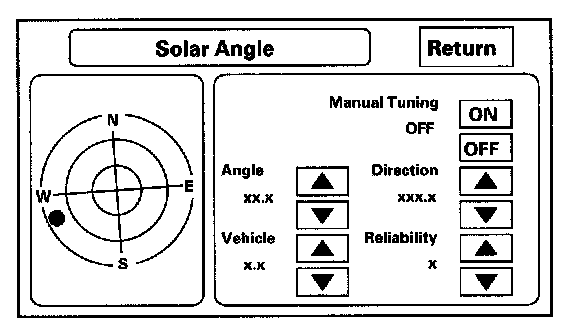
Part 2 of 2
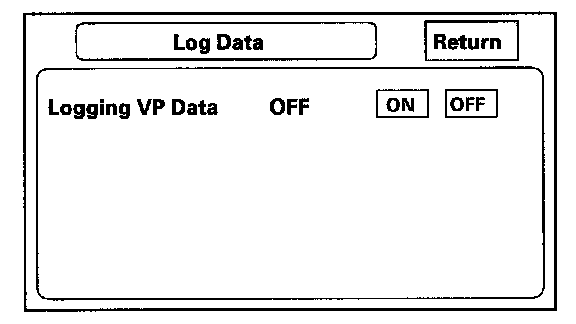
Log DataThis screen allows the factory to select log data to troubleshoot navigation system issues.
- Normally there is no card in the PC Card Slot, and the PC slot door should always be closed. The screen should appear as shown.
- However, if the factory provides a PC card and instructs you to insert it into the card slot (label side up). If instructed by the factory, select Gyro. Sensor Logs ON. Follow the factory procedure for gathering test data, and properly ending the test.
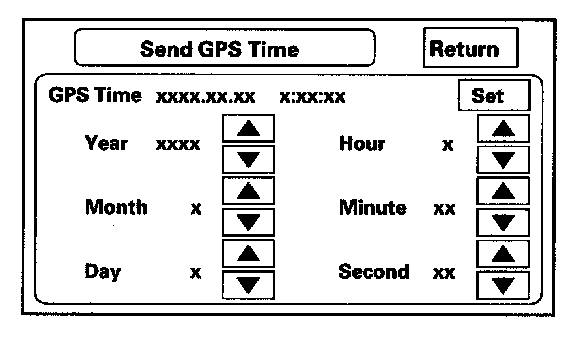
Send GPS Time
This screen is for factory use only. It allows adjustment of the GPS time. This display updates in realtime.
- GPS Time is the time as received from the GPS satellites. It is in Greenwich Mean Time (GMT).
- Date, Hour, Minute, and Set should not be used.
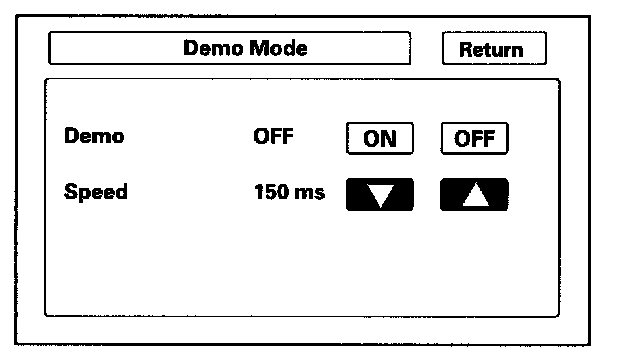
Demo Mode
This screen is for factory use only, and should always be set to OFF. Occasionally the DEMO setting is turned ON when vehicles are being used at Auto Shows or similar events. Turning this feature on, allows the navigation system to automatically follow a route to a destination when the vehicle is stationary. The Speed changes the speed of the demo mode.
Mic Level
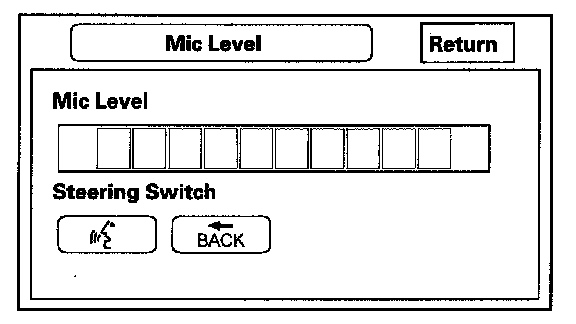
This diagnostic allows you to independently test the microphone and the NAVI TALK and BACK buttons. They are used to activate the voice control system. The microphone is located near the map light in the roof console. It is directional, and works best with the voice coming from the drivers seat.
- Press the TALK button on the steering wheel, and in a normal voice say testing. The TALK indicator on the screen should momentarily turn green, and the text Now Recording... should appear in yellow. If the TALK indicator on the screen does not briefly turn green, then check the wiring from the steering wheel TALK button to the navigation unit. If there is no Mic Level movement when you speak, then you should check the wires running from the microphone in the roof console to the HFL unit and the navigation unit. If the wires are OK, the microphone must be faulty; replace the roof console.
- Press the BACK button on the steering wheel. This should cause the BACK indicator on the screen to momentarily turn green. If it does not briefly turn to green, then check the wiring from the steering wheel BACK button to the navigation unit.
Version
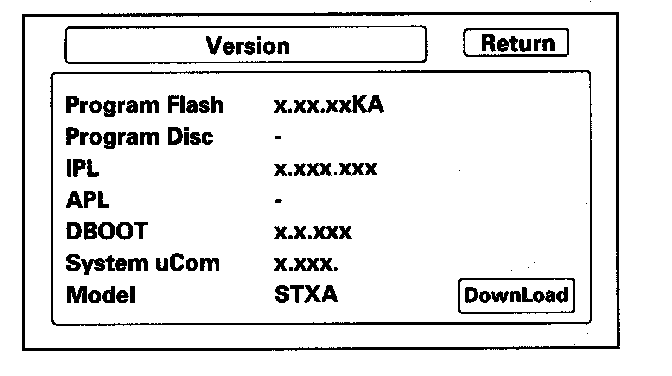
This screen displays the current version information for the navigation system software. In addition, this screen allows the loading of updated software if requested by the factory, or instructed by a Service Bulletin. Software may be loaded from a CD or a PC card.
- Program Flash: Displays the version of the navi software in memory.
- Program Disc: If displayed, this value represents the version of the navi software on the navi DVD.
NOTE: The last two letters of the Program Flash or DVD fields indicate which DVD is installed in the unit. The letters KA imply that a United States DVD is installed. If the letters are KC, then a Canada DVD is installed. (See coverage discussion below.)
- IPL, APL, DBOOT, and System uCom, are all for factory use.
- Model: For this model, the field should begin with STX.
- Download: Do not touch, unless instructed by the factory.
There are two navigation DVDs produced for this model.
- The white DVD labeled United States is for the US market and contains maps for the contiguous 48 US states, and some southern portions of Canada. Clients wanting additional northern coverage in Canada, can purchase a Canada, DVD by contacting the DVD fulfillment desk.
- The gray DVD labeled Canada, is for the Canada market, and contains maps for all of Canada, plus some of the northern US states. If clients with this DVD require full US coverage (including states like Florida and Texas), they may purchase a United States DVD by contacting the DVD fulfillment desk.
XM (HIP)
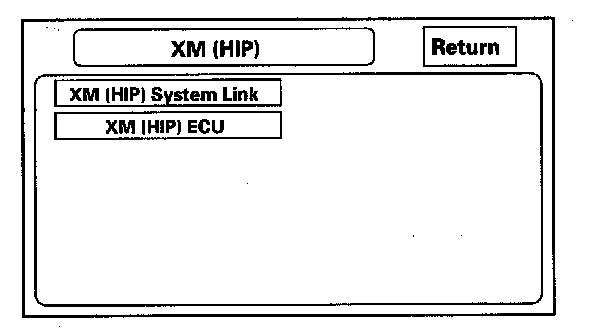
These screens allow troubleshooting of XM or HIP (AcuraLink) problems. Select the item you want to troubleshoot, and follow the diagnostic instructions.
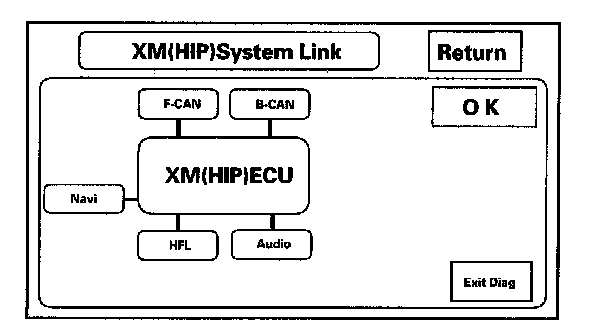
XM (HIP) System Link
This diagnostic tests the cables connecting the XM (HIP) components.
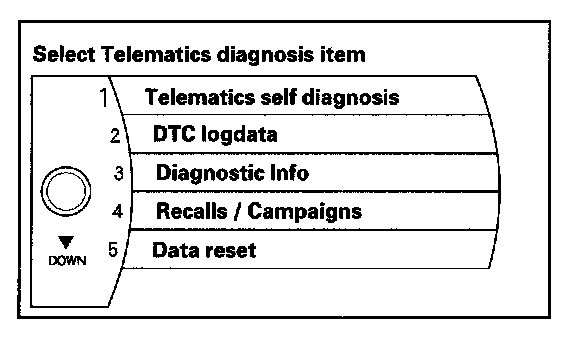
XM (HIP) ECU
Select the item you want to troubleshoot, and follow the diagnostic instructions.
NOTE: Only select DATA RESET when instructed. Selecting DATA RESET will clear the AcuraLink registration, and the AcuraLink service will reset to the factory default. If the vehicle was already registered for the AcuraLink service, it will have to be reactivated by calling Acura Client Services before all features will be available. The reactivation will cause the Feature Guide to start over at the first message, which will result in the client getting repeated messages.
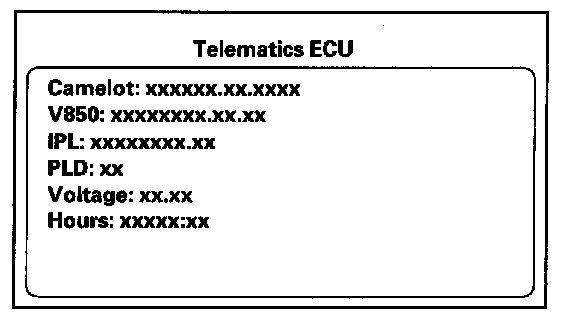
Telematics Self-Diagnosis
This screen used to do self-diagnosis for the XM (HIP).
DTC Log Data
You can check the DTC log data in this screen.
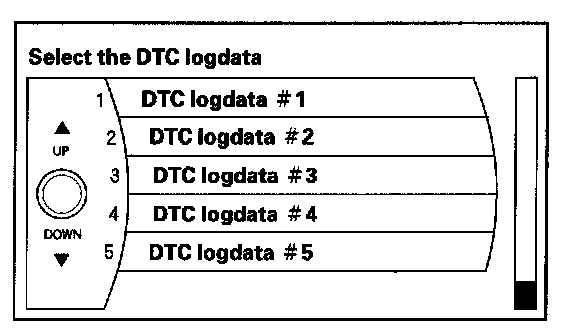
NOTE: When DTC B2200-B2249 is displayed. It is in engineering mode and is not for trouble diagnosis.
Save users Memory
When replacing the navigation unit, this function allows the dealer to transfer the client's personal data to the new navigation unit
This is similar to saving and entering the client's audio presets when replacing an audio core. The transferred information includes their Setup settings, and personal addresses. The dealer inserts a PC card (like the PC card in the HDS), and then selects the Save users Memory function. The two functions in this diagnostic screen are Export and Import saves the client's data to the PC card, and Import moves the PC card files to the new core.
See the FAQs below for information regarding PC cards, and the use of this function.
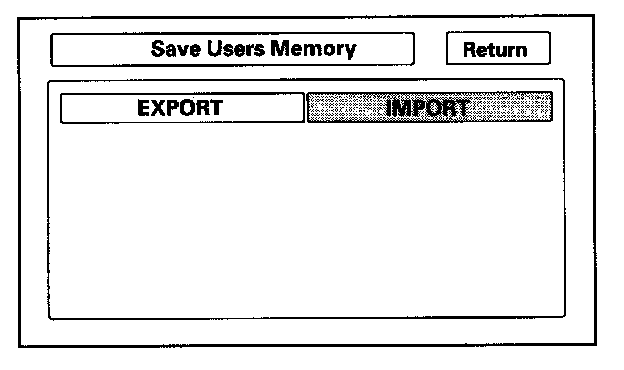
Export
Select this button to move the client's data from the original navigation unit to the PC card. Select YES on the Export User Data Confirmation screen. The process takes only a couple of seconds. The system stores two small files on the card.
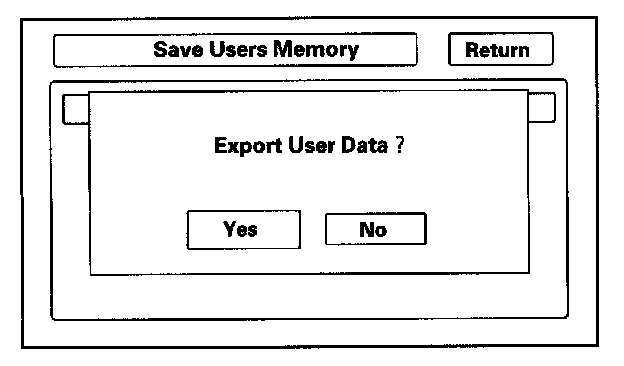
Import
After installing the client's original DVD in the new core, allow the system to boot up. Insert the PC card in the new core and enter the navigation diagnostic mode.
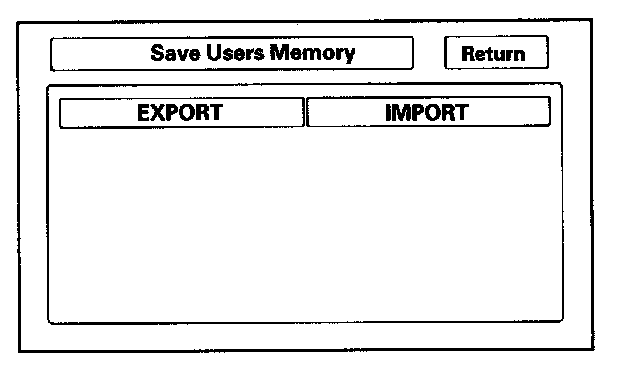
Select YES on the Import Confirmation screen.
Import moves the two files stored by the Export process from the PC card to the new navigation unit. When the transfer is finished (a few seconds) the system will automatically reboot. After the system reboots, remove the PC card from the PC slot.
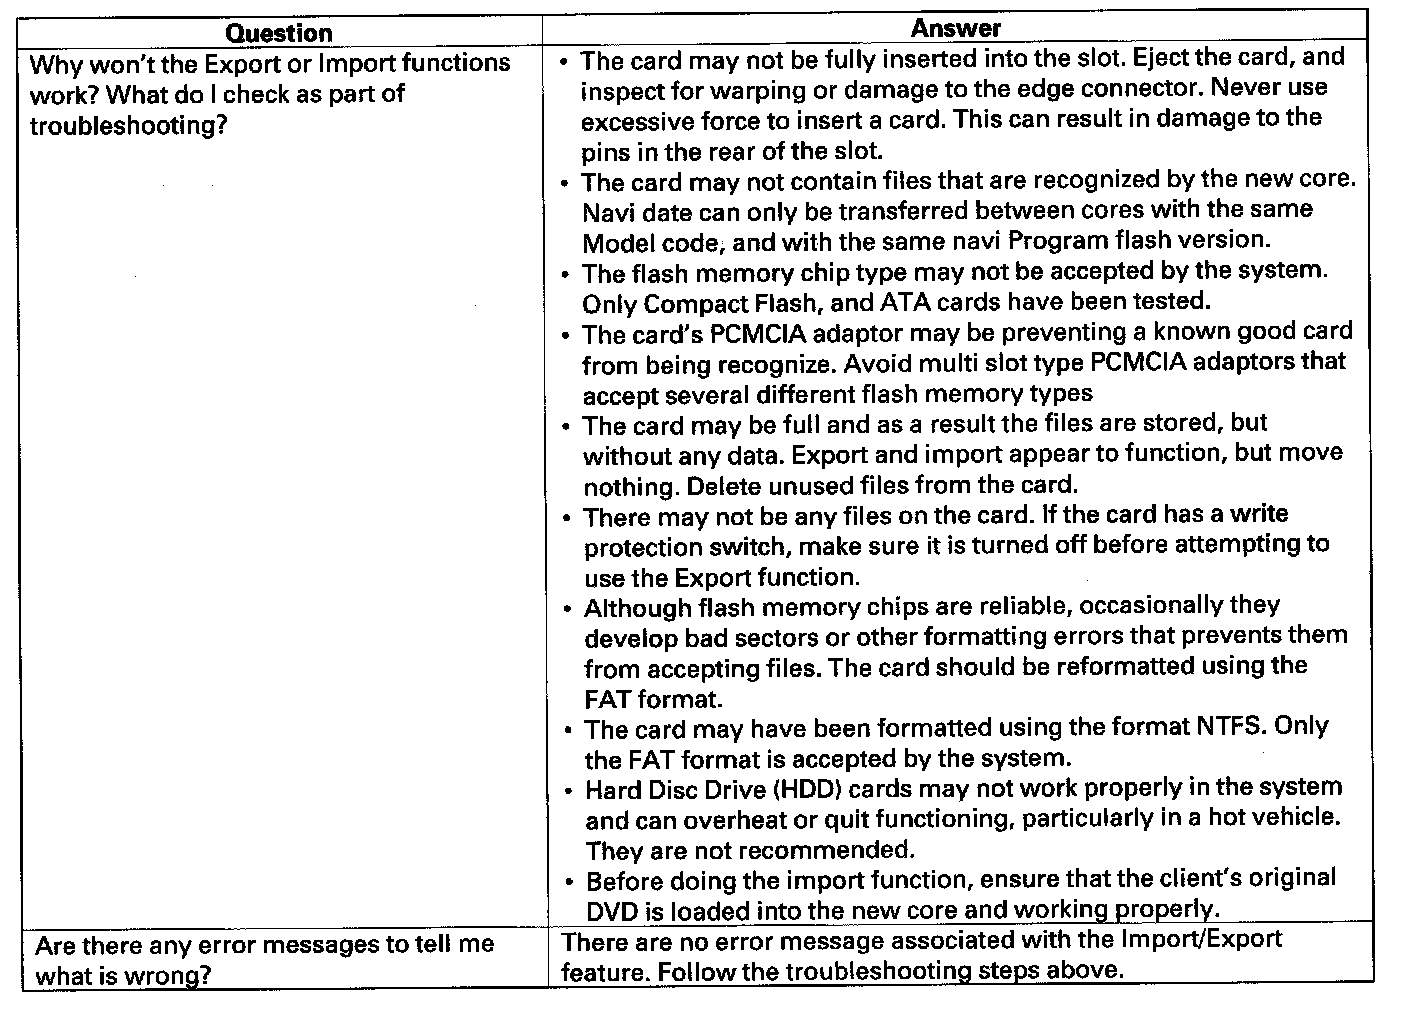
If the Import button is grayed out, follow the troubleshooting in the FAQs below. The client's files can only be transferred to a new core if the Model and the Program Flash shown on the Version screen are the same. These files cannot be transferred from TSX to MDX, or from a MDX with version 1.07.00 to a MDX with version 1.32.00.
PC Card FAQs
PC Card FAQs (Part 1):
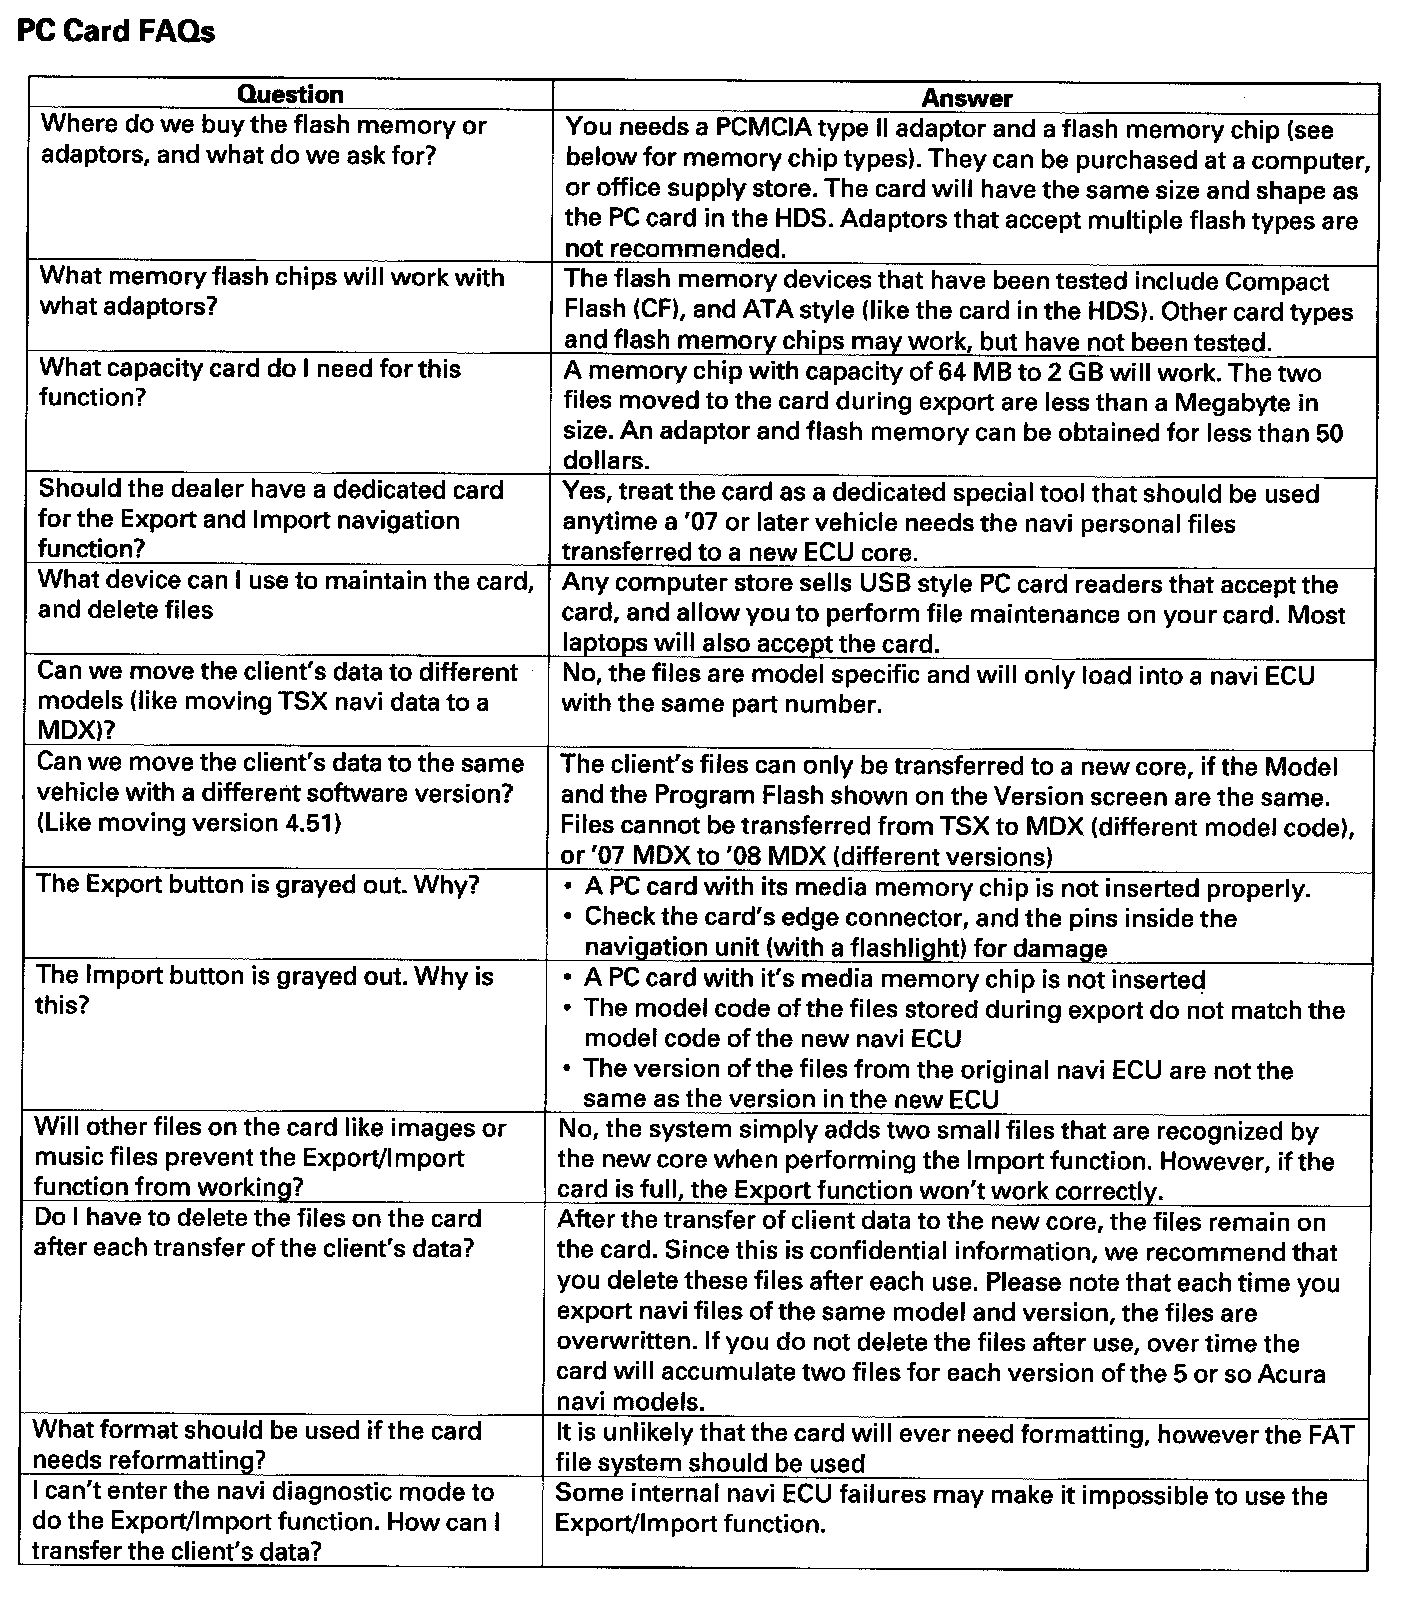
PC Card FAQs (Part 2):
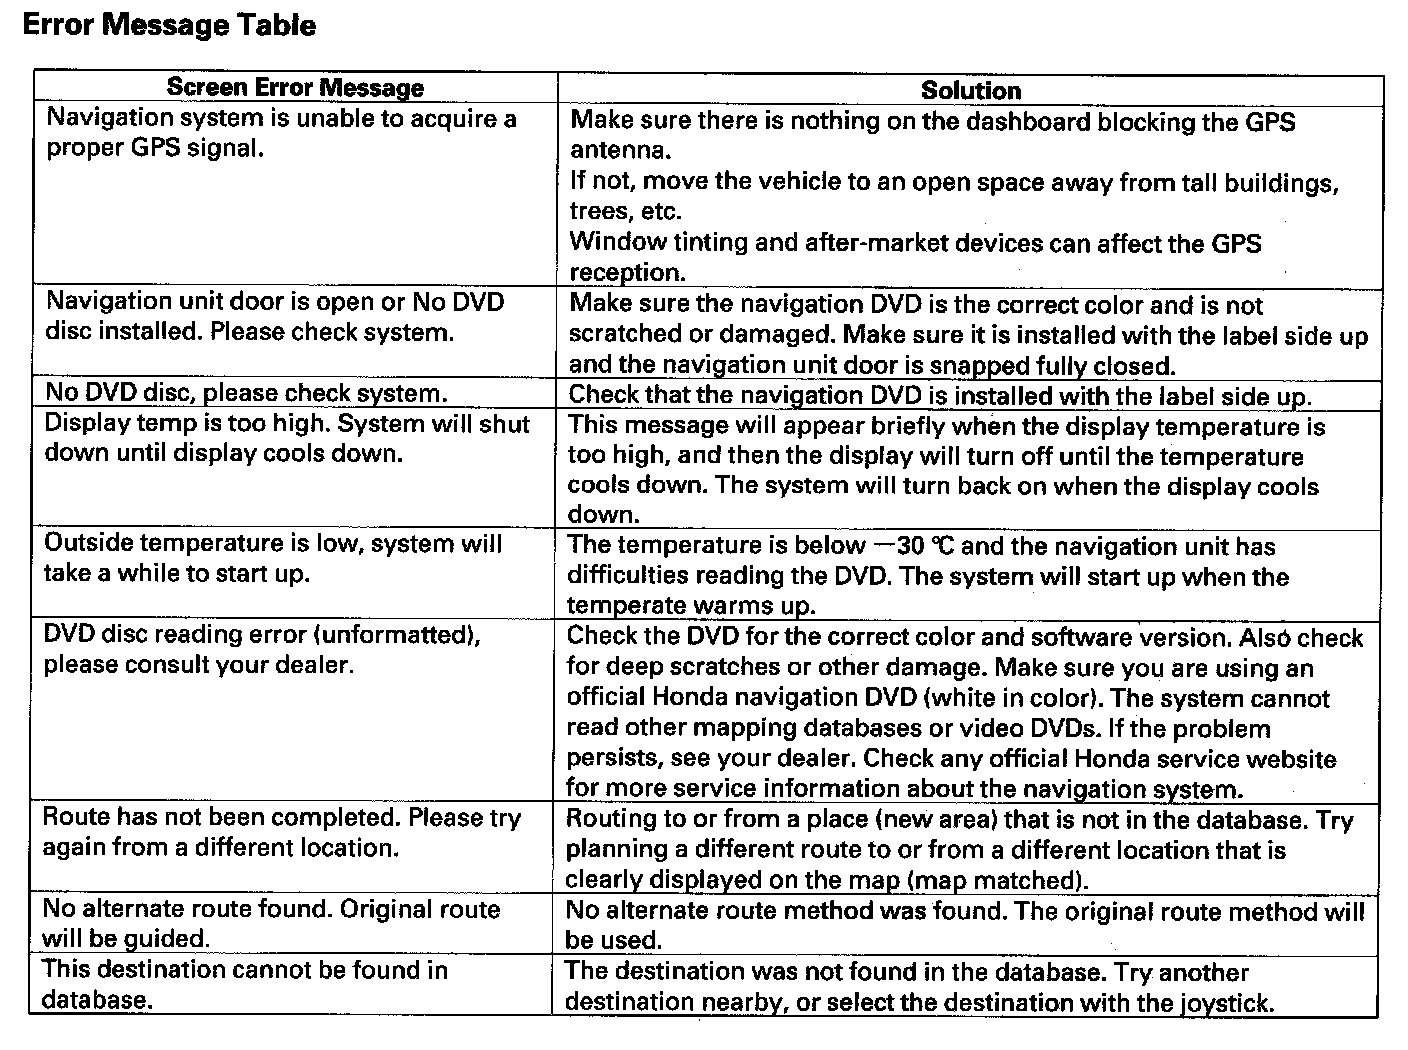
Error Message Table
Error Message Table: