Propeller Shaft Installation
Propeller Shaft Installation
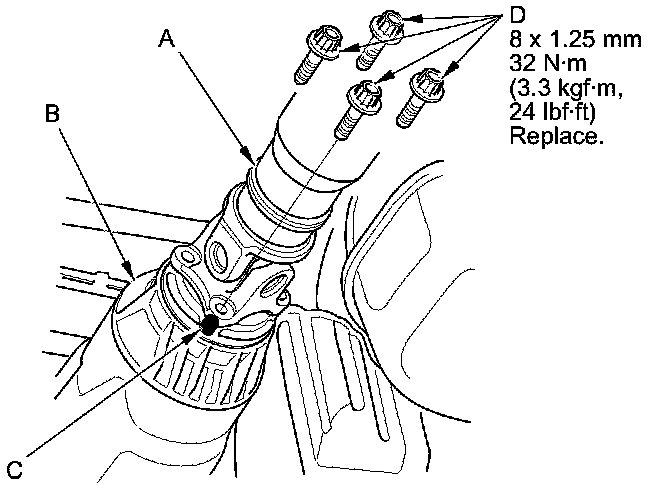
1. Install the No. 2 propeller shaft (A) onto the rear differential (B) by aligning the reference marks (C) you made, then install new propeller shaft mounting bolts (D).
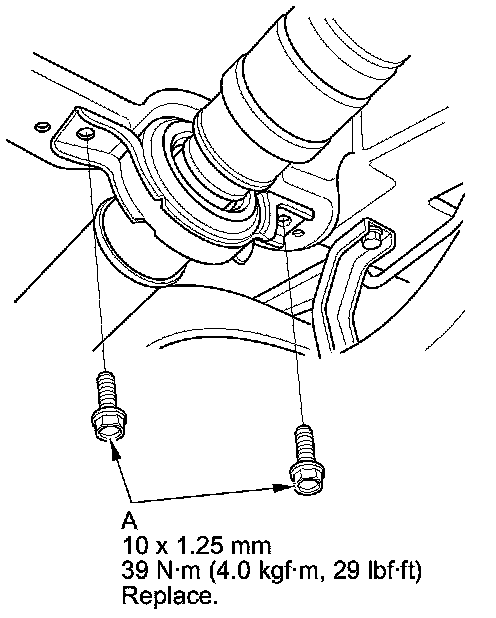
2. Install new center support bearing mounting bolts (A).
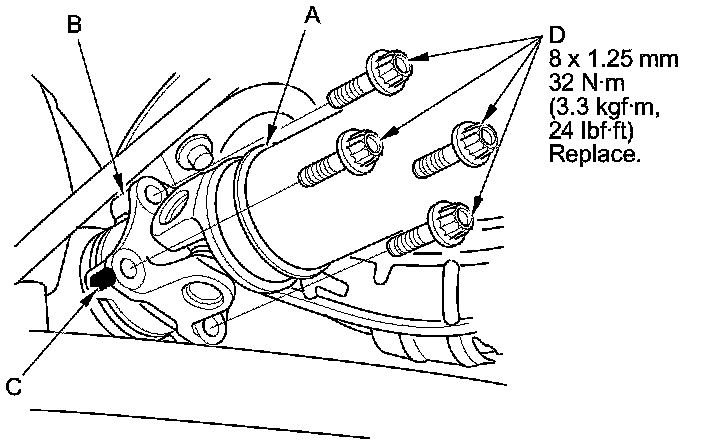
3. Install the No. 1 propeller shaft (A) onto the transfer assembly (B) by aligning the reference marks (C) you made, then install new propeller shaft mounting bolts (D).
4. Install the No. 2 propeller shaft protector (A).
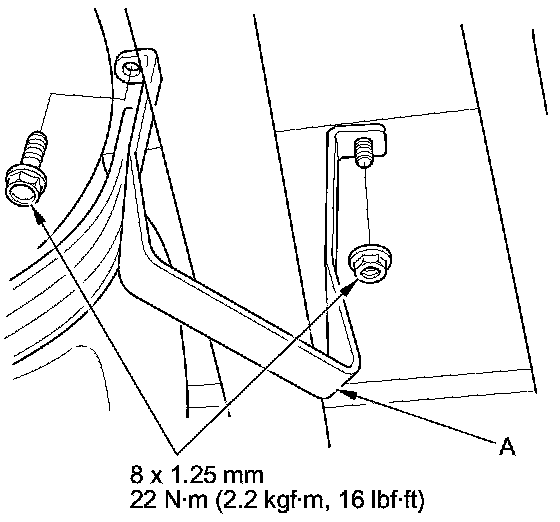
5. Install the No. 1 propeller shaft protector (A).
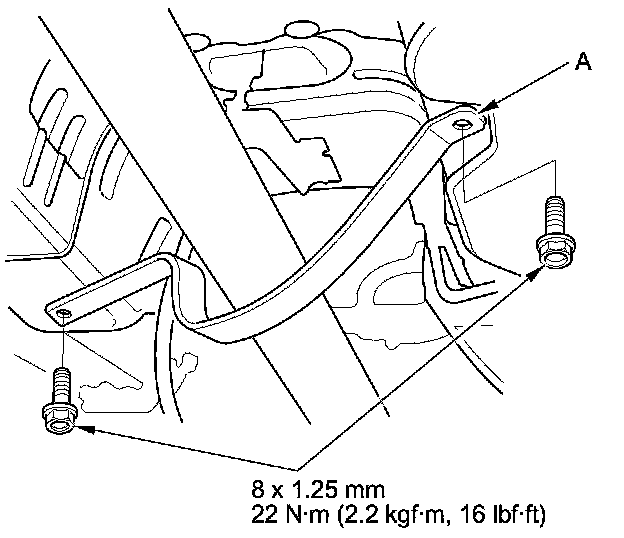
6. Lower the vehicle.
7. If you installed a new propeller shaft, test-drive the vehicle at 55 mph (88 km/h), and check for noise or vibration. If there is a noise or vibration, rotate the propeller shaft 180 degrees from its current alignment with the rear differential companion flange, then recheck.